
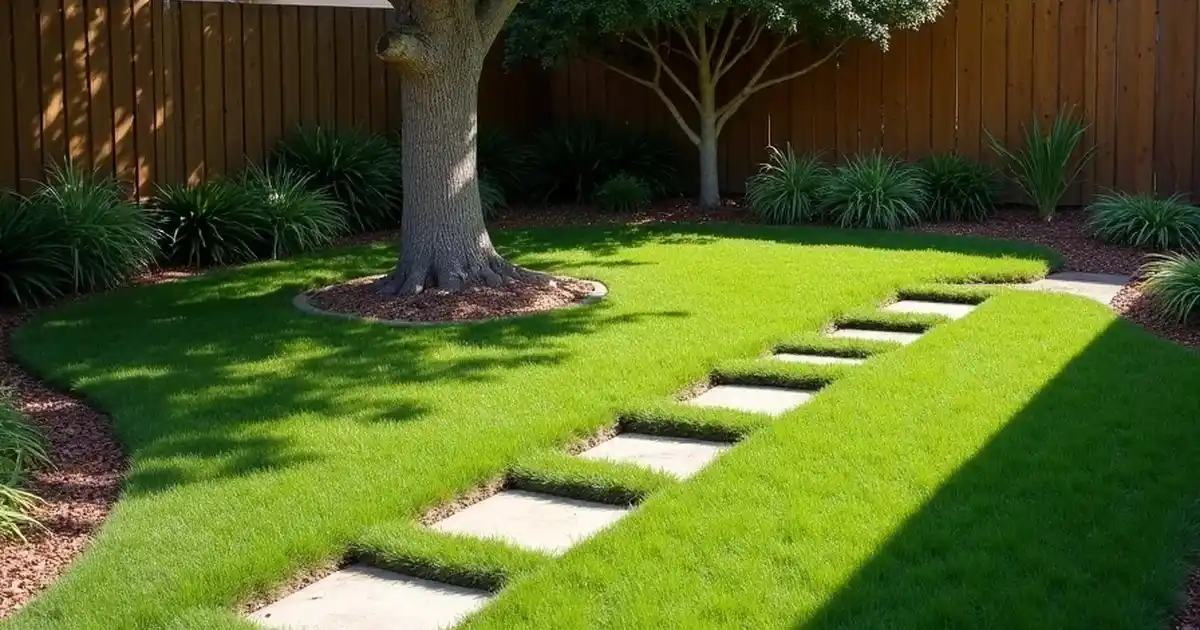
A beautiful yard should give you a place to relax. It should not take up every free weekend.
The problem is that landscaping can cost more than expected. Plants, mulch, edging, tools, and delivery fees add up fast. The work also continues after the project is finished. You still have to mow, water, weed, trim, and replace plants.
The good news is that you do not need a large budget or a landscaping crew. These low maintenance landscaping ideas on a budget can help you improve one part of your yard at a time.
You will learn how to reduce lawn care, control weeds, save water, and make better plant choices. You will also find ideas for reused materials, simple paths, containers, rocks, and garden lighting.
Start with the area that causes the most work. Finish that space before moving to the next one.
Plan Your Yard Before You Spend Any Money
Buying plants before checking your yard can lead to wasted money. A plant may look healthy at the store but fail in the wrong light or soil.
Walk around your yard at different times of the day. Notice which areas receive full sun, partial shade, or deep shade. Check where the soil stays wet after rain. Look for dry corners, steep slopes, muddy paths, and places where grass struggles.
Next, ask yourself which yard jobs take the most time.
Is mowing the main problem? Do weeds return every week? Are you tired of dragging a hose across the yard? Your answers will show where to start.
Measure the area before buying materials. A small tape measure and a basic drawing can prevent costly mistakes.
You can divide your project budget like this:
- 35% for plants
- 25% for mulch, gravel, or soil
- 20% for edging or paths
- 10% for watering supplies
- 10% for tools and unexpected costs
Get prices from at least three local sellers. Bulk mulch or gravel may cost less than bags, but delivery charges can change the final price.
Your plan does not need to cover the full property. One finished garden bed often looks better than several unfinished projects.
1. Cut Mowing Time by Shrinking Unused Lawn Areas
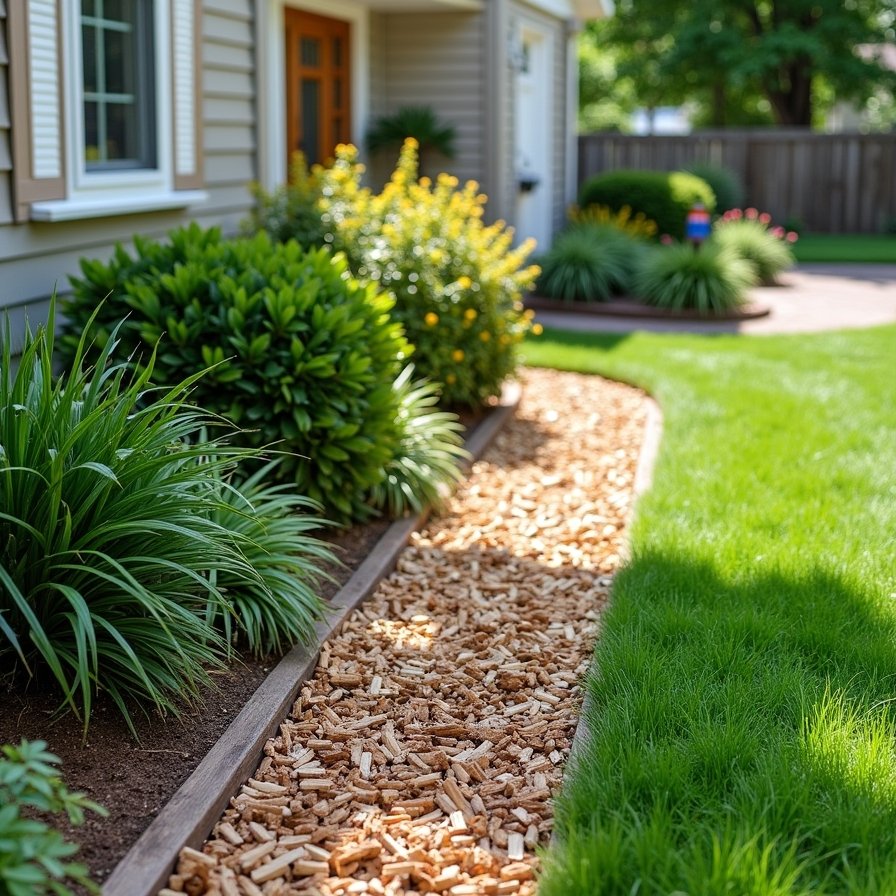
Best for: Narrow strips, steep slopes, and hard-to-mow corners
Cost level: $ to $$
DIY effort: Moderate
Main benefit: Less mowing, watering, and edging
Grass makes sense where children play, pets run, or people gather. It may not make sense in every corner of the yard.
Start by removing grass from one small area. A 10-by-10-foot section is large enough to create a clear change without turning into a huge project.
Replace the grass with mulch, gravel, native plants, or a ground cover that suits your climate. You can also create a wider planting bed beside the house or fence.
One low-cost removal method is sheet mulching. Cut the grass short, cover it with plain cardboard, and wet the cardboard. Add a thick layer of mulch on top. Avoid shiny cardboard, tape, and plastic labels.
This method takes time, but it avoids digging up every piece of grass.
Begin with areas that are difficult to mow. Removing one awkward strip can shorten lawn care and make the yard look more planned.
2. Stop Weeds by Covering Bare Soil With Mulch
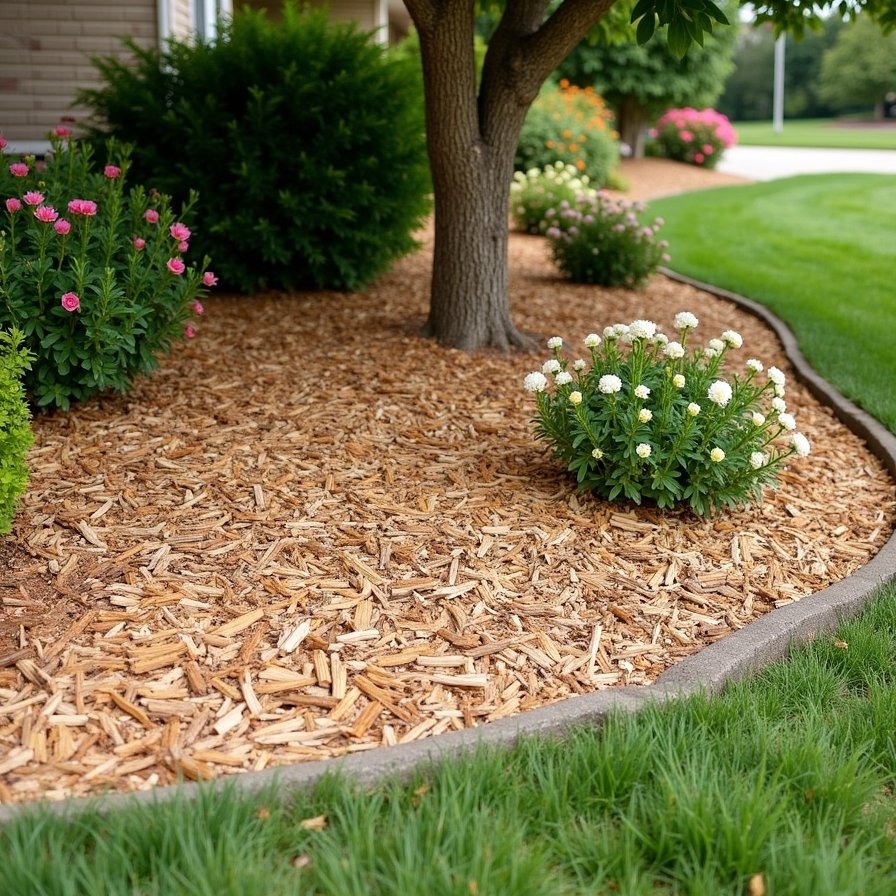
Best for: Flower beds, trees, shrubs, and exposed soil
Cost level: $
DIY effort: Easy
Main benefit: Fewer weeds and slower water loss
Bare soil gives weed seeds an open place to grow. It also dries faster during hot weather.
Mulch covers the soil and gives planting beds a finished look. You can use shredded bark, wood chips, pine straw, chopped leaves, or another material that works in your area.
Check local tree services before buying bags. Some companies give away fresh wood chips after tree-trimming jobs. Local councils may also offer free or low-cost mulch.
Spread mulch in an even layer. Around three inches works well for many garden beds, but local advice may differ.
Keep mulch away from tree trunks, plant stems, siding, and wooden fences. Mulch piled against a trunk can hold too much moisture and cause damage.
Do not replace the full layer every year. Check the depth first. Add more only where the old mulch has broken down or become thin.
3. Make Cheap Garden Beds Look Neat With Reused Edging
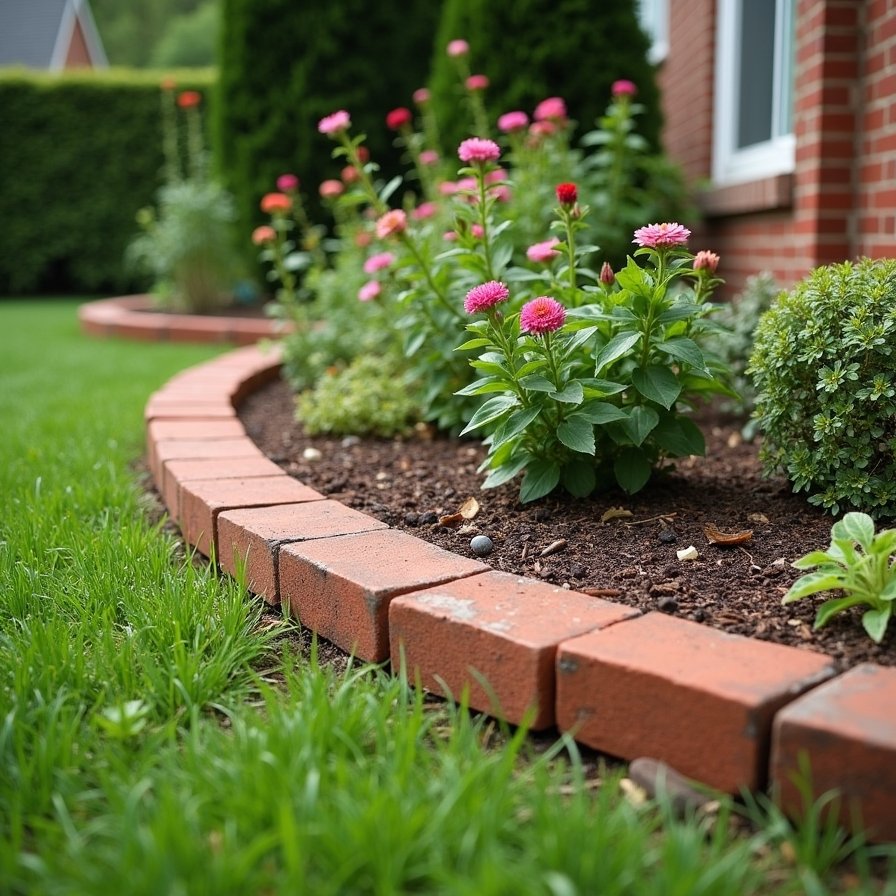
Best for: Front yards, paths, and planting beds
Cost level: $
DIY effort: Easy to moderate
Main benefit: Cleaner lines and less trimming
A clean edge can make an inexpensive planting bed look finished.
You may already have useful edging materials at home. Old bricks, stones, pavers, concrete blocks, and short pieces of timber can all work.
Check local resale sites, salvage yards, and community groups. People often give away leftover materials after a patio or building project.
Choose one material and use it across the area. Too many materials can make a small yard feel busy.
Lay out the border before digging. Use a garden hose to test curved lines. Use string for straight edges.
Set bricks or pavers at a similar height. Uneven edging can become a trip risk and make mowing harder.
Avoid untreated wood in soil that stays wet. It may rot faster than expected.
A level border keeps mulch in place and gives the mower a clear line to follow.
4. Save Money With Native Perennials That Return Each Year
Best for: Long-term planting beds
Cost level: $ to $$
DIY effort: Easy
Main benefit: Fewer replacement plants
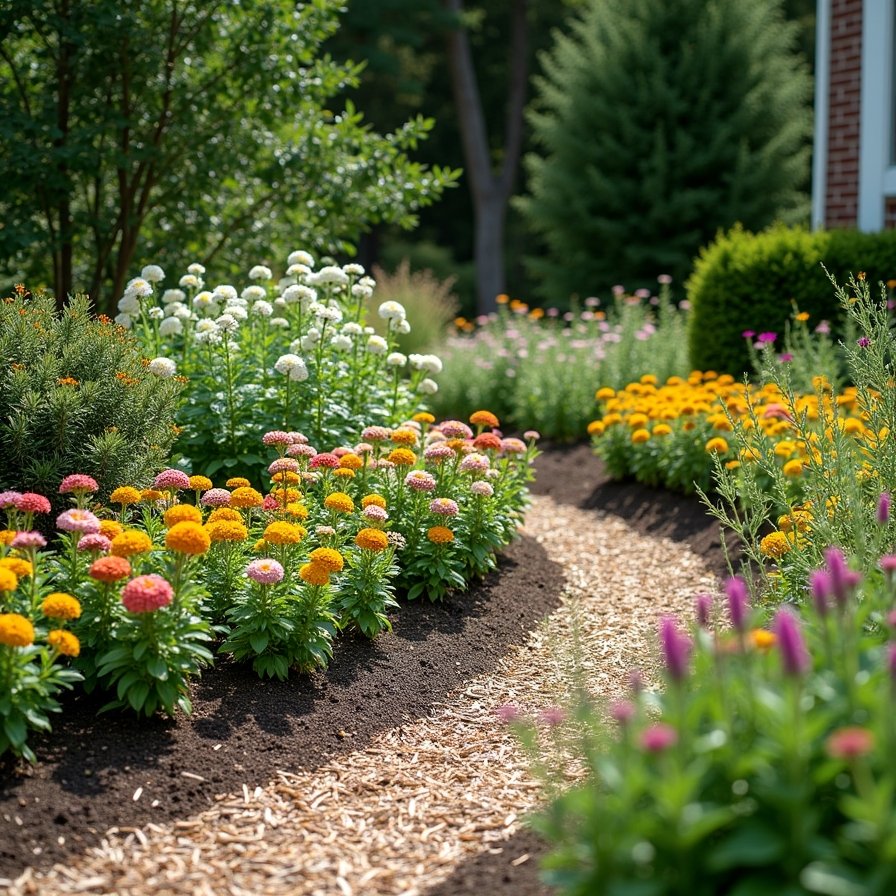
Annual flowers often need to be replaced every year. Perennials can return for several seasons when they grow in the right place.
Native perennials are a smart place to start. These plants are linked to the weather, soil, and wildlife in their local area. Some still need care, but they may settle in better than plants from very different climates.
Do not buy a plant based on flowers alone. Check its sunlight needs, soil needs, mature height, and mature width.
A small plant can become much wider after two or three years. Proper spacing helps you avoid crowding, poor airflow, and constant trimming.
Ask a local nursery, native plant group, or extension office for options that suit your area. A plant that grows well in a dry western yard may fail in a wet southern garden.
Also check whether a plant spreads too fast. An aggressive plant can create more work instead of less.
5. Replace Patchy Grass With Easy Ground Covers
Best for: Shaded areas, slopes, and spaces between stones
Cost level: $ to $$
DIY effort: Moderate
Main benefit: Less mowing in problem areas
Grass often struggles under trees, beside walls, and on dry slopes. Planting more grass seed may not fix the real problem.
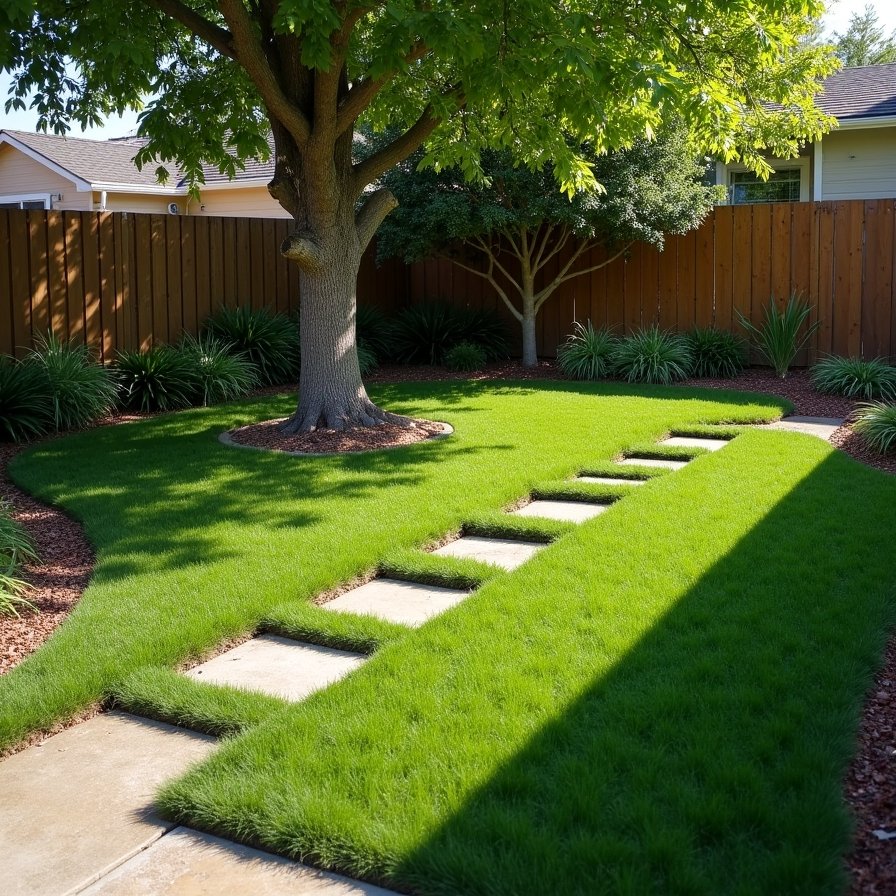
A low-growing ground cover may work better. Ground covers spread across the soil and create a living carpet.
Creeping thyme can suit sunny, dry areas in some regions. Sedges may work in shade. Native violets and other local plants can also fill difficult spaces.
Check how much foot traffic the plant can handle. Some ground covers can grow between stepping stones. Others become damaged when walked on.
Small plant plugs often cost less than large pots. They take longer to fill the space, but the lower starting cost may be worth it.
Avoid plants listed as invasive in your area. Fast growth sounds helpful until the plant spreads into lawns, paths, and nearby gardens.
Choose the right plant once. You will spend less time fixing the space later.
6. Keep the Yard Attractive Year-Round With a Few Shrubs
Best for: Entrances, foundations, and bare corners
Cost level: $$
DIY effort: Moderate
Main benefit: Year-round shape with limited seasonal work
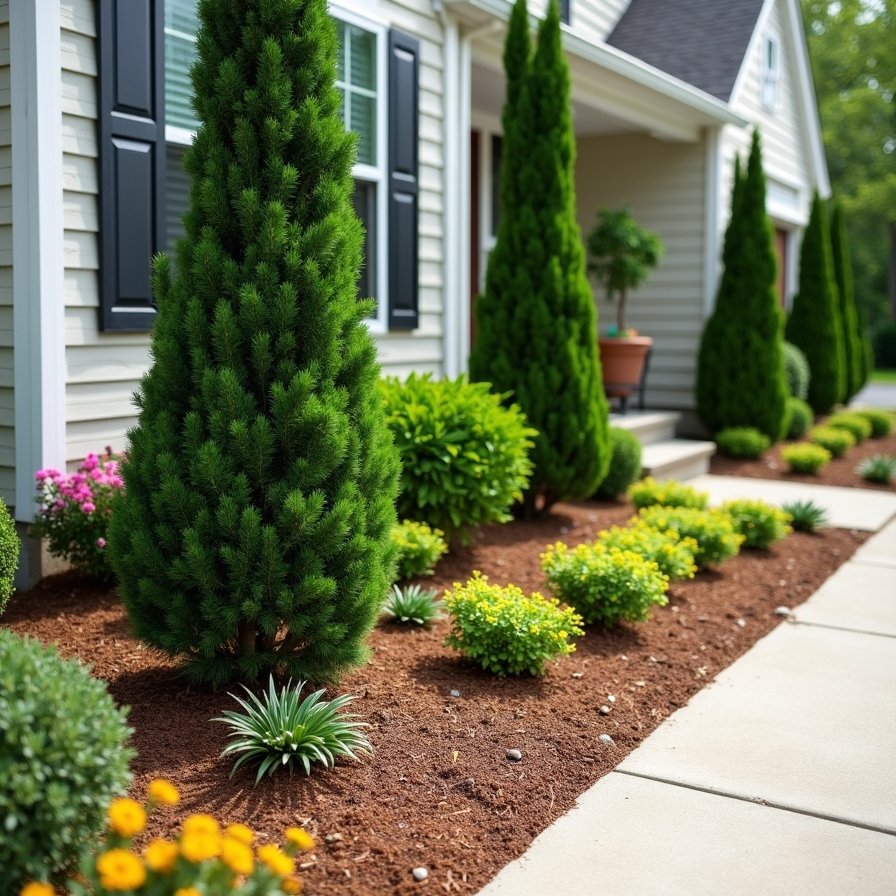
A yard filled only with seasonal flowers may look empty for part of the year. Evergreen shrubs add shape when other plants are not blooming.
You do not need a long row of shrubs. Three well-placed plants can be enough for a small front bed.
Place them near an entrance, at a house corner, or behind shorter flowers. Use the same type more than once for a calm, connected look.
Read the mature size on the plant label. A shrub in a small nursery pot may grow several feet wide.
Do not plant large shrubs close to windows, walkways, pipes, or the house. Oversized plants lead to heavy pruning and blocked views.
Dwarf varieties may work better in tight areas, but “dwarf” does not always mean tiny. Check the final height and width.
A few properly sized shrubs usually need less work than a crowded bed full of mixed plants.
7. Add Texture With Ornamental Grasses That Need Little Pruning
Best for: Borders, dry beds, and modern yard designs
Cost level: $ to $$
DIY effort: Easy
Main benefit: Simple seasonal care
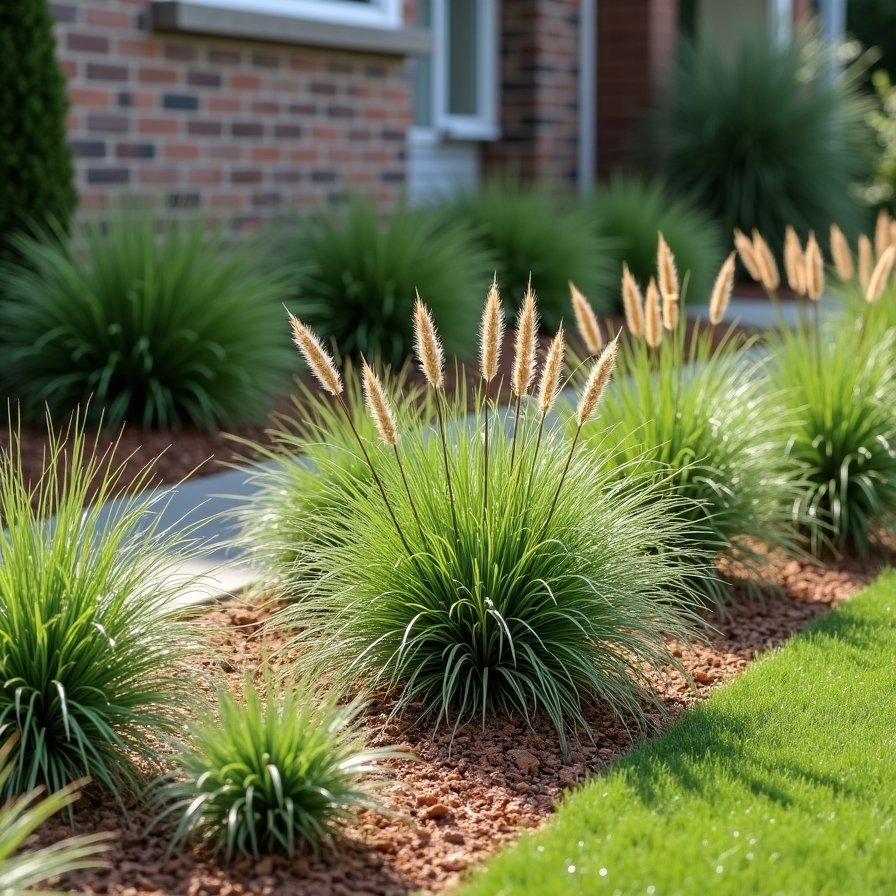
Ornamental grasses add height, movement, and soft texture. Many need one main cutback each year instead of regular shaping.
Use shorter grasses beside paths. Place taller grasses near fences or at the back of planting beds.
Repeat the same grass in groups of three or five. Repetition often creates a stronger design than using one plant of many different types.
Choose clumping grasses when possible. They grow in a controlled group instead of spreading through long underground stems.
Check local invasive plant lists before buying. Some popular grasses spread into natural areas and cause serious problems.
Also check the mature height. Tall grasses can block windows, cover signs, or fall across walkways.
Many types can remain standing through winter. The dry leaves add shape and may provide shelter for small wildlife. Cut them back at the recommended time for your climate.
8. Make Your Garden Look Planned by Repeating Plants
Best for: Small yards and simple planting beds
Cost level: $ to $$
DIY effort: Easy
Main benefit: Easier watering and care
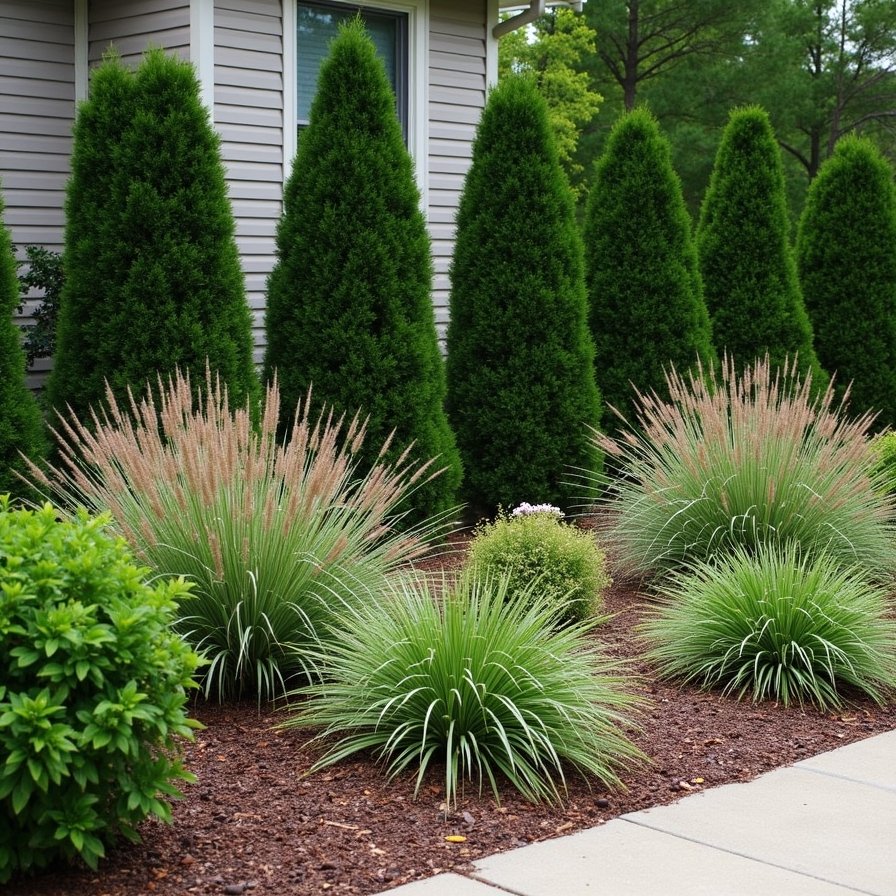
Buying one of every plant may create color, but it can also make a garden look messy. Each plant may need different water, soil, and pruning.
Choose a small group of plants that grow well in the same conditions. Repeat them across the bed.
For example, you could use:
- Three evergreen shrubs
- Five flowering perennials
- Three ornamental grasses
- One small focal plant
Groups of three, five, or seven often look natural. You do not have to follow this rule in every space, but it gives you a useful starting point.
Repeated plants also make maintenance easier. You can water them on the same schedule and trim them at the same time.
Leave room for each plant to reach its mature width. A new bed may look open during the first year. That is normal.
A simple plant plan can look polished without costing more.
9. Lower Plant Costs by Buying Smaller Sizes
Best for: New beds with room to grow
Cost level: $
DIY effort: Easy
Main benefit: Lower starting cost
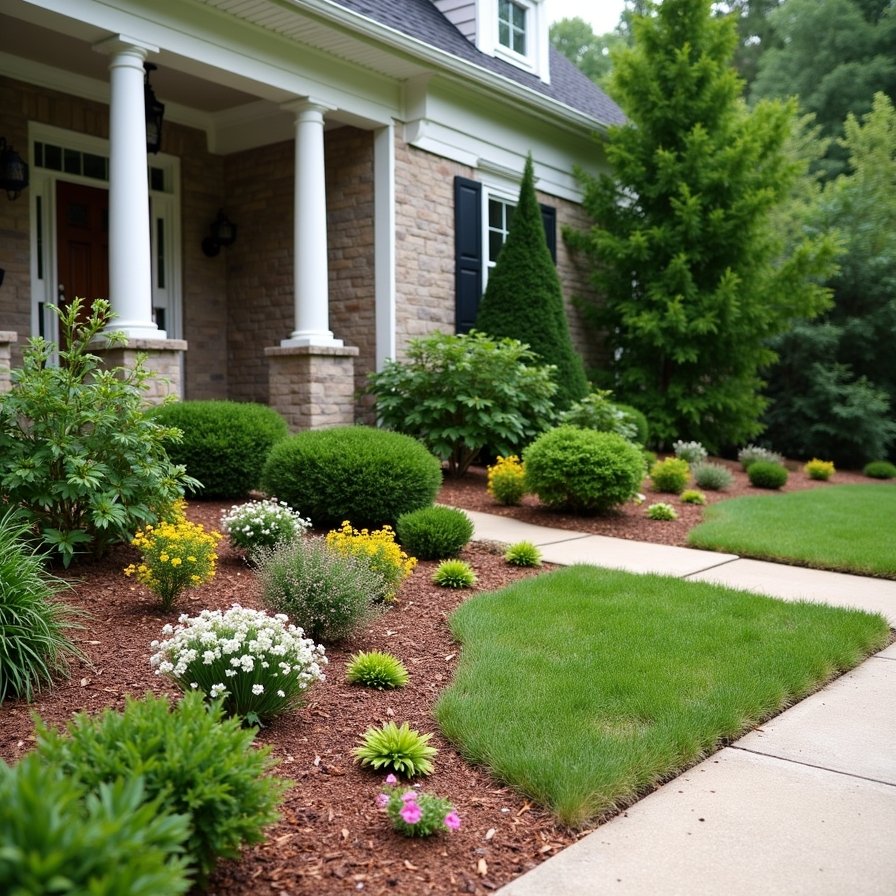
Large plants give you an instant result, but they can take a large part of your budget.
Smaller plants often cost much less. They may also settle into the soil well because their roots have less disturbance during planting.
Use larger plants only where you need quick impact. This could be one shrub beside the entrance or one tree in the front yard.
Buy smaller sizes for the rest of the bed. Give each plant enough space to grow.
Do not crowd plants to make the area look full on the first day. Crowded beds may need more water, more pruning, and better airflow control.
Look for end-of-season nursery sales. Check each plant before buying. Avoid plants with badly damaged stems, dry roots, or signs of pests.
You can also divide healthy perennials from your yard or trade plants with a neighbor.
Patience can save a lot of money. The bed will fill in with time.
10. Use Old Containers to Create a Portable Garden
Best for: Renters, patios, porches, and small yards
Cost level: $
DIY effort: Easy
Main benefit: Flexible planting without permanent work
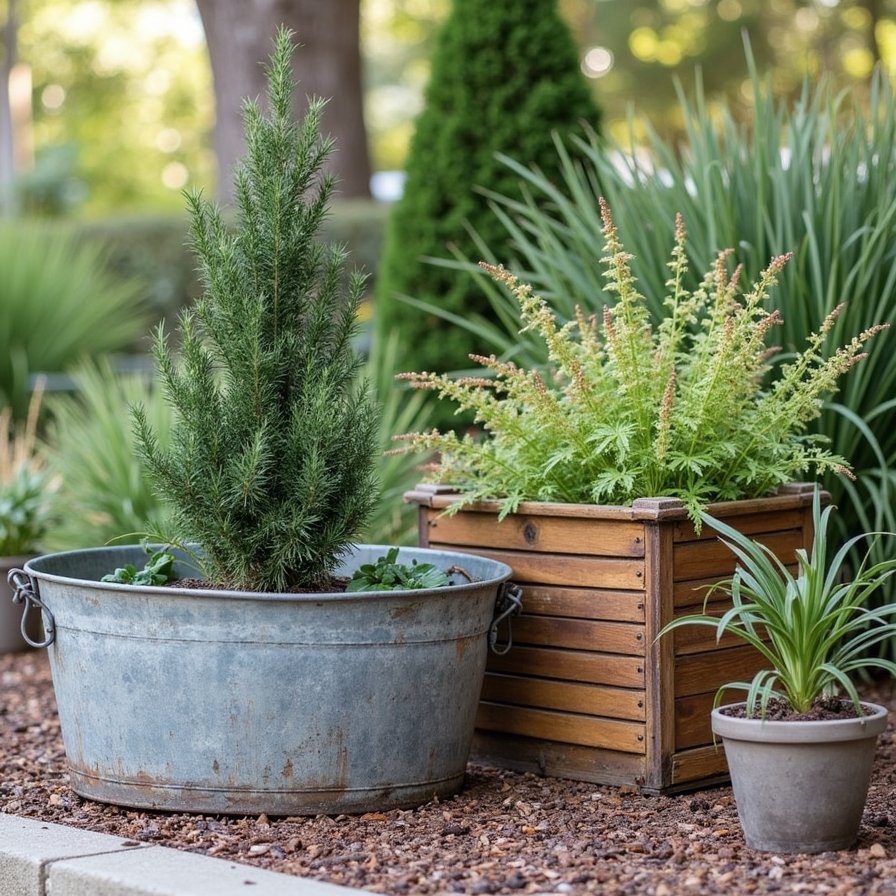
You do not need expensive matching pots to create a container garden.
Old buckets, metal tubs, wooden crates, baskets, and basic plastic pots can all work. The container must be safe for the chosen plant and able to drain.
Add drainage holes when the material allows it. Water trapped at the bottom can damage roots.
Group three containers instead of placing single pots across the yard. Use different heights to create a stronger display.
Try this simple layout:
- One tall plant at the back
- One medium plant in the center
- One trailing plant near the edge
Choose plants with similar light and water needs. Drought-tolerant plants may reduce watering, but containers still dry faster than garden soil.
Add a thin mulch layer over the potting mix. This can slow water loss and make the pots look finished.
Portable containers are useful because you can move them when the seasons change.
11. Fix Muddy Walkways With Gravel or Stepping Stones
Best for: Side yards, garden paths, and worn lawn areas
Cost level: $ to $$
DIY effort: Moderate
Main benefit: Less mud and damaged grass
People usually take the shortest route through a yard. If that path crosses grass, the area may become thin, muddy, or compacted.
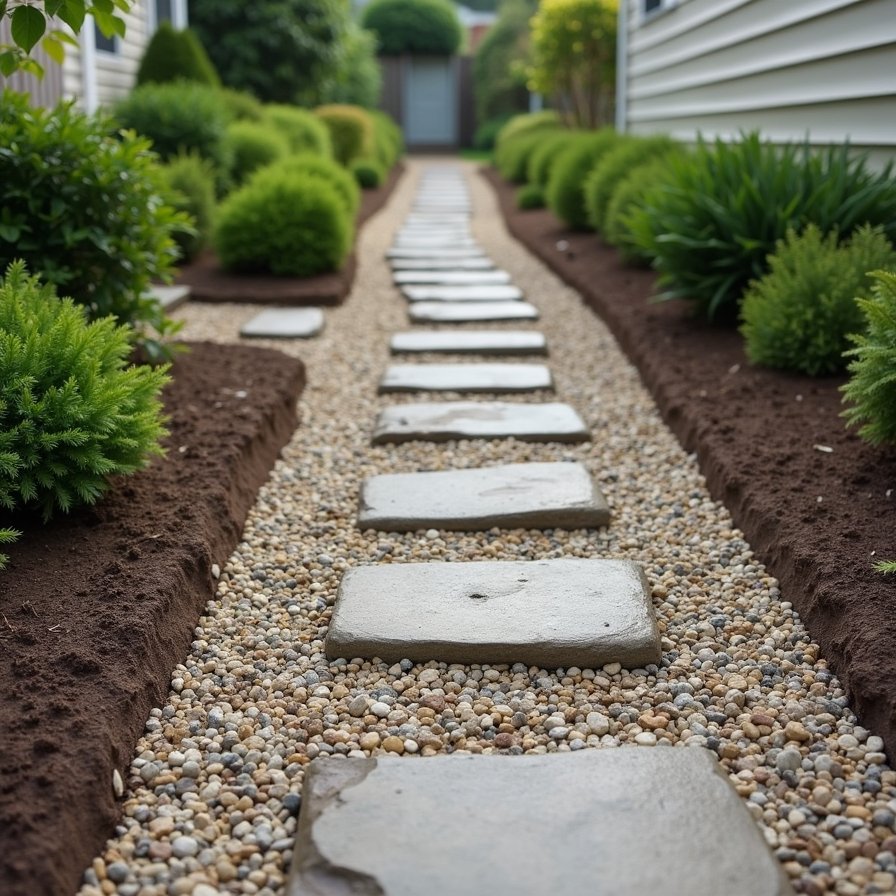
Create a simple path where people already walk.
You can use gravel, local stone, reused pavers, or spaced stepping stones. Individual stones often cost less than covering the full path.
A path around three feet wide gives one person enough walking space. A narrower path may work in a small side yard.
Mark the route before digging. Walk through it several times to see whether the turns feel natural.
Remove grass and roots from the path area. Add a firm base if the soil is soft or drains poorly. Proper preparation helps stop stones from sinking or moving.
Keep loose gravel away from lawn edges. Small stones can enter the grass and become dangerous when hit by a mower.
A clear path makes the yard easier to use and protects nearby plants.
12. Improve Dry Corners With Rocks and Tough Plants
Best for: Hot, dry, sloped, or hard-to-grow areas
Cost level: $ to $$
DIY effort: Moderate
Main benefit: Fewer failed plants
Some yard areas stay hot and dry even with regular watering. Others have thin soil or a slope where water runs off quickly.
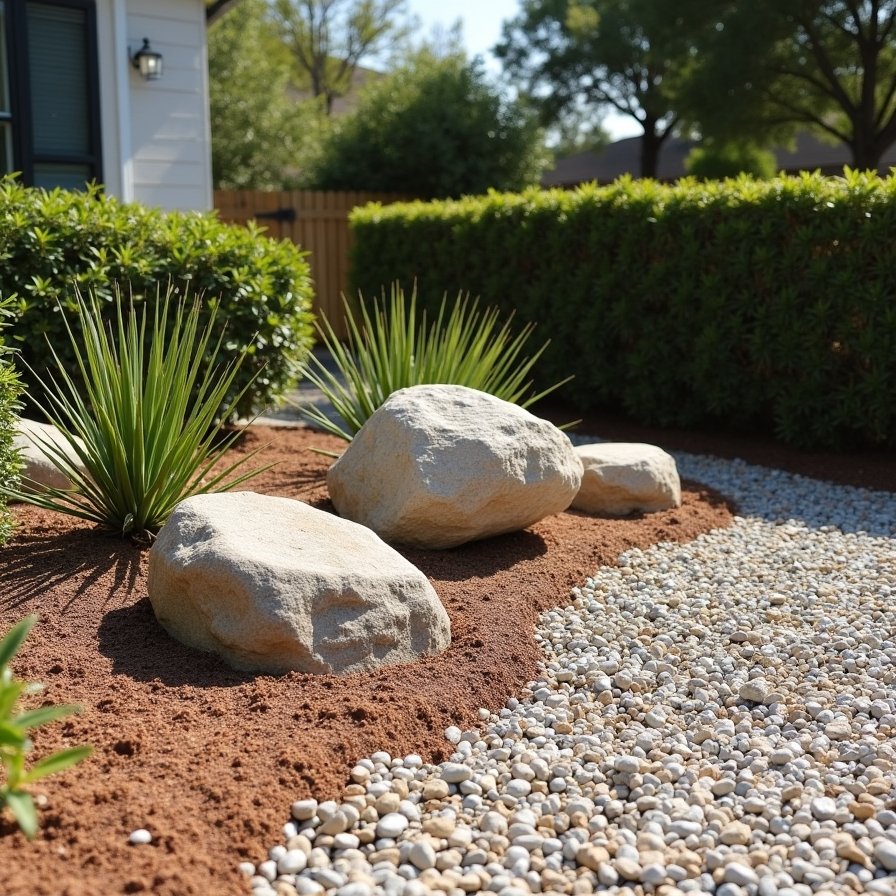
A small rock garden may suit these spaces.
Use one or two larger rocks instead of covering the area with many tiny stones. Larger pieces create a stronger focal point and may be easier to keep clean.
Add a few plants around the rocks. Choose plants that suit the light, drainage, and heat in that spot.
You could create a simple corner with:
- One large rock
- Three matching plants
- Two smaller stones
- A mulch or gravel base
Use rocks already on the property when possible. Local stone may cost less than imported decorative rock.
Do not cover the whole yard with rock because it seems easy. Rock can hold heat, collect dust, and become difficult to change later.
Use it where it solves a clear problem.
13. Save Watering Time With a Soaker Hose or Drip Line
Best for: Shrub beds, vegetable beds, and rows of plants
Cost level: $ to $$
DIY effort: Easy to moderate
Main benefit: Water goes close to plant roots
Hand watering takes time. It can also leave some plants too wet and others too dry.
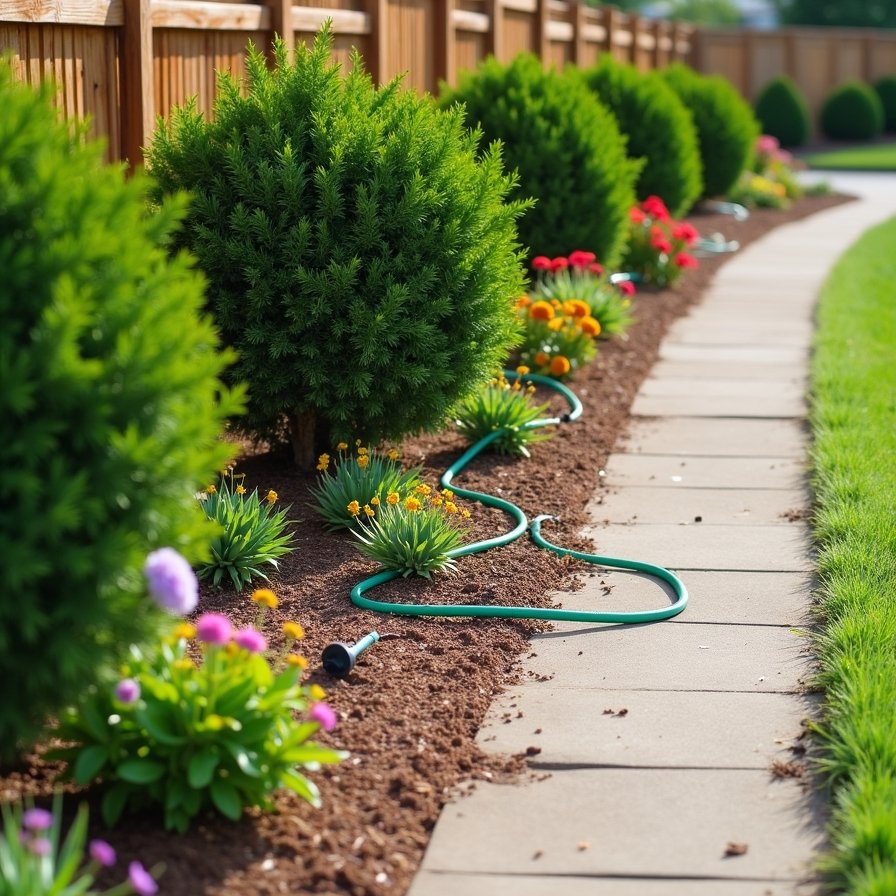
A soaker hose or basic drip line sends water close to the soil. This reduces spray on paths, fences, and plant leaves.
Group plants with similar water needs. Do not place a thirsty plant beside one that prefers dry soil.
Use a timer to control the watering schedule. Adjust it after heavy rain or during cooler weather.
Cover hoses lightly with mulch to hide them and reduce sun damage. Keep the connections visible so you can check for leaks.
Inspect the system once a month. Look for blocked holes, loose fittings, and dry patches.
This is one of the most useful low maintenance landscaping ideas on a budget for people who spend too much time moving hoses.
Automatic watering still needs checks, but it can reduce daily work.
14. Use a Rain Barrel for Small Watering Jobs
Best for: Containers and small garden beds
Cost level: $ to $$
DIY effort: Moderate
Main benefit: Stores rain for later use
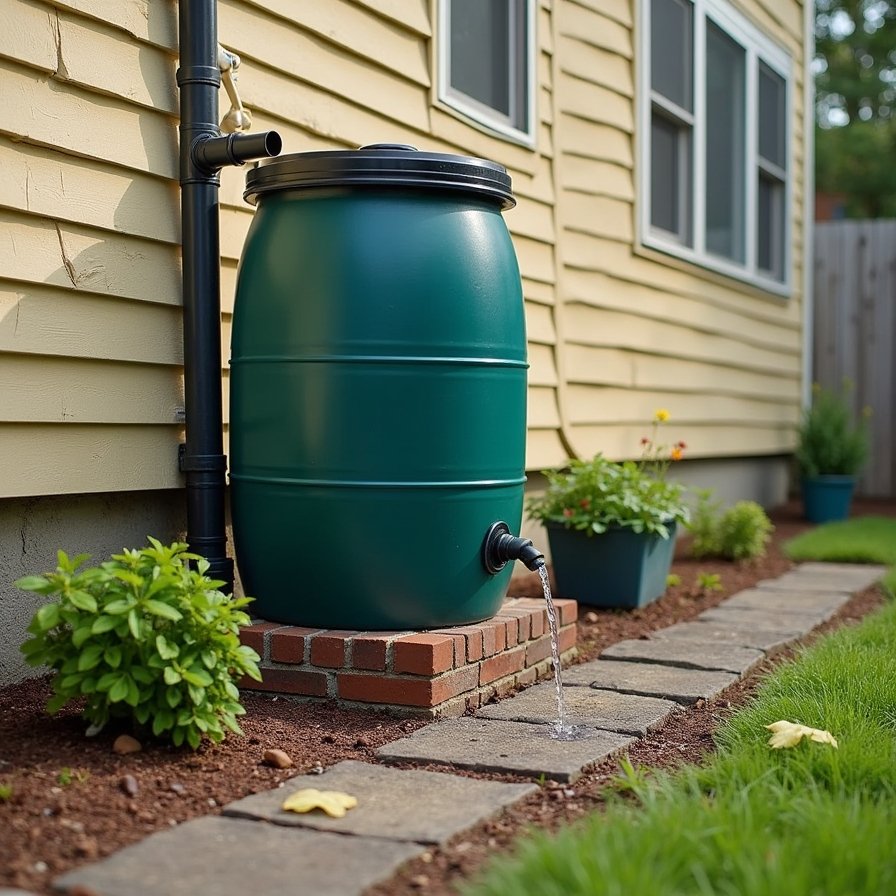
Rainwater often runs from the roof into a drain or across the yard. A rain barrel lets you store some of that water.
Place the barrel on a strong, level base. Water is heavy, so the support must remain stable when the barrel is full.
Use a screened top to keep out leaves and insects. Add a safe overflow pipe that sends extra water away from the house.
Check local rules before installing a barrel. Some places have limits or specific safety steps.
Use collected water for outdoor plants that are safe for this type of watering. Avoid making broad claims about using roof water on edible crops because roof materials and local conditions differ.
You may find discounted barrels through a city, water company, or local garden program.
A rain barrel may not supply the whole yard. It can still help with containers and one small bed after a light dry period.
15. Improve Safety With a Few Well-Placed Solar Lights
Best for: Steps, paths, entrances, and focal plants
Cost level: $
DIY effort: Easy
Main benefit: No wiring and little installation work
Solar lights can improve safety without adding electrical wiring. The key is to use them where they serve a purpose.
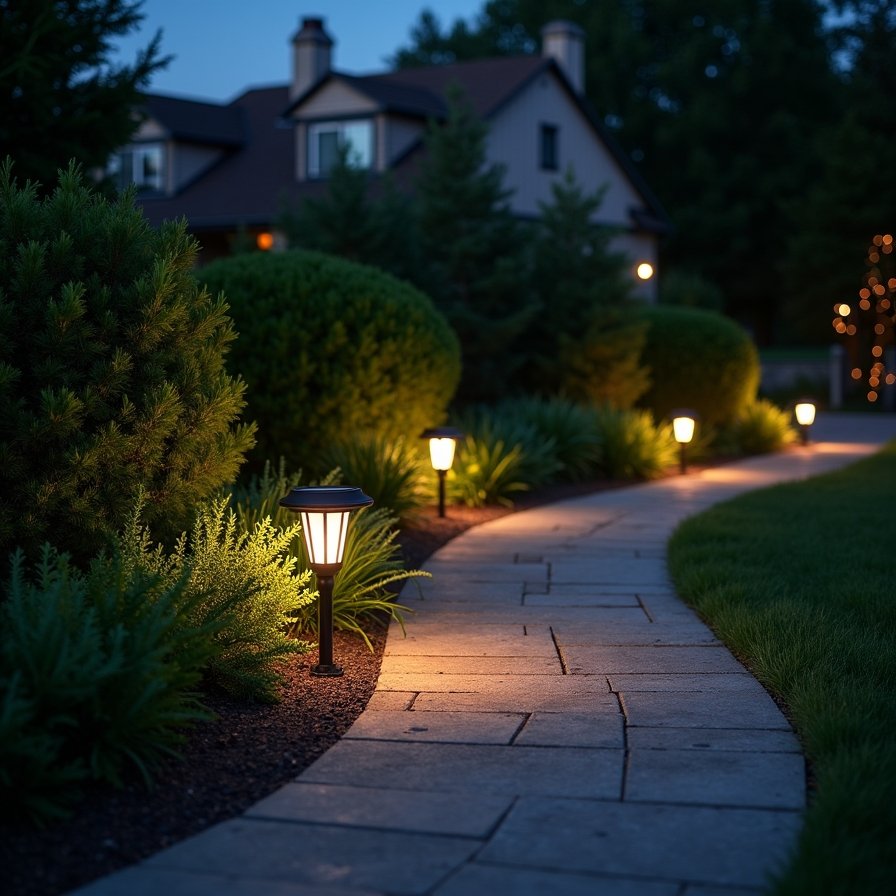
Place lights near steps, path turns, entrances, or changes in ground level. You can also use one or two lights to draw attention to a tree, planter, or garden feature.
Do not place a light every few feet. A long row of weak lights can make the yard feel crowded.
Choose lights with replaceable rechargeable batteries when possible. This may extend the life of the product.
Place the solar panel where it can receive direct light. A light placed under a thick tree may not charge well.
Clean dirt from the panel from time to time. Replace damaged lights instead of leaving broken pieces around the path.
Four to six useful lights can create more impact than a large pack placed without a plan.
16. Finish the Yard With One Strong Focal Point
Best for: Plain yards and unfinished garden beds
Cost level: $ to $$
DIY effort: Easy
Main benefit: Strong visual impact with fewer items
You do not need to fill every empty space with plants, signs, pots, and decorations.
One clear focal point can make a simple yard feel complete.
Possible focal points include:
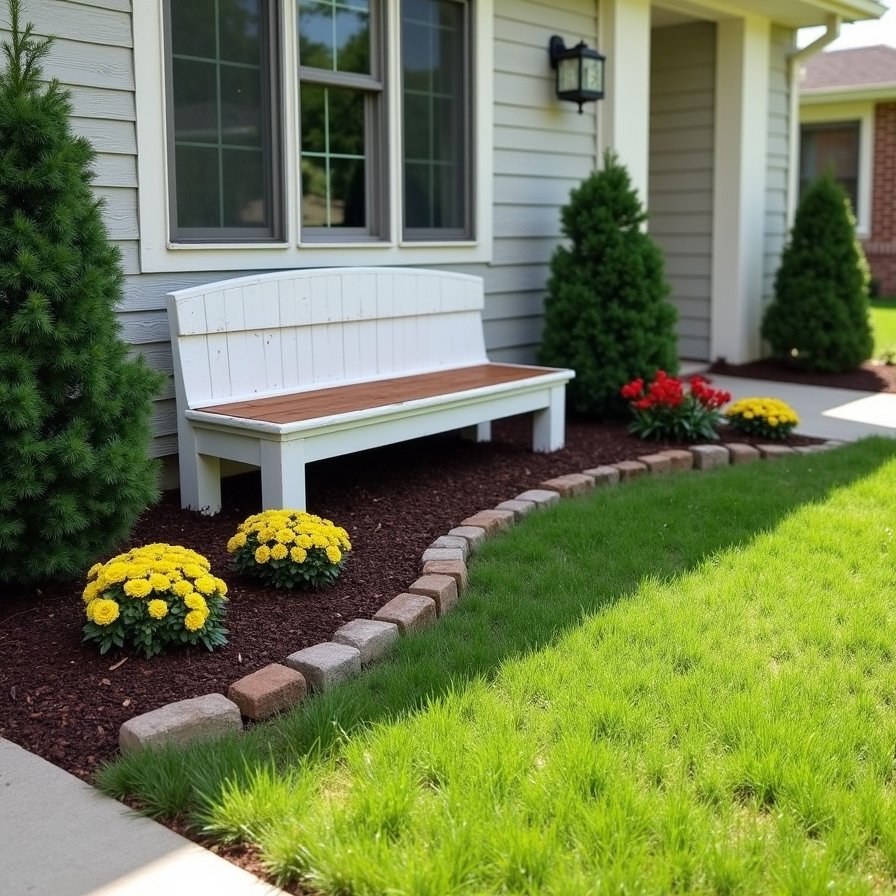
- A painted bench
- A birdbath
- A large planter
- A small tree
- A natural boulder
- A simple gate
- A piece of outdoor art
Place the feature where it can be seen from the street, patio, or main window.
Keep the area around it simple. A large planter may need only three matching plants nearby. A bench may look best beside one shrub and a mulched bed.
Look around your home before buying anything. An old chair, pot, or piece of wood may be useful after cleaning or painting.
Check resale sites and salvage stores for low-cost items.
A simple yard feels finished when your eye has one clear place to rest.
How to Pick the Best Low Maintenance Landscaping Ideas on a Budget
You may like several ideas but still have a limited budget. Start with the project that solves the biggest problem.
Use these questions to choose:
- Does it reduce mowing?
- Does it control weeds?
- Does it save water?
- Does it fix mud or poor drainage?
- Does it improve the main view of the home?
- Will it reduce repeated plant replacement?
Choose a project that solves at least two problems.
For example, a mulched native plant bed may reduce lawn size, cover bare soil, control some weeds, and lower future plant costs.
Start With These Lowest-Cost Projects
- Reuse bricks for garden edging
- Divide plants you already own
- Create a focal point from an old item
- Use secondhand containers
- Remove one small grass strip
- Add free wood chips when available
Save for These Medium-Cost Projects
- A short gravel path
- A few evergreen shrubs
- A drip irrigation kit
- Several small native perennials
- Mulch for a large planting bed
Spend More Where It Can Save Work for Years
Some projects cost more at the start but may offer long-term value. These include removing a large lawn area, fixing drainage, installing a permanent path, or adding a suitable shade tree.
Do not choose a project only because it is cheap. A poor material or badly placed plant can cost more to fix later.
5 Common Budget Landscaping Mistakes to Avoid
1. Buying Plants Without Checking Their Mature Size
Small nursery plants can become large shrubs. Check the final height and width before planting.
2. Covering the Whole Yard With Landscape Fabric
Fabric may help in certain short-term projects. It can also tear, rise through mulch, and make future planting harder.
3. Choosing the Cheapest Material Without Checking Quality
Cheap gravel, edging, or pots may fail quickly. Compare the full cost, including delivery and replacement.
4. Planting Too Many Different Types
A large plant mix may lead to different watering and pruning needs. Repeat a smaller group of suitable plants.
5. Starting Several Areas at the Same Time
Half-finished work makes the yard harder to use. Complete one section before buying materials for the next.
Frequently Asked Questions
What Is the Cheapest Low-Maintenance Landscaping?
Mulch, reused edging, divided plants, and smaller lawn areas are often low-cost starting points. The cheapest choice depends on which materials are available near you.
How Can I Landscape My Yard Without Removing All the Grass?
Widen an existing garden bed or remove grass from one difficult corner. Keep lawn where it is useful and easier to mow.
Are Rocks Better Than Mulch for Low-Maintenance Landscaping?
Both have benefits. Mulch improves the look of planting beds and breaks down over time. Rock lasts longer but may hold heat and collect dirt. Choose based on the location and plants.
Which Plants Need the Least Care?
Plants suited to your local climate, sunlight, and soil usually need less help. Ask a local nursery or extension office for native and easy-care options.
How Can I Make My Front Yard Look Better for Less Money?
Define the edges, add fresh mulch, repeat a few plants, clean the path, and create one focal point. These changes can improve curb appeal without rebuilding the full yard.
Start With One Small Area This Weekend
Low-maintenance landscaping does not mean removing every plant or covering the yard with stones. It means choosing materials and plants that solve real problems.
Reduce grass where mowing is difficult. Cover bare soil. Use plants that fit your climate. Repeat simple plant groups. Improve how you water. Finish the space with clear edges and one useful feature.
Choose one of these low maintenance landscaping ideas on a budget and apply it to a small, visible section first.
Measure the space today. Set a clear spending limit. Then complete that area before starting another project.
Small changes add up. Your yard can look better without taking over your free time.