
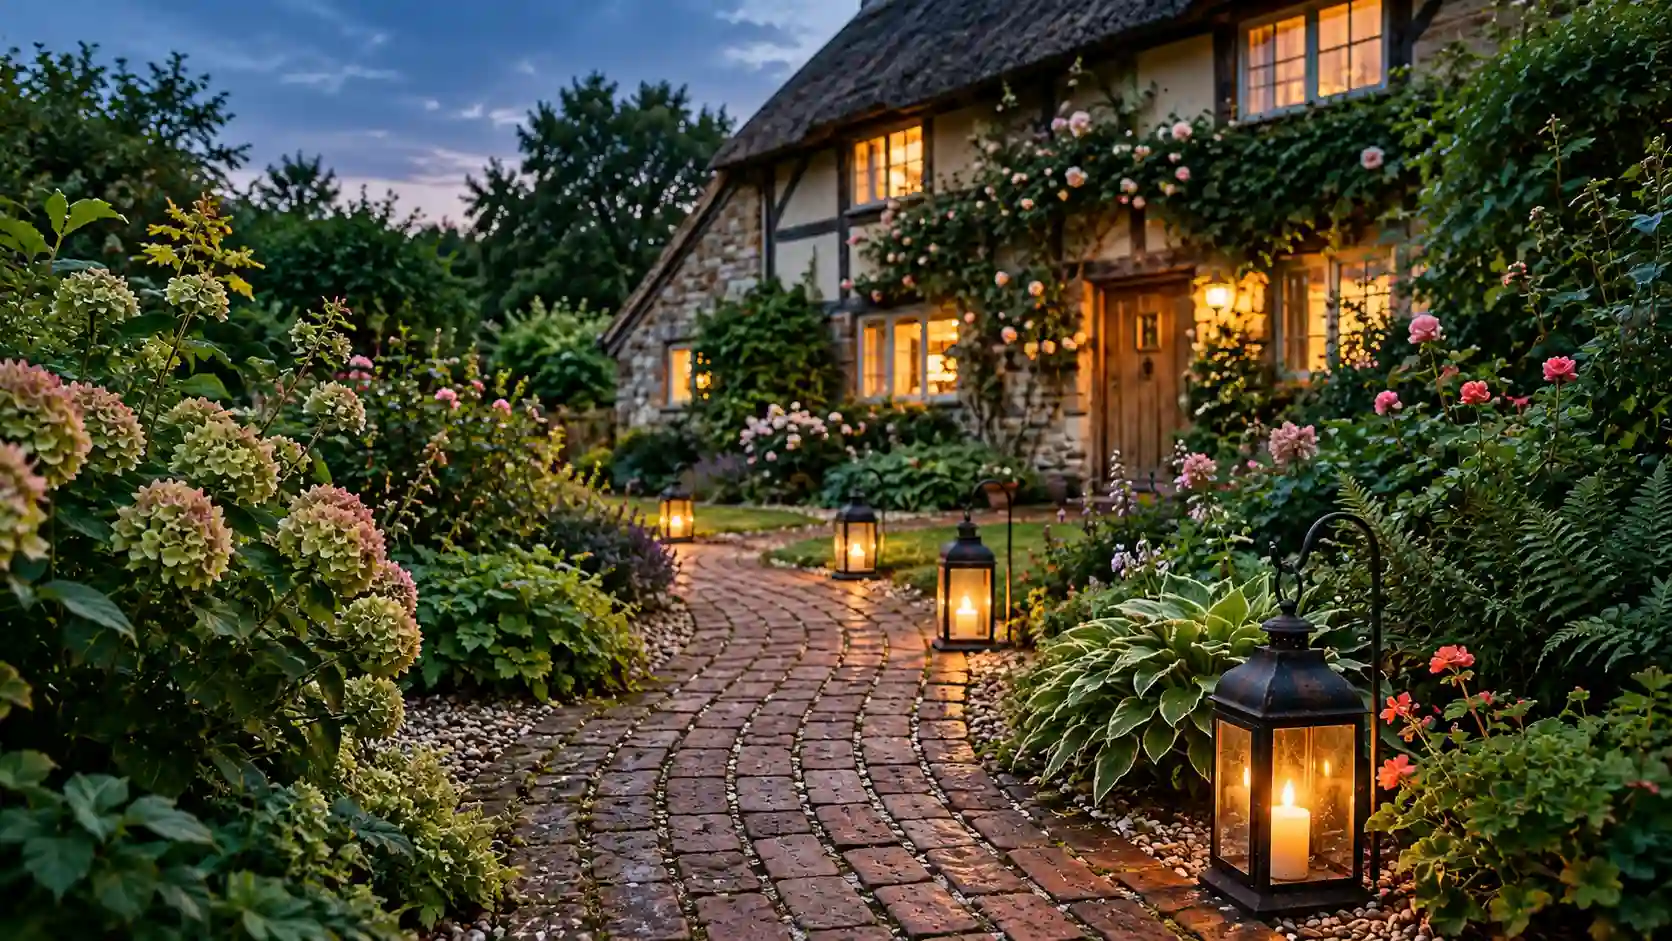
A well-lit path helps you see each step while giving your yard a warm glow. These garden path lighting ideas can help you improve safety without making the space feel too bright.
Choosing the right lights can be harder than it seems. Some fixtures shine directly into your eyes. Others leave dark gaps between steps. Solar lights may also fail when trees or buildings block the sun.
The best outdoor pathway lights fit the shape, surface, and purpose of your walkway. A front path may need steady light each night. A small garden trail may need just a few soft lights near curves and stepping stones.
Below, you will find practical walkway lighting ideas for gravel, stone, brick, concrete, and sloped paths. You will also learn how to space fixtures, choose a power source, and control glare.
How to Plan Garden Path Lighting Before Buying Fixtures
Inspect your walkway after sunset before choosing any lights. Walk in both directions and note where you have trouble seeing the ground.
Pay close attention to:
- Steps and changes in height
- Sharp curves
- Gates and entrances
- Uneven paving
- Path intersections
- Low branches or garden borders
Take a photo with your phone from each end of the path. A nighttime photo can help you spot dark areas that your eyes miss.
Next, think about the size and style of the walkway. Small fixtures often work well beside narrow paths. Wide paths may need taller lights with a broader spread.
Warm-white light usually gives a home garden a softer look than cool-white light. It also blends well with wood, brick, plants, and natural stone.
You also need to plan the power source. Solar lights need several hours of direct sunlight. Low-voltage landscape lighting for paths needs a transformer and outdoor cable. Line-voltage fixtures often require professional installation.
Check the cable route before buying anything. Look for tree roots, irrigation pipes, paving, and areas that collect water.
Your Nighttime Path Audit
Use this quick checklist:
- Can you see every step and raised edge?
- Are any lights shining into your eyes?
- Does the path have long dark sections?
- Could a fixture become a mowing hazard?
- Will growing plants cover the light?
- Can solar panels receive enough sun?
- Is there a safe route for outdoor cable?
A short plan now can save you from moving fixtures later.
17 Garden Path Lighting Ideas to Try
You do not need one lighting style across the entire yard. You can combine two or three ideas based on safety, appearance, and access to power.
1. Stagger Low Path Lights on Alternate Sides
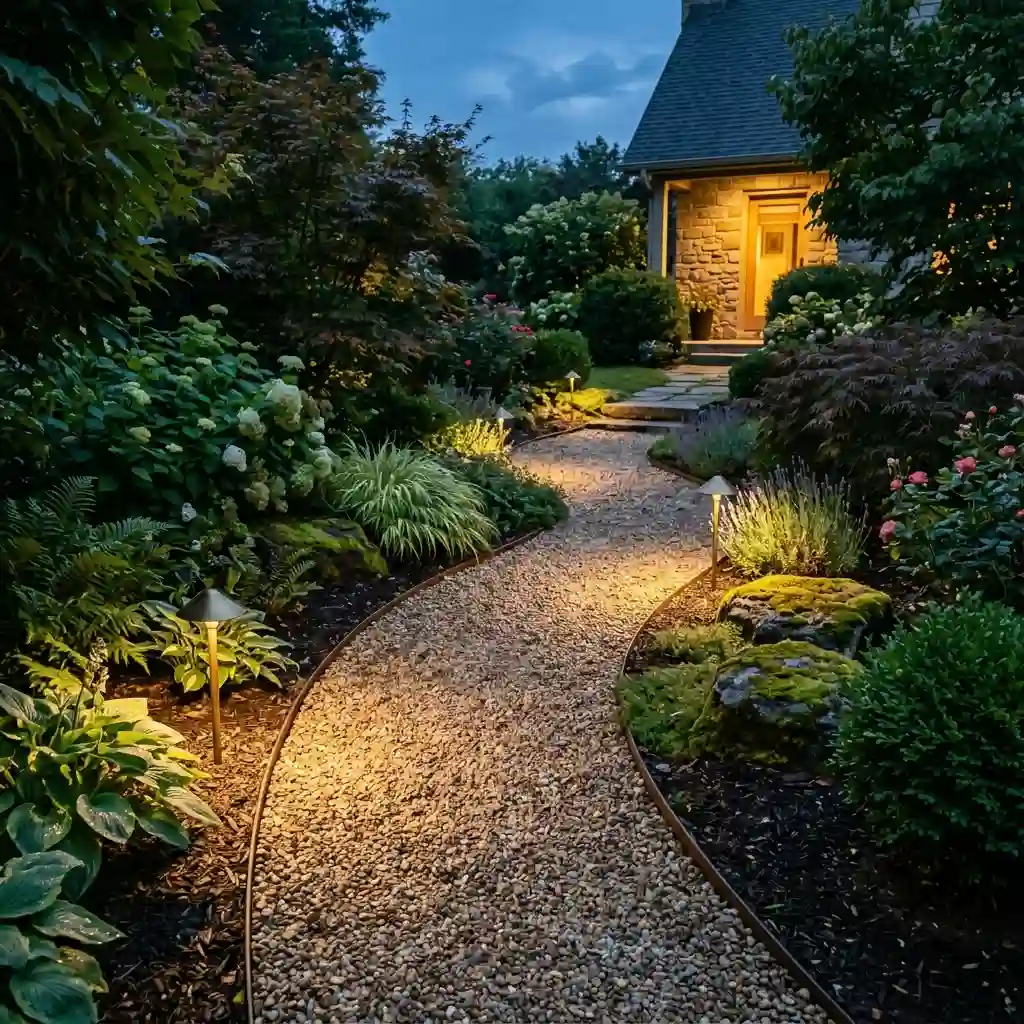
Staggering fixtures creates a softer result than placing lights in two matching rows. Each fixture can cast a pool of light across part of the walkway. The next light then covers the opposite side.
This layout avoids the stiff “runway” look that often appears on straight paths. It also requires fewer fixtures in many gardens.
Best for: Gravel, brick, and concrete paths
Power source: Solar or low voltage
Watch for: Keep stakes outside mowing, edging, and foot-traffic areas.
2. Use Downlights for a Soft Moonlight Effect

Mount shielded downlights in a tree, on a pergola, or beneath the edge of a roof. Aim each beam across the walkway and nearby plants.
This creates a natural-looking pattern of light and shadow. It also keeps the ground clear where path fixtures might get hit by tools.
Best for: Paths beneath trees or beside garden structures
Power source: Low voltage or line voltage
Watch for: Elevated electrical work may require a qualified installer. Avoid damaging trees with poor mounting methods.
3. Add Solar Lights to a Sunny Walkway
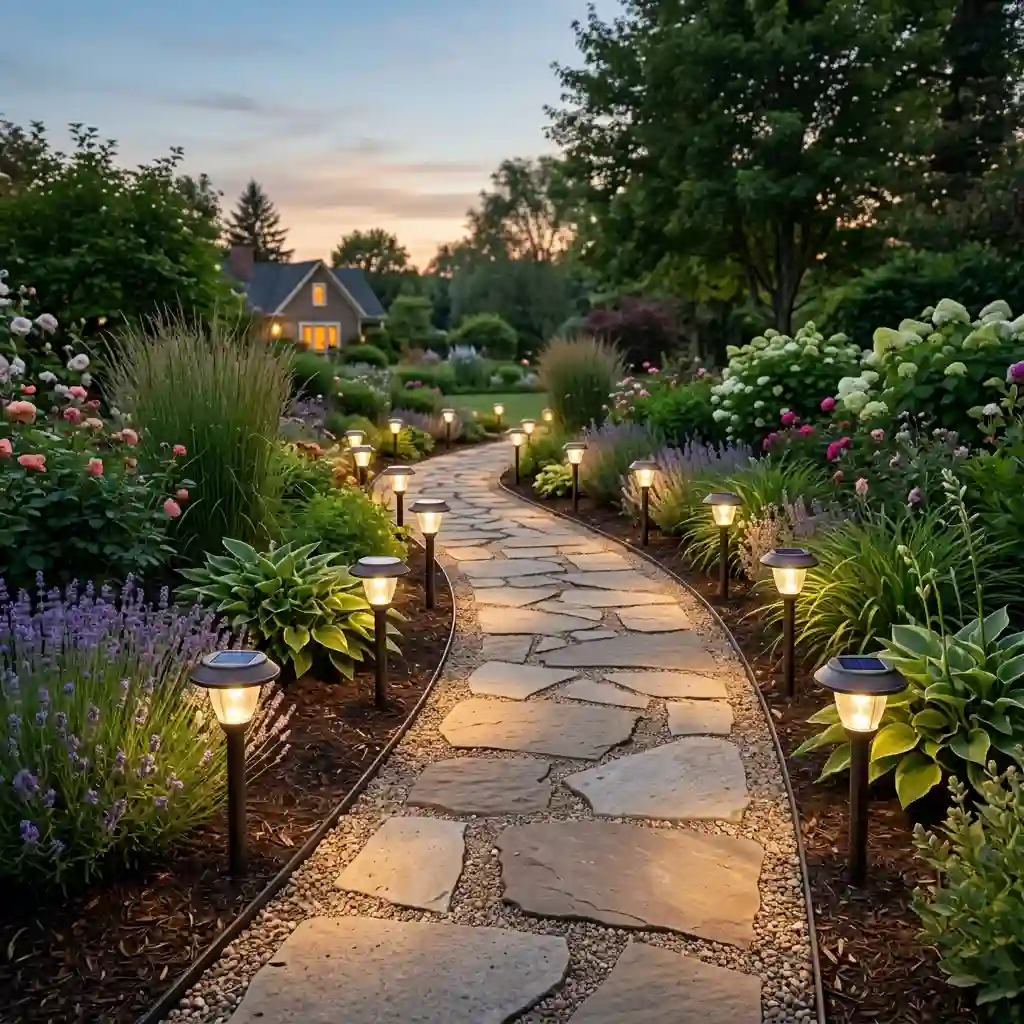
Solar path lights are easy to place because they do not need buried electrical cable. They work best beside paths that receive direct sun for much of the day.
Output can fall during cloudy weather or winter. Heavy shade from trees, fences, or buildings can also reduce charging.
Best for: Sunny paths and simple DIY projects
Power source: Built-in solar panel and battery
Watch for: Choose models with replaceable batteries when possible. Treat low-output models as accent lights instead of your main safety lights.
4. Install Low-Voltage Path Lights
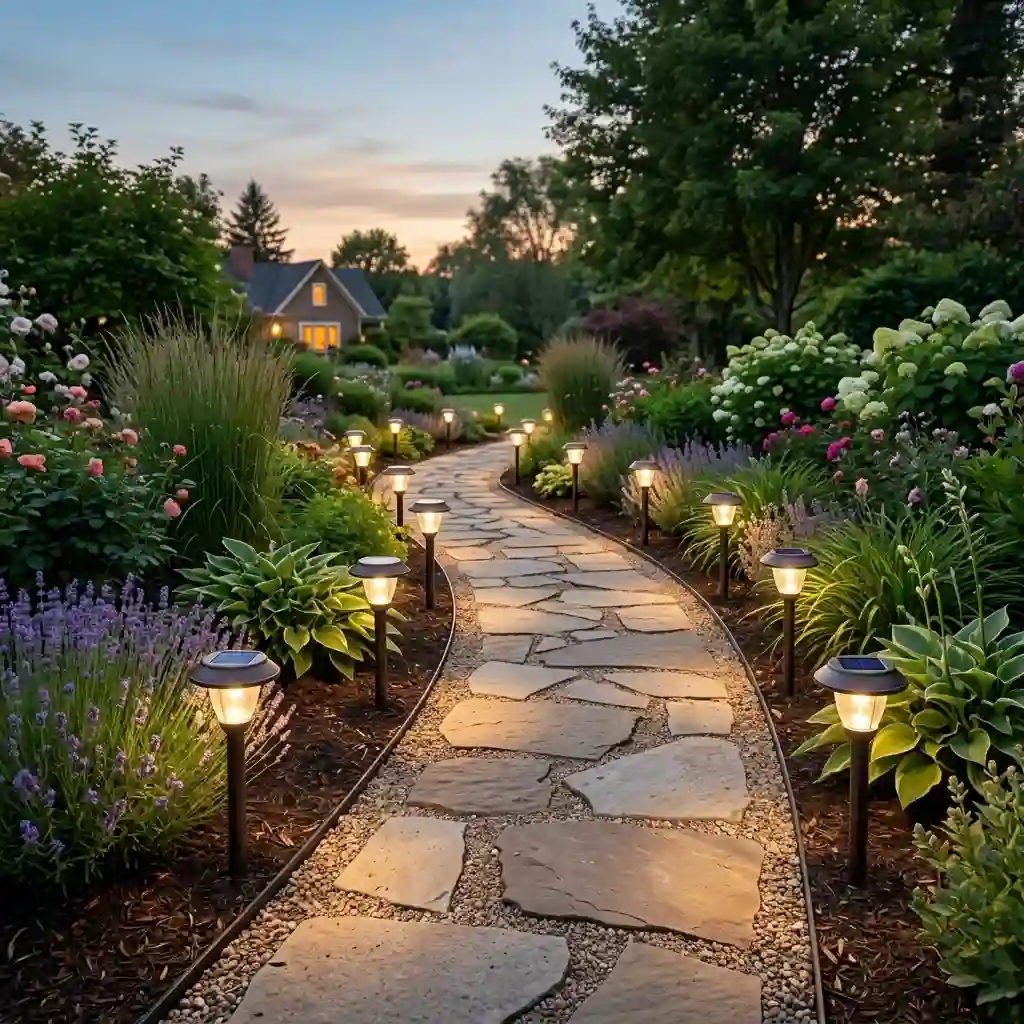
Low-voltage lighting is a dependable choice for most permanent home landscapes. A basic system includes a transformer, outdoor cable, waterproof connections, and several fixtures.
You can often add more fixtures later if the transformer has enough spare capacity. This makes low-voltage systems useful for gardens that may grow over time.
Best for: Front walks and paths used every night
Power source: Low-voltage transformer
Watch for: Use outdoor-rated parts and follow the maker’s cable and transformer limits.
5. Recess Lights into Paving
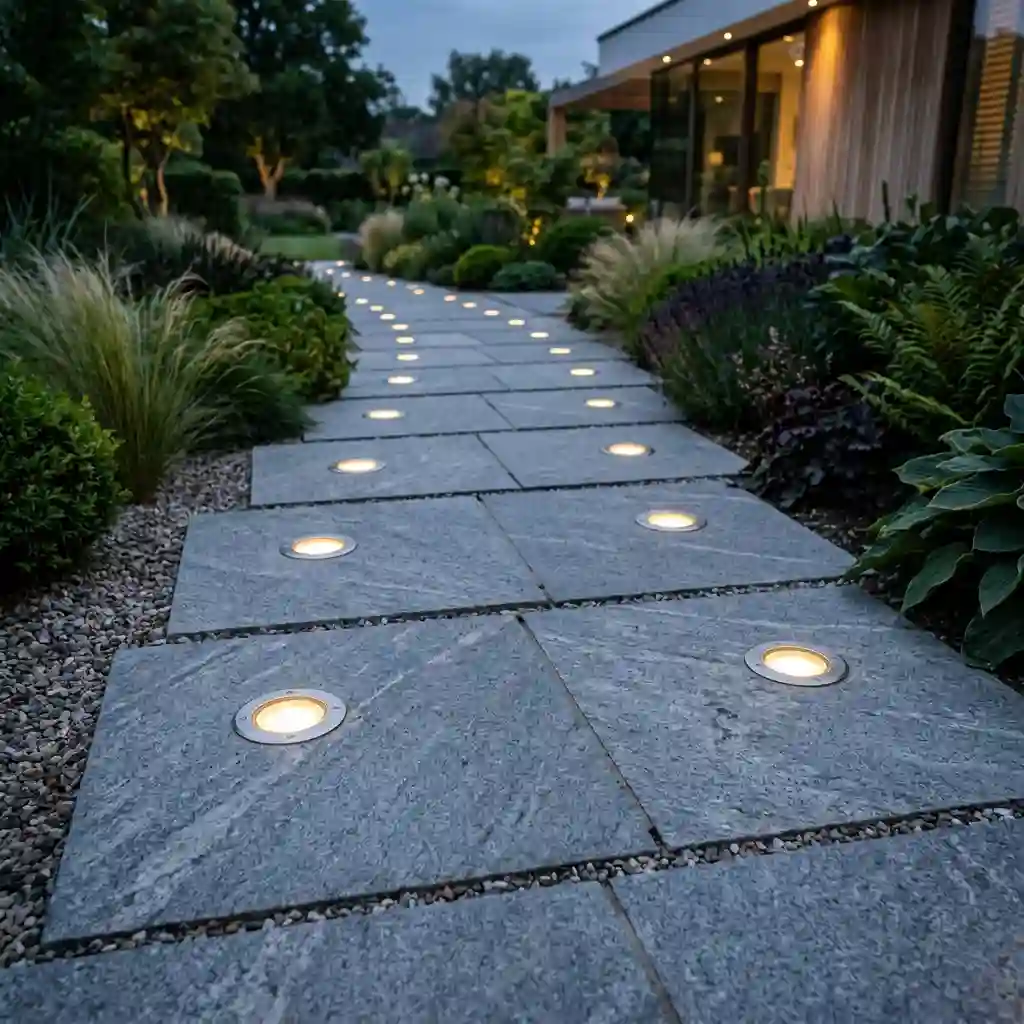
Recessed fixtures create a clean look because most of the light housing sits inside the path. They work well with concrete, stone, and large paving slabs.
Plan these lights before laying the path. Cutting finished paving can add cost and may damage the surface.
Best for: Modern path lighting and new paving projects
Power source: Low voltage or line voltage
Watch for: Use fixtures made for ground installation. Good drainage is vital because water can collect around the housing.
6. Hide LED Strips Under Step Edges
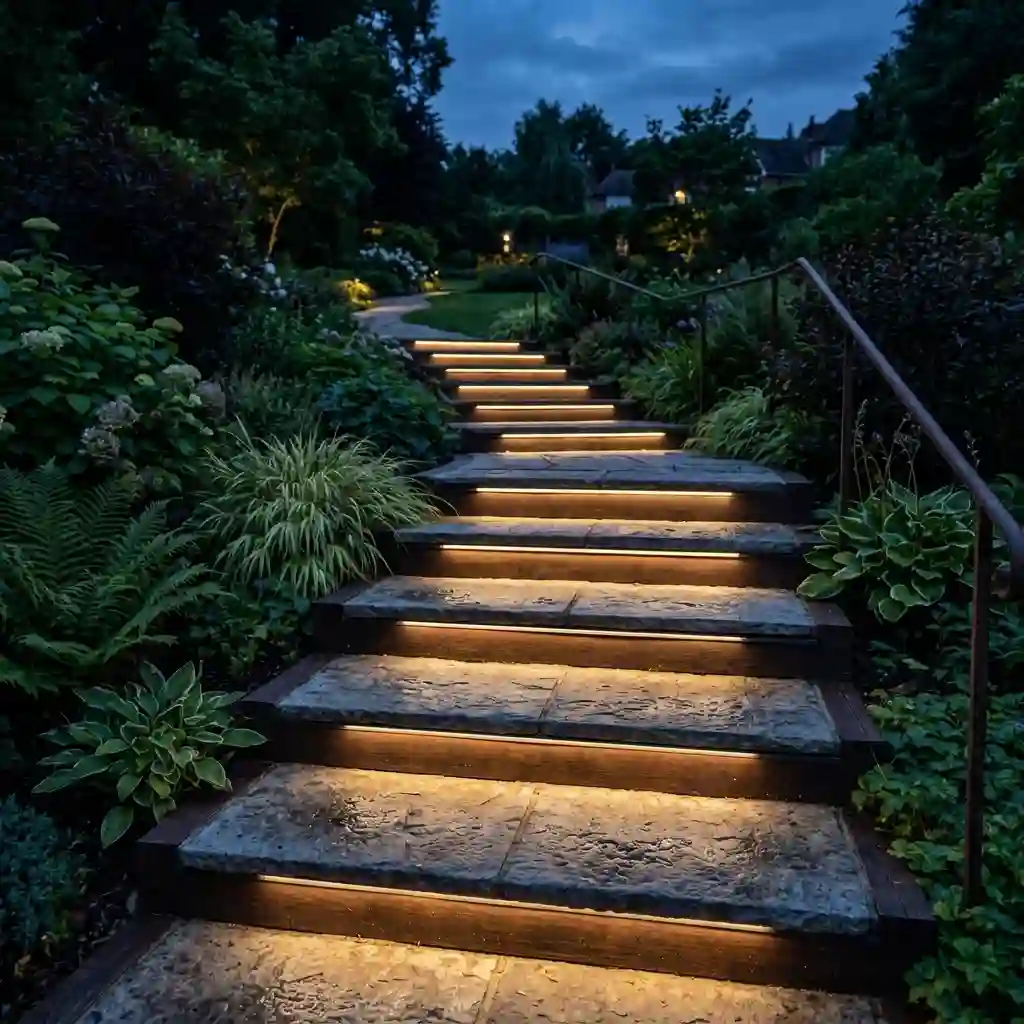
Outdoor LED strips can make garden steps easier to see. Place the strip beneath the front edge of each step so the light falls on the tread below.
A diffuser helps hide bright LED dots and creates a smoother line. A metal channel can also protect the strip from knocks and moisture.
Best for: Garden stairs, raised beds, and low retaining walls
Power source: Low voltage
Watch for: Choose outdoor-rated strips, channels, and connectors. Keep the light source hidden from eye level.
7. Light the Path from Nearby Flower Beds
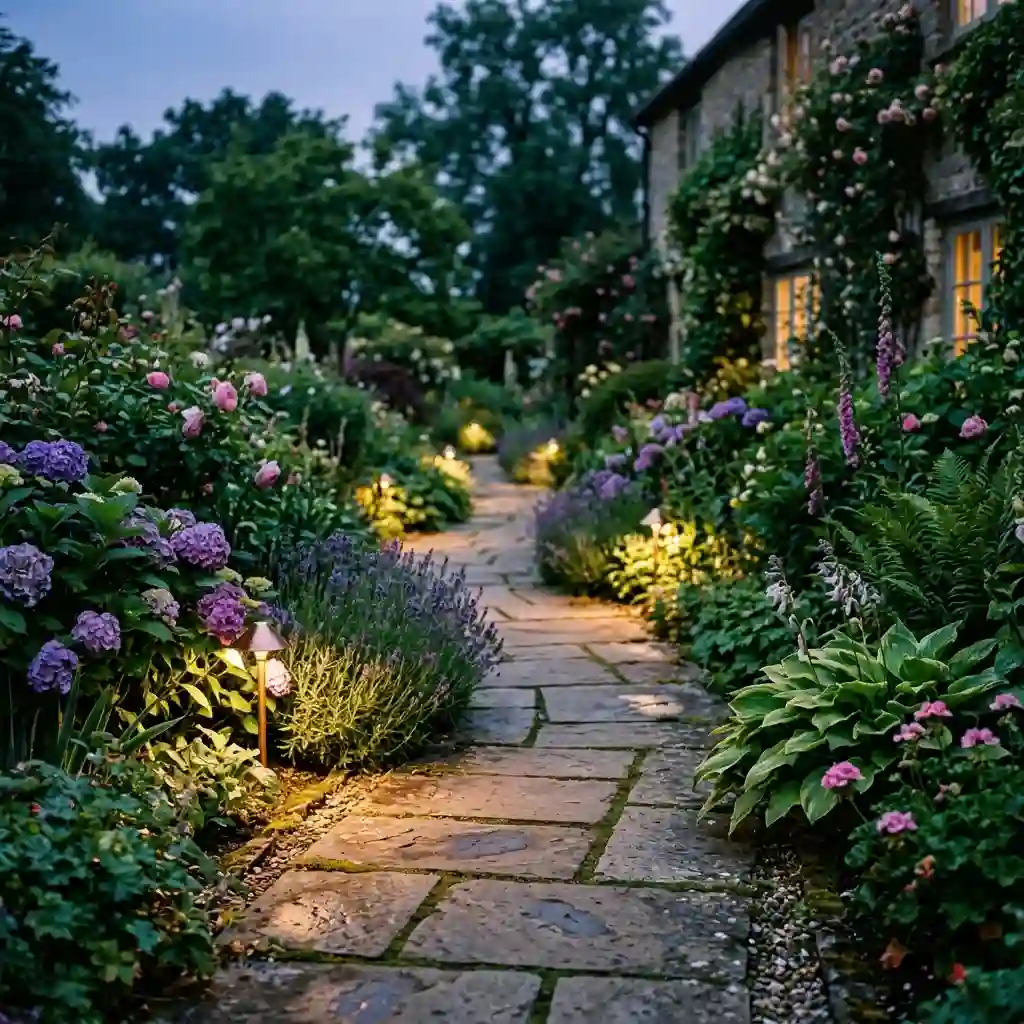
You can place lights among plants instead of lining them directly beside the path. Aim part of the beam at the walking surface and part at nearby leaves.
This method gives the garden more depth after dark. It also works well in cottage gardens where neat rows of fixtures may feel out of place.
Best for: Curved paths and full flower beds
Power source: Solar or low voltage
Watch for: Leave room for plant growth. Fast-growing leaves can cover small fixtures within one season.
8. Use Bollard Lights on Wide Paths
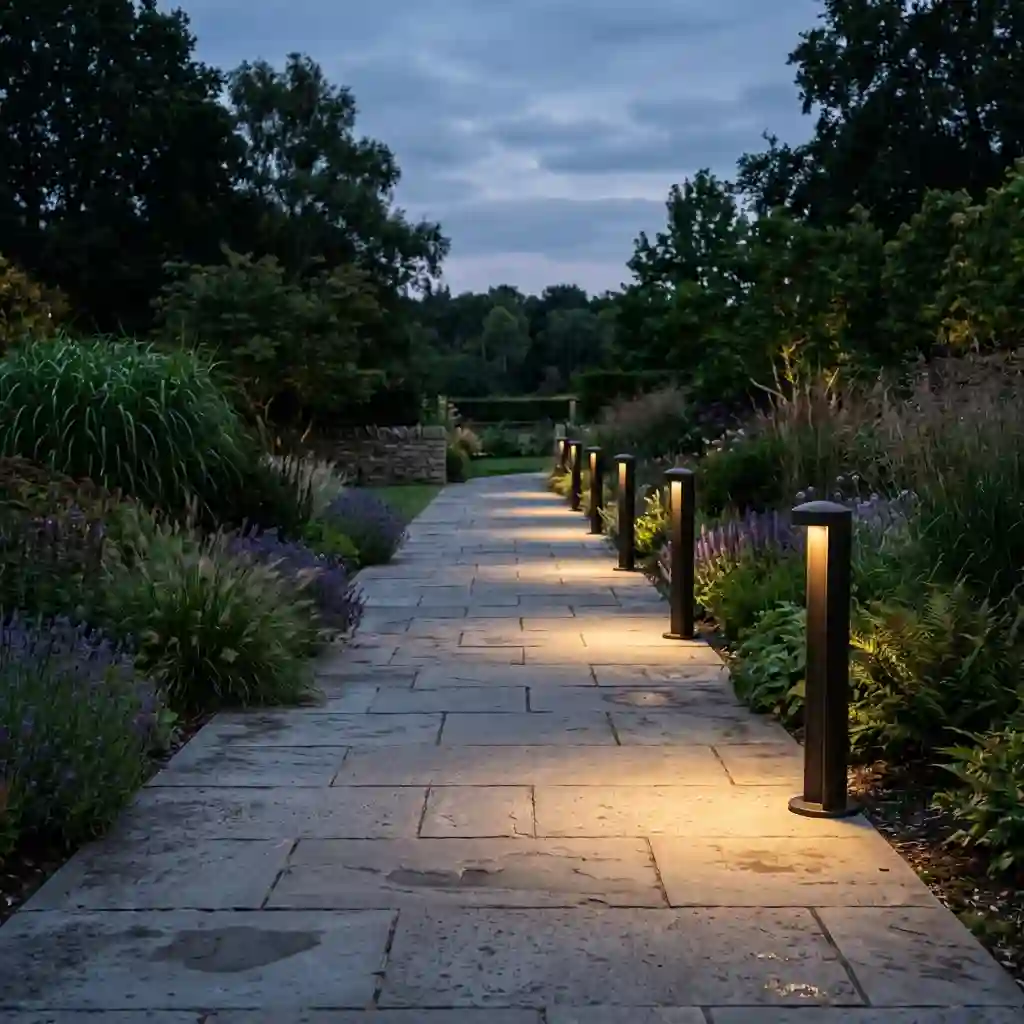
Bollards are taller than standard garden walkway lights. Their extra height helps spread light across wide paths and larger open spaces.
Choose a shielded design that sends light down instead of into people’s eyes. The fixture height should also match nearby plants and the width of the walkway.
Best for: Broad paths, long driveways, and large gardens
Power source: Low voltage or line voltage
Watch for: Large bollards can overwhelm narrow paths. Check the size in person before buying several fixtures.
9. Add Lanterns Along a Cottage-Style Path
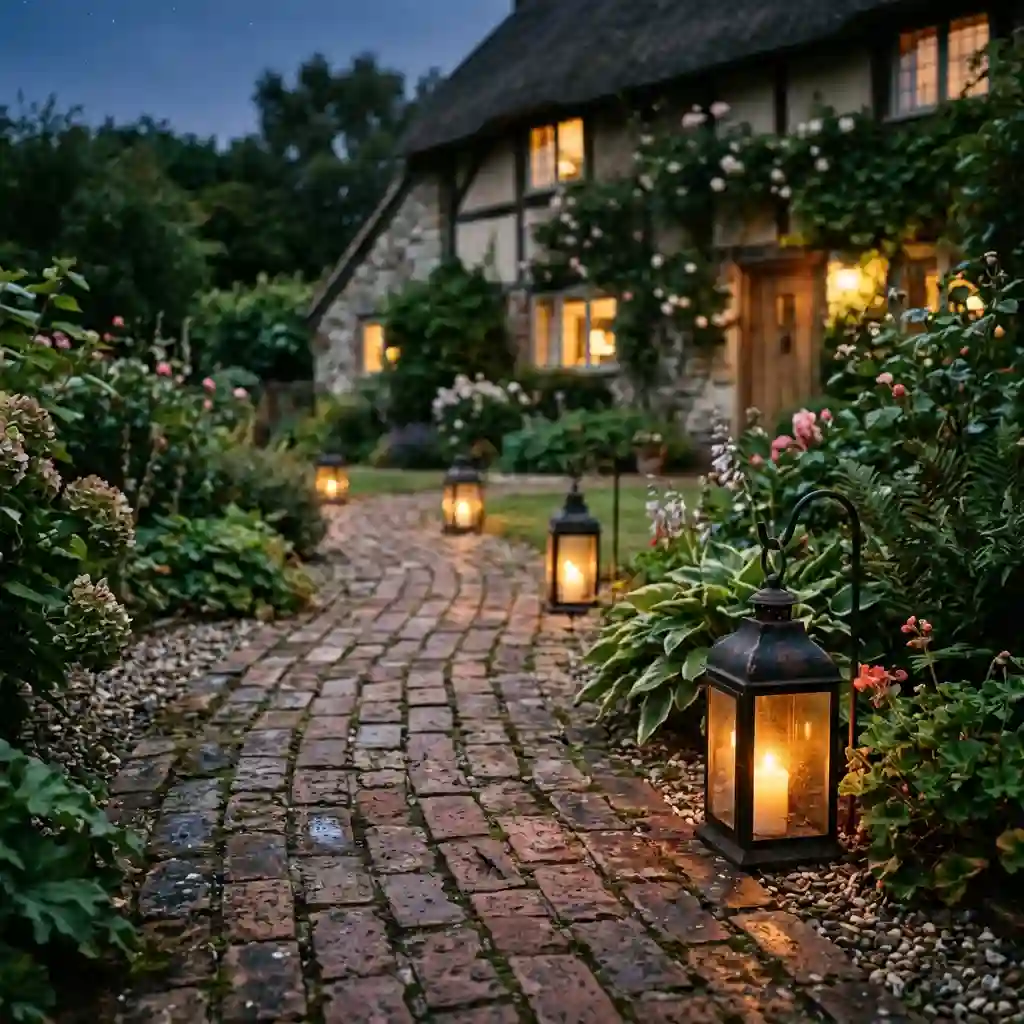
Lanterns add character to brick, gravel, and stepping-stone paths. Black metal, aged brass, and copper finishes often suit older homes and informal gardens.
Use warm lamps to keep the space soft and welcoming. You can pair permanent lanterns with portable battery lights during dinners or garden parties.
Best for: Cottage gardens and traditional homes
Power source: Solar, battery, or wired power
Watch for: Too many decorative lanterns can make a small space look crowded.
These first nine garden path lighting ideas focus on ground fixtures and decorative light. The next options use walls, rails, edges, and plants to keep more of the walking area clear.
10. Illuminate Stepping Stones from the Side
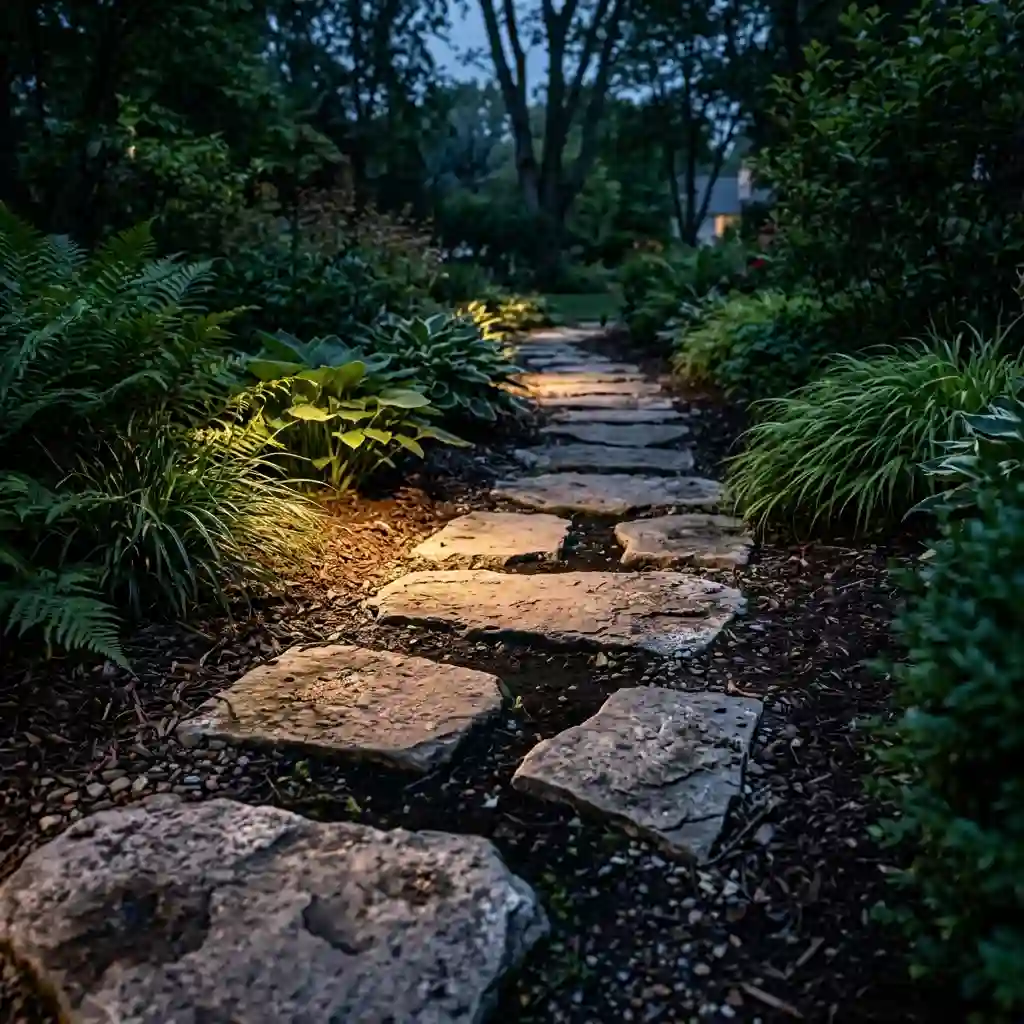
Side lighting helps you see the edge of each stone and the gaps between them. It is often more useful than flooding the whole area with bright light.
Place a low fixture just outside the normal foot area. A concealed spotlight in a nearby bed can also work.
Best for: Informal garden routes and spaced stones
Power source: Solar or low voltage
Watch for: Test the beam from both directions. A light that feels comfortable one way may cause glare on the return walk.
11. Use Motion-Activated Lights at Entry Points
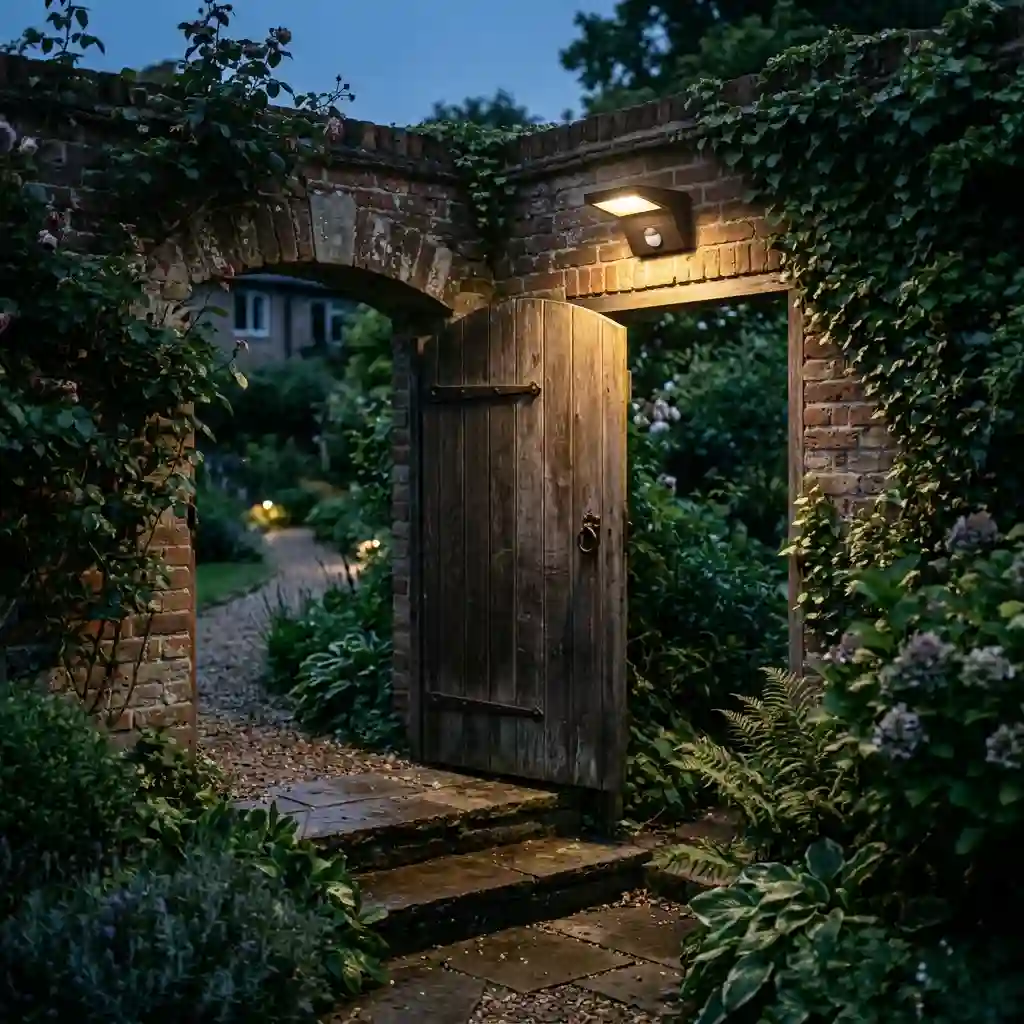
Motion lights work well at gates, stairs, and side-yard entrances. They provide extra light when someone arrives without staying at full brightness all night.
Pair them with dim background lighting so the sudden change does not feel harsh. Adjust the sensor range to stop animals, traffic, or moving branches from causing constant activation.
Best for: Gates and rarely used entrances
Power source: Solar, battery, or wired power
Watch for: Avoid high-output fixtures aimed at eye level or neighboring windows.
12. Place Lights Beneath Handrails
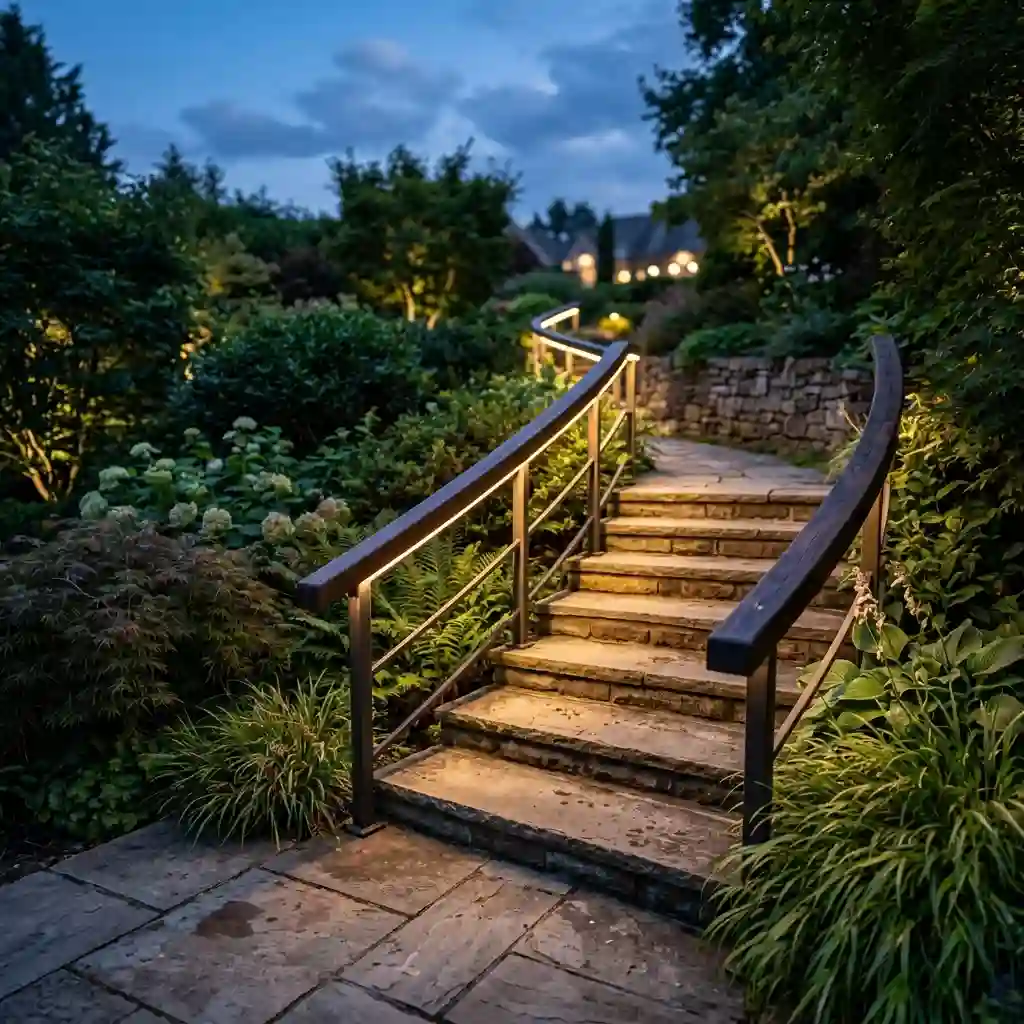
A hidden light beneath a handrail can send an even strip of light across a sloped path or garden staircase. It also keeps the light source away from your direct view.
Continuous lighting works well when steps are close together. Small downlights may be enough when the rail follows a gentle ramp.
Best for: Stairs, ramps, and sloped walkways
Power source: Low voltage
Watch for: Protect cables from water and physical damage. Use parts made for outdoor handrail installation.
13. Highlight Curves with Offset Lighting
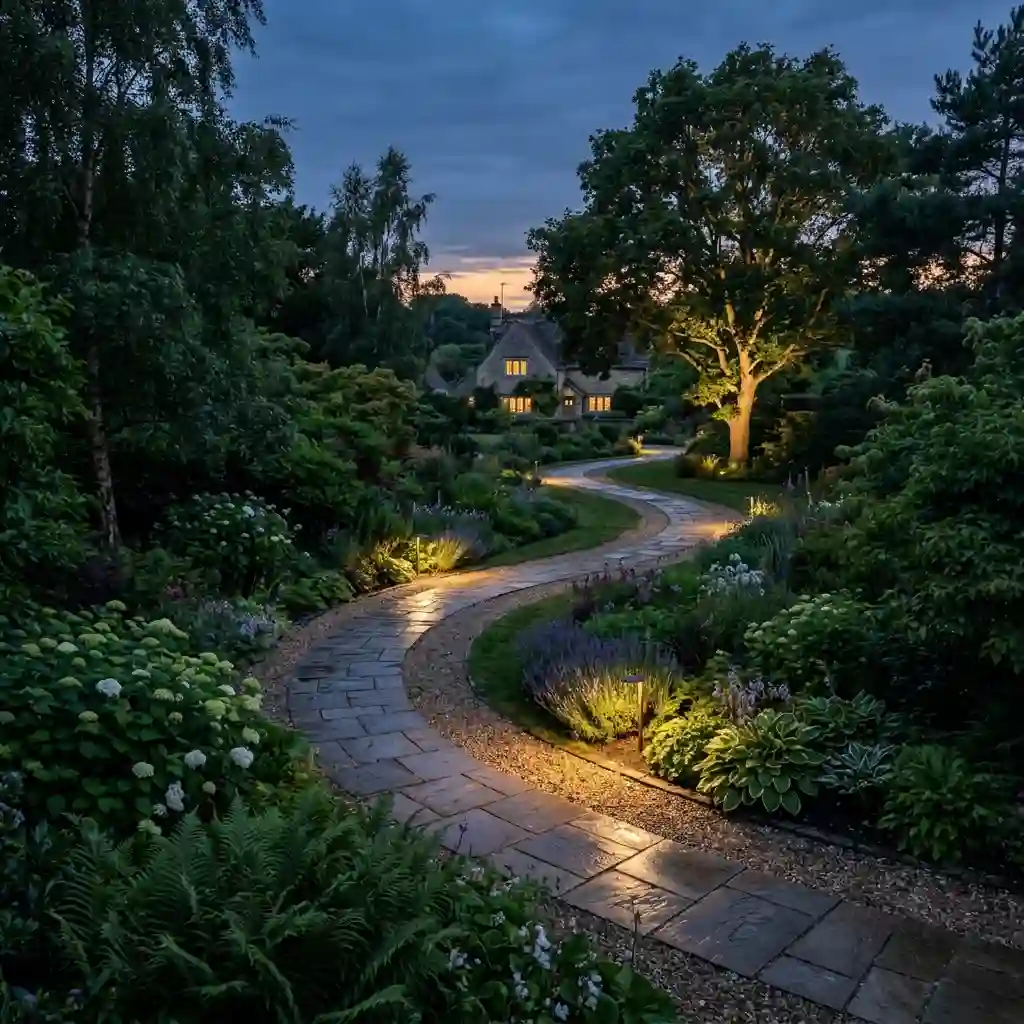
Place lights near major changes in direction so people can follow the path. You do not need a fixture at every small bend.
Use offset lighting to draw the eye from one section to the next. An illuminated tree, pot, or large plant can act as a visual marker at the end of a curve.
Best for: Winding garden paths
Power source: Solar or low voltage
Watch for: Make sure the path itself stays visible. A bright plant does not replace safe footing light.
14. Install Wall Lights Beside Narrow Paths
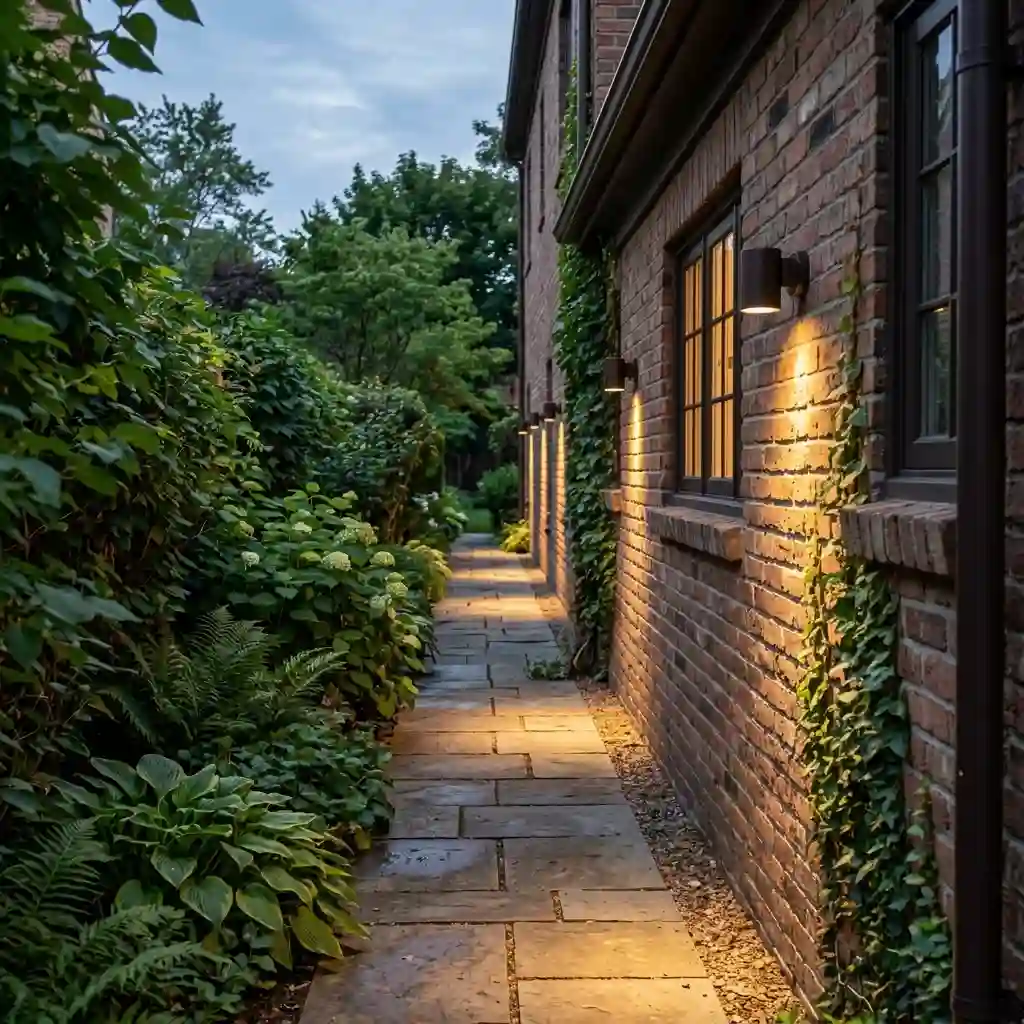
Wall-mounted downlights keep narrow side yards free from stakes and bollards. They also work well where the path runs close to the house, garage, or garden wall.
Choose fixtures that cast light down and across the walking surface. Match their finish with nearby doors, handles, or house lights.
Best for: Side yards and paths beside buildings
Power source: Low voltage or line voltage
Watch for: Space lights by their beam spread. Matching gaps between fixtures can still create uneven light on the ground.
15. Use Rope Lighting Along Gravel Edges
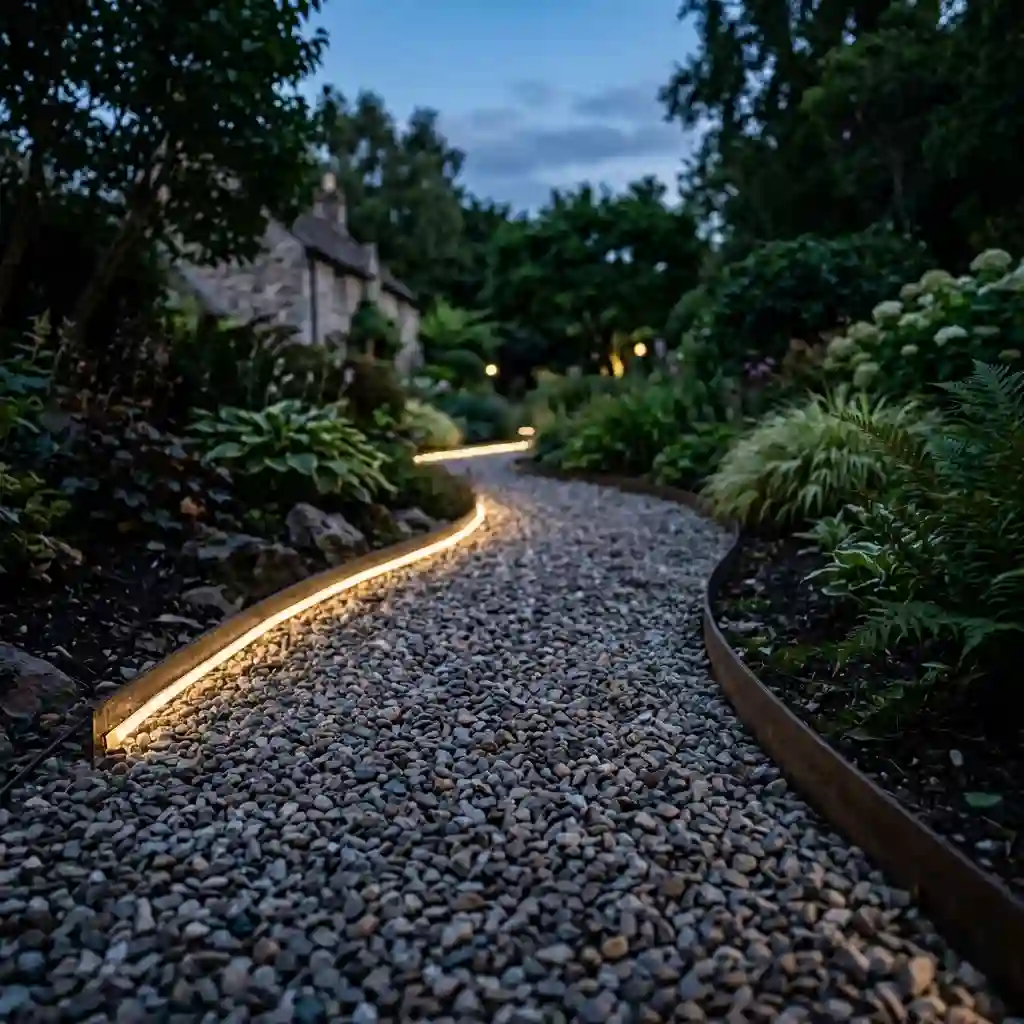
Soft rope lighting can define the edge of a loose or uneven gravel path. Place it inside a protected channel so shoes, tools, and weather cannot damage it.
Keep the output low. A bright continuous line can distract your eyes and make nearby areas harder to see.
Best for: Gravel borders and temporary displays
Power source: Low voltage or plug-in power
Watch for: Never run exposed cable across a walking area. Confirm that the complete system is rated for outdoor use.
16. Mix Path Lights with Uplighted Plants
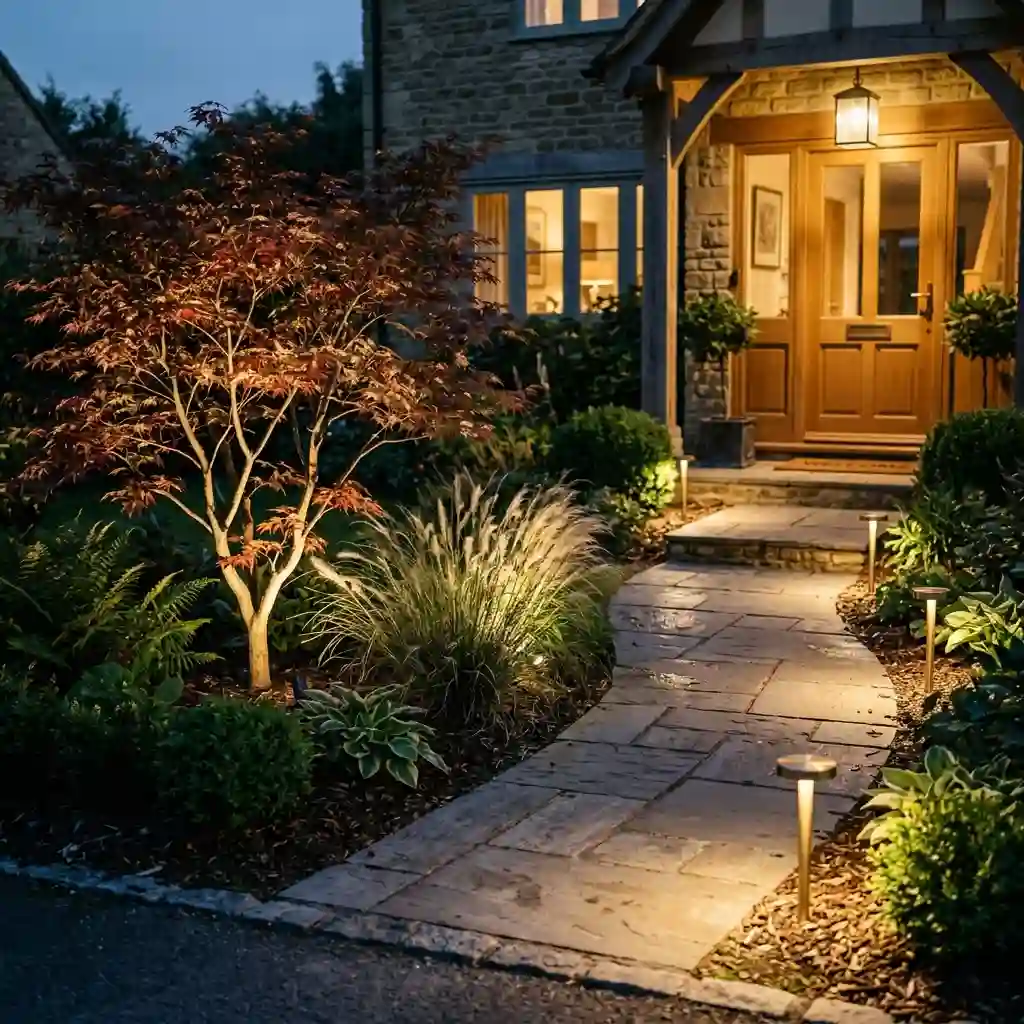
Use path lights to show where you are walking. Then add one or two uplights to feature a small tree, ornamental grass, or textured wall.
This layered approach can make a compact garden appear deeper. It also creates a more interesting view than a single row of lights.
Best for: Small gardens and entrance paths
Power source: Low voltage
Watch for: Limit the number of uplighted plants. Too many bright features will compete for attention.
17. Create a Dark-Sky-Friendly Lighting Plan
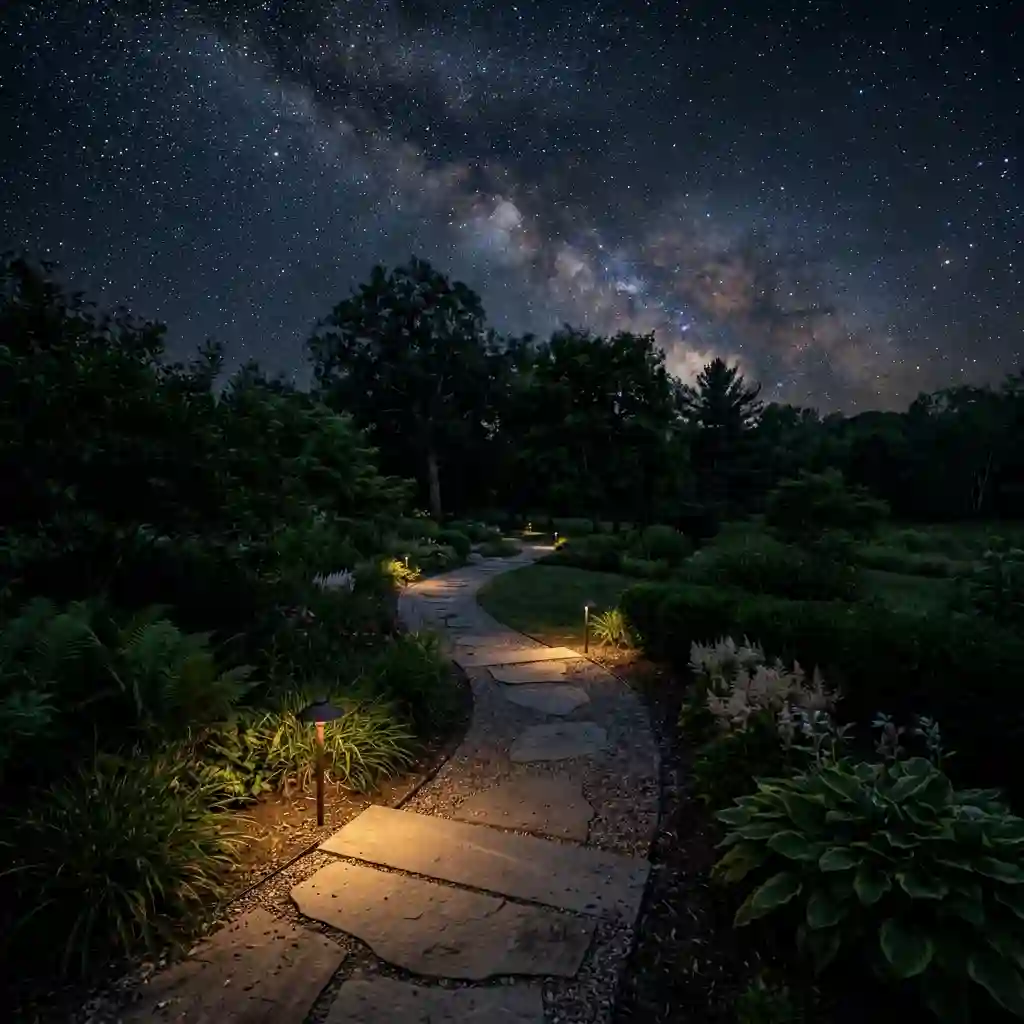
A good lighting plan uses light only where and when you need it. Point fixtures down, use shields, and choose the lowest useful brightness.
Timers and motion sensors can turn off nonessential lights late at night. Warmer light can also reduce harsh blue-white glare. These choices support better views of the sky and cause less disturbance for neighbors and wildlife.
DarkSky International recommends purposeful, downward-directed, low-level, controlled, warm-colored outdoor light.
Best for: Every home landscape
Power source: Any controlled system
Watch for: Check the path from your neighbor’s side as well as your own.
How to Space Path Lights Without Creating Glare
Poor placement can make good fixtures uncomfortable to use. Space lights by their real beam spread instead of using one fixed distance for every product.
Read the maker’s beam diagram when one is available. A wide fixture may cover a much larger area than a narrow fixture at the same height.
Place removable flags where you plan to install each light. If possible, connect two or three fixtures with temporary cable and test them after dark.
Let the outer parts of each light pool meet or overlap slightly. The center of the path does not need equal brightness from end to end. However, you should still be able to see changes in height and direction.
On a straight path, stagger lights on alternate sides. This breaks up the runway effect. On a curved path, place fixtures near the outside of major bends so the route remains clear.
Keep bulbs and exposed LEDs outside your direct view. Shields, lower mounting positions, and careful aiming can all support glare-free path lighting.
Do not rely on spacing alone: Steps, gates, loose stones, and raised edges may need extra light even when the rest of the layout uses wider gaps.
Test the final path light spacing while walking in both directions. Also view the lights from nearby windows and seating areas.
How to Choose Solar, Low-Voltage, or Wired Lights
The power source affects installation, cost, performance, and upkeep. Choose it before settling on a fixture style.
| Option | Best use | Main advantage | Main limitation |
| Solar | Sunny areas and simple projects | No buried cable | Output depends on charging |
| Low voltage | Most permanent home gardens | Flexible and easy to expand | Needs a transformer and cable |
| Line voltage | Large or demanding projects | Strong, steady power | Often needs licensed installation |
| Battery | Temporary accents | Easy to move | Needs charging or new batteries |
Choose solar path lights when the site gets dependable sun and you want a simple project. Do not expect strong results on a shaded path.
Low-voltage path lights are a good fit for most permanent residential projects. They provide steady output while giving you more placement choices.
Line voltage may suit large areas or fixtures with higher power needs. Local rules differ, so ask a licensed electrician about permits and installation.
Battery lights work best as portable accents. They are less practical for a main walkway used every night.
Use fixtures, wire, and connections rated for the conditions they will face. UL notes that outdoor luminaires may need to meet wet-location requirements, depending on where they are installed.
Good-quality white LED products may provide 30,000 to 50,000 hours of useful life, though heat, moisture, driver quality, and installation can affect the full fixture.
6 Garden Path Lighting Mistakes to Avoid
More light does not always provide better visibility. Excess brightness can produce glare and deep shadows.
- Problem: Using too many fixtures
Better choice: Begin with steps, entrances, and curves. Add more lights only where dark gaps cause a real problem. - Problem: Choosing very bright lamps
Better choice: Use moderate output and shield the source from view. - Problem: Placing lights beside a mower route
Better choice: Set fixtures inside beds or far enough from path edges to avoid damage. - Problem: Ignoring drainage
Better choice: Use wet-location or ground-rated fixtures where required. Do not place recessed lights in spots that hold water. - Problem: Mixing several colors and styles
Better choice: Choose one main finish and a consistent warm color across the path. - Problem: Forgetting plant growth
Better choice: Leave room around each fixture and trim plants before they block the beam.
Inspect the system again once nearby plants mature. Good garden light placement must work in every season, not just on installation day.
Frequently Asked Questions About Path Lighting
How far apart should garden path lights be?
There is no single spacing rule for every fixture. Beam width, mounting height, path shape, and surface color all affect coverage. Test a small section after dark and adjust the lights until their softer outer beams meet without creating harsh bright spots.
What color temperature works best for a garden path?
Warm-white light often gives home paths a comfortable appearance. It works well with plants, wood, brick, and natural stone. Look for warmer lamps and use the lowest brightness that still lets you see steps, edges, and obstacles.
Are solar path lights bright enough?
Solar walkway lights can work well on sunny sites. Their output may fall after cloudy days or in winter. They are less dependable beneath trees or beside tall buildings. Use a connected system when steady safety lighting is important.
Should path lights be placed on both sides?
You can use both sides without placing fixtures in matching pairs. A staggered layout creates more natural pools of light and often needs fewer fixtures. Wide formal walkways may suit paired lights, but narrow garden paths usually look better with offset placement.
How can I light a walkway without visible fixtures?
Use wall-mounted downlights, lights beneath handrails, recessed paving fixtures, or shielded lights hidden in flower beds. Aim each light at the walking surface. Test the position carefully so concealed fixtures do not produce glare from another direction.
Can path lights stay outside during winter?
Outdoor pathway lights can remain outside when they are rated for local weather and installed as directed. Check seals, cables, connections, and drainage before winter. Remove portable fixtures that are not built for snow, ice, standing water, or freezing temperatures.
Start with One Important Section of Your Path
The best garden path lighting ideas solve safety problems without filling your yard with bright fixtures. Start with steps, corners, gates, and uneven surfaces. Then add one or two decorative methods for warmth and depth.
Match the power source to the site. Solar works in sunny areas, while low-voltage systems offer steadier light for permanent paths. Use shielded fixtures, moderate brightness, and outdoor-rated parts.
Choose one problem area and test two fixtures there. Walk past them from both directions. If the light feels comfortable and the ground is clear, you can expand the system with confidence.