
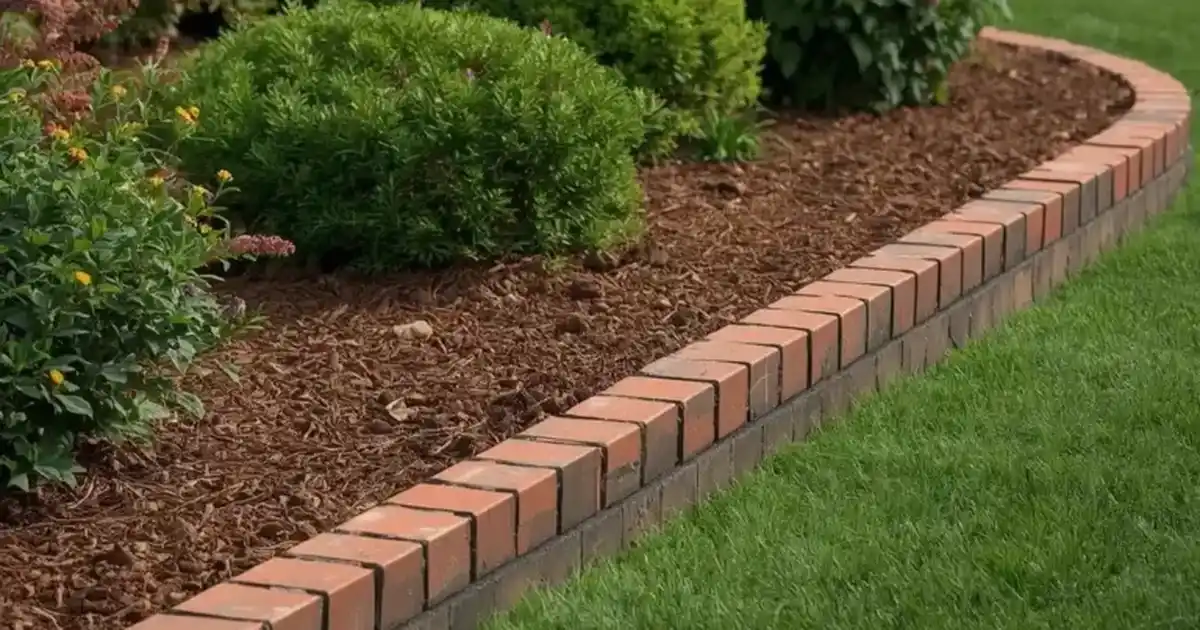
A messy lawn edge can make a well-planted yard look unfinished. Grass spreads into flower beds. Mulch washes onto the lawn. Gravel moves across paths. Before long, you spend more time fixing borders than enjoying your yard.
The right landscape edging ideas can solve these problems. Edging creates a clear line between grass, soil, mulch, gravel, and paving. It can also make mowing easier and help a garden look more organized.
Still, no single edging material works for every yard. Plastic may suit a quick weekend project. Steel can give a modern home a clean finish. Stone may work better in a cottage garden. A sloped bed may need strong blocks instead of a thin border.
This guide covers 17 garden edging ideas for different budgets, styles, and yard problems. You will learn where each option works best, what it may cost, how hard it is to install, and what drawbacks to expect.
Good options include steel, brick, stone, timber, concrete, rubber, gravel, plants, and no-dig plastic. Your final choice should fit your yard, budget, climate, and free time.
How to Choose the Right Landscape Edging for Your Yard
Before choosing a material, decide what the border needs to do.
Do you need to stop grass from growing into a flower bed? Are you trying to keep gravel off a path? Does the border need to hold back soil on a slope? Your answer will help you rule out materials that are too weak or hard to maintain.
Next, look at the shape of the area. Straight beds work well with bricks, timber, steel, and concrete. Flexible materials are better for circles, narrow turns, and flowing curves.
You should also think about your home’s style. Black steel and smooth concrete suit many modern homes. Brick works well around traditional houses. Stone, timber, and plants give a yard a softer look.
Cost matters, but the cheapest choice is not always the best long-term option. A trench edge costs almost nothing, but you may need to cut it again several times each year. Steel costs more at first, yet it often needs less care.
Use these quick tips to narrow your choice:
- Lowest-cost option: Spade-cut trench edge
- Best for curves: Flexible composite edging
- Best modern finish: Black steel
- Best natural finish: Stone
- Best for easier mowing: Brick or paver strip
- Best for a slope: Retaining wall blocks
- Best for a renter: No-dig plastic edging
- Best for a wet area: Dry creek border
Once you know the purpose, shape, style, and budget, choosing from these landscape edging ideas becomes much easier.
5 Budget-Friendly Garden Edging Ideas
A small budget does not mean you have to accept rough garden borders. Simple materials can look neat when you measure carefully and prepare the ground.
1. Cut a Simple Trench Edge
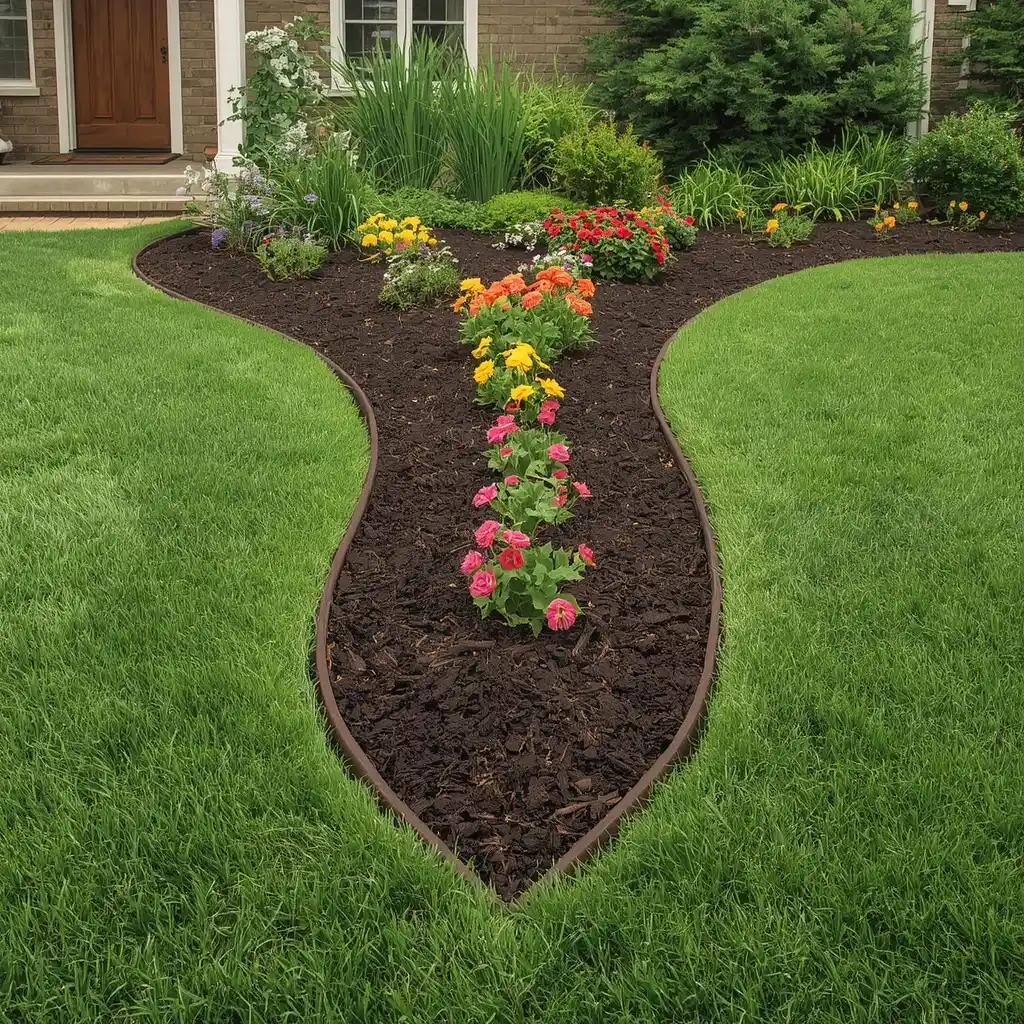
A spade-cut trench is one of the cheapest flower bed edging options. You do not need to buy a border. You only need a sharp spade or half-moon edging tool.
Cut a narrow V-shaped trench between the lawn and planting bed. The open space creates a clear break that slows the spread of grass roots. It works well around curved beds because you can shape the line by hand.
This option looks natural in cottage gardens and relaxed yards. It also keeps the focus on the plants.
The main drawback is upkeep. Rain, roots, and loose soil will soften the line over time. You may need to cut the edge again during the growing season.
Best for: Small budgets, curved beds, and natural gardens
DIY level: Easy
Main drawback: Needs regular recutting
2. Install No-Dig Plastic Edging
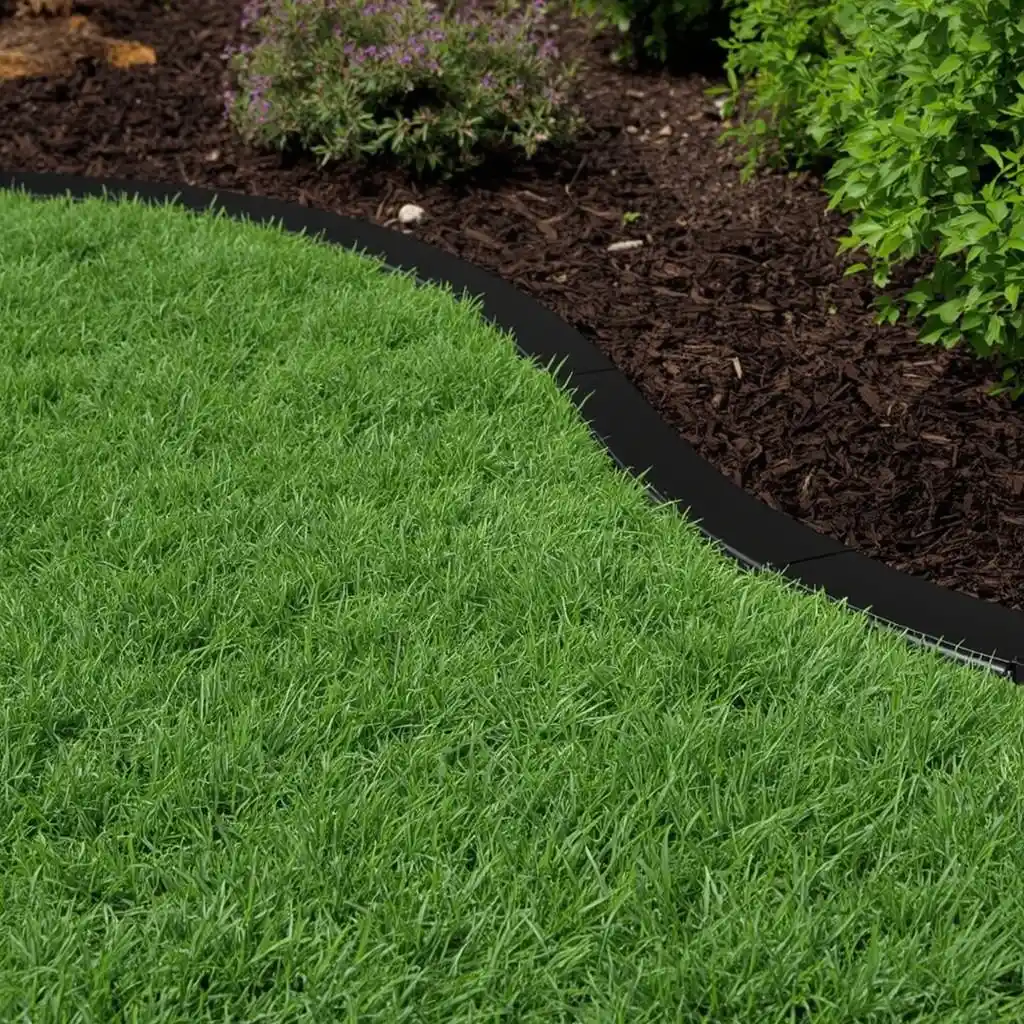
No-dig plastic edging is a good choice when you want a quick border without digging a deep trench. Most products sit on the soil and use long spikes to stay in place.
This type of edging can separate mulch from grass or create a border around a small front-yard bed. It is also easy to remove, which makes it useful for renters.
Choose a thick, UV-resistant product. Thin plastic can bend, fade, or crack after long sun exposure. It may also lift if the spikes are spaced too far apart.
Before installation, remove grass and roots from the border line. Lay the edging flat and use enough spikes around curves. A smooth base will help prevent bumps.
Best for: Renters, beginners, and fast projects
DIY level: Easy
Main drawback: Cheap products may lift or warp
3. Reuse Old Bricks as a Garden Border
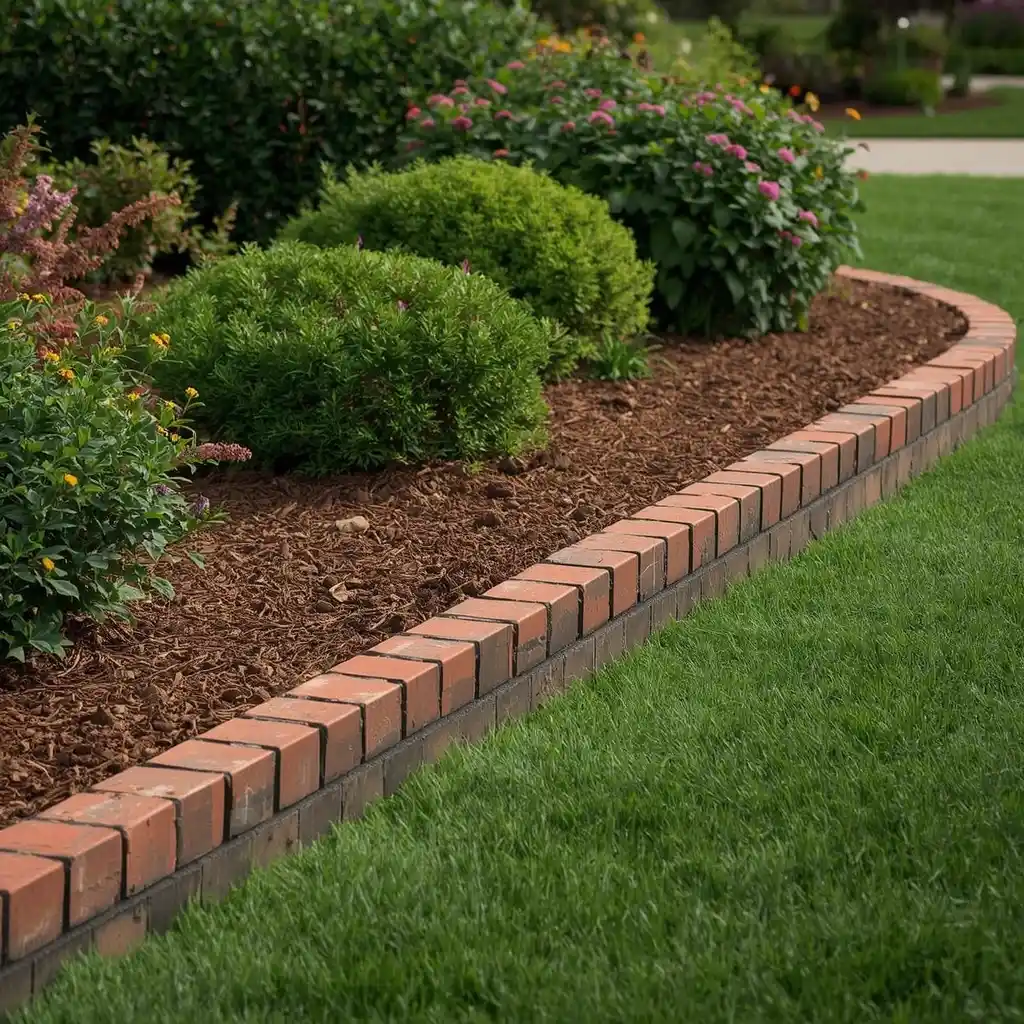
Old bricks can create a warm and useful border without a high material cost. You may already have extra bricks from another project. You can also check local reuse shops or building supply yards.
Bricks can be laid flat, placed upright, or set at an angle. A flat row works well beside a lawn because one mower wheel can move across it.
Prepare the base before placing the bricks. Remove grass, level the soil, and add a thin layer of compacted sand or crushed stone. This helps stop the bricks from sinking or leaning.
Check reclaimed bricks for cracks and crumbling edges. Bricks made for indoor use may break down faster outside, especially in cold areas.
Best for: Traditional homes and cottage gardens
DIY level: Moderate
Main drawback: Poor base work can cause sinking
4. Add a Narrow Gravel Trench
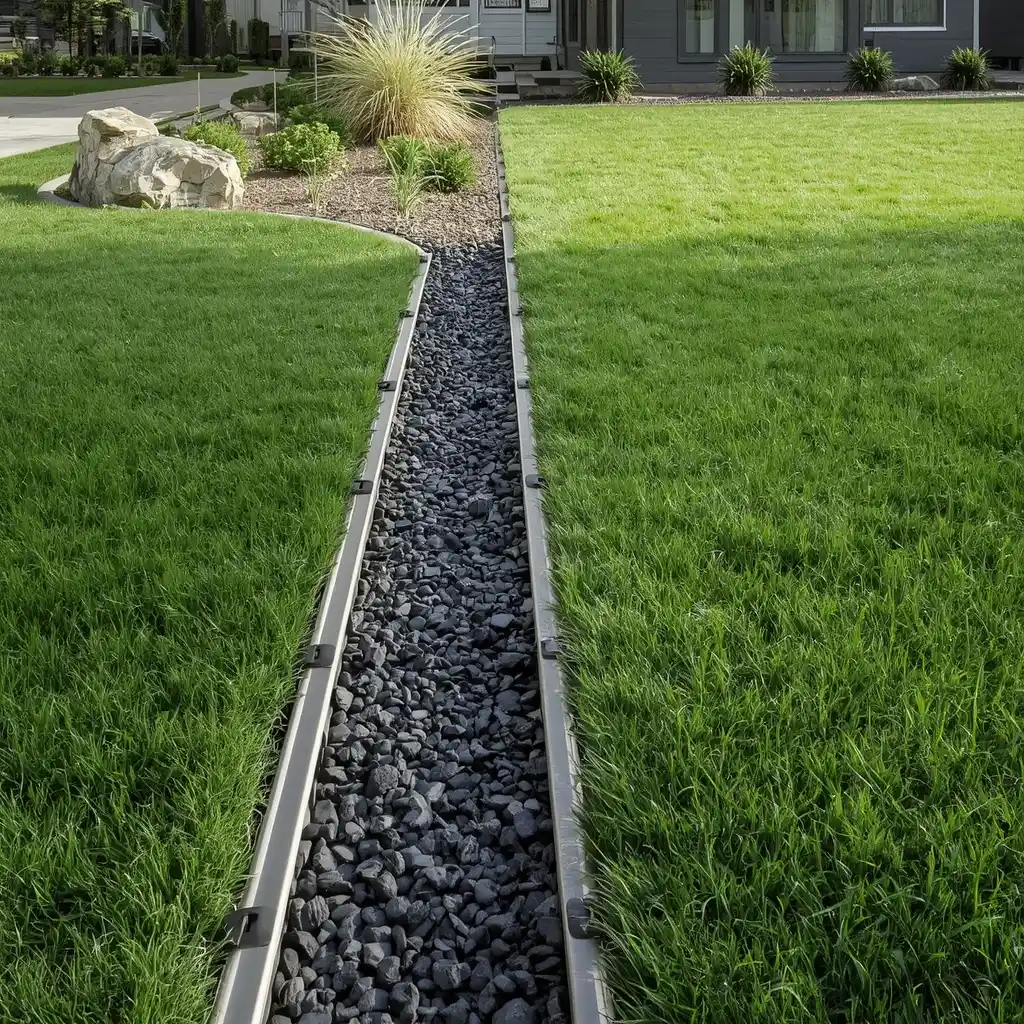
A narrow gravel border can separate a lawn from a flower bed, walkway, or patio. It also adds texture without creating a tall edge.
Start by digging a shallow strip about 4 to 6 inches wide. Remove all grass and roots. Add a firm base, then spread decorative gravel on top.
Use stone that matches nearby paths or walls. Pale gravel gives a yard a clean look. Dark gravel can create a strong line around green plants.
Gravel may help with light surface water, but it is not a full drainage system. You may also need a hidden metal or plastic restraint to stop small stones from moving into the grass.
Best for: Dry gardens, pathways, and modern yards
DIY level: Easy to moderate
Main drawback: Loose gravel can spread
5. Use Recycled Rubber Edging
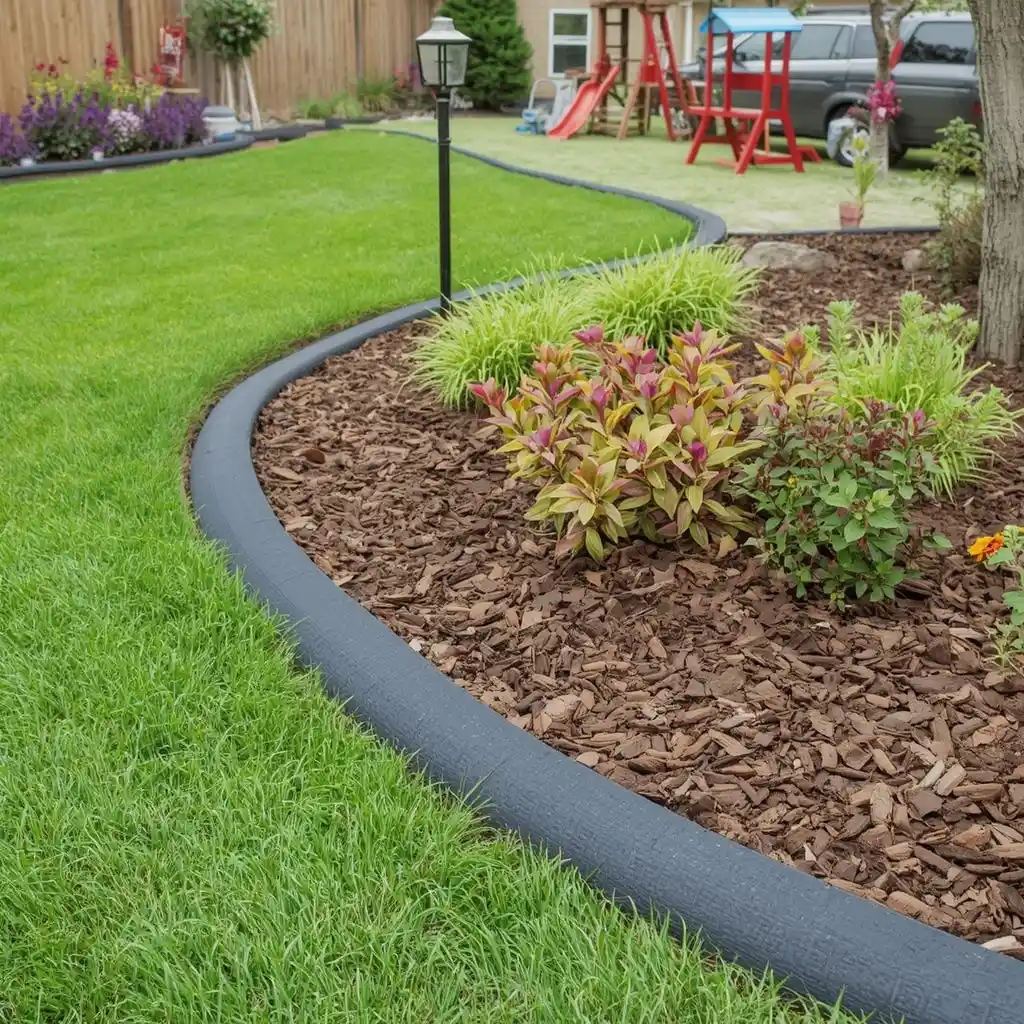
Rubber landscape edging is soft, flexible, and simple to install. It often comes in strips, rolls, or molded sections that look like stone or brick.
The material bends around gentle curves. It can work well near play areas because it has fewer hard edges than stone or metal.
Rubber is also useful when you want a quick lawn border without heavy digging. Some products use long spikes, while others sit in a shallow trench.
The look is not right for every yard. Molded rubber can seem less natural beside real stone or brick. Dark products may also become hot in direct sun.
Check the product warranty and installation guide before buying.
Best for: Family yards and curved beds
DIY level: Easy
Main drawback: May look less natural than other materials
4 Modern Landscape Border Ideas for Clean Lines
Modern landscape border ideas often use thin lines, simple shapes, and neutral colors. These materials work best when the border is level and carefully installed.
6. Define Garden Beds With Black Steel Edging
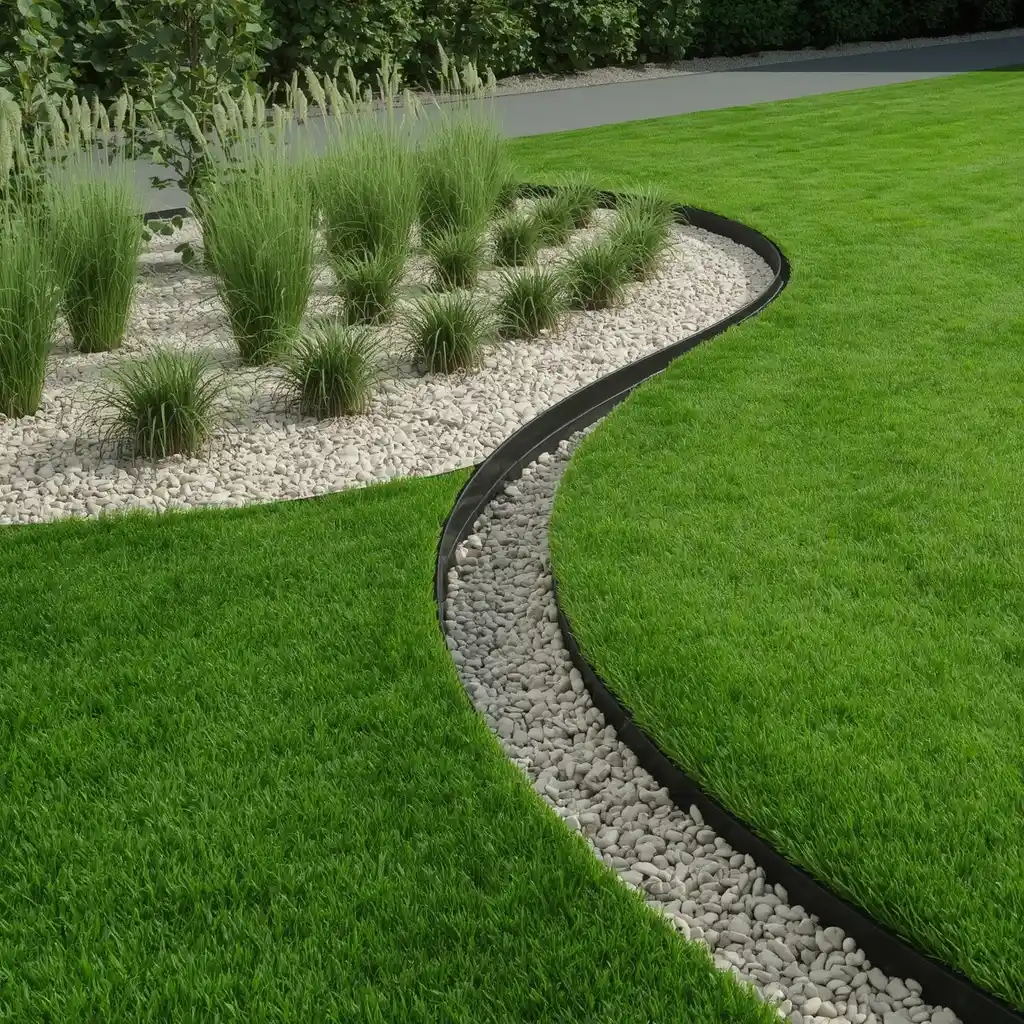
Black steel edging creates a thin, crisp line around lawns, gravel areas, and planting beds. Much of the material sits below the soil, so the border does not compete with the plants.
Steel works well along straight lines and wide curves. It can separate pale gravel from dark mulch or frame rows of ornamental grass.
Use enough stakes to keep the edge smooth. Wide spaces between stakes may cause the steel to bend or form waves.
Keep the top close to ground level. An edge that sits too high can catch mower blades or create a sharp trip point.
Wear gloves during installation. Cut ends can be sharp.
Best for: Modern homes and clean lawn lines
DIY level: Moderate
Main drawback: Costs more than plastic edging
7. Add Warm Color With Corten Steel
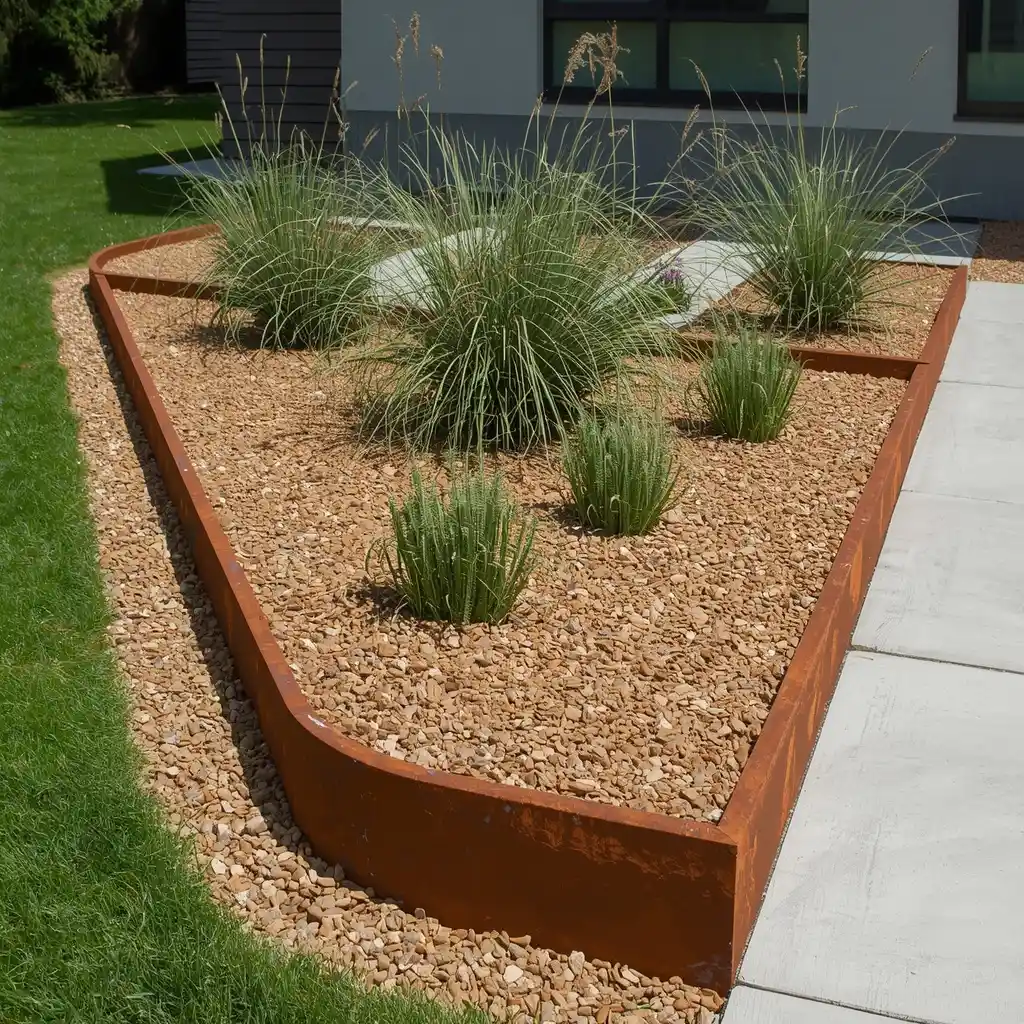
Corten steel has a rust-colored surface that changes as it is exposed to weather. The warm finish looks good beside tan gravel, concrete, green grasses, and drought-tolerant plants.
It works well in modern, desert, and industrial-style yards. You can use it for straight beds, curves, raised planters, and pathway borders.
The weathered surface is part of the design. However, the early rusting stage may leave marks on pale concrete or stone. Keep new Corten steel away from surfaces that stain easily.
Make sure the product is made for outdoor landscaping. Regular untreated steel may rust in a less controlled way and weaken faster.
Best for: Modern and desert-style yards
DIY level: Moderate
Main drawback: Early runoff may stain nearby paving
8. Choose Aluminum for Curves and Wet Climates
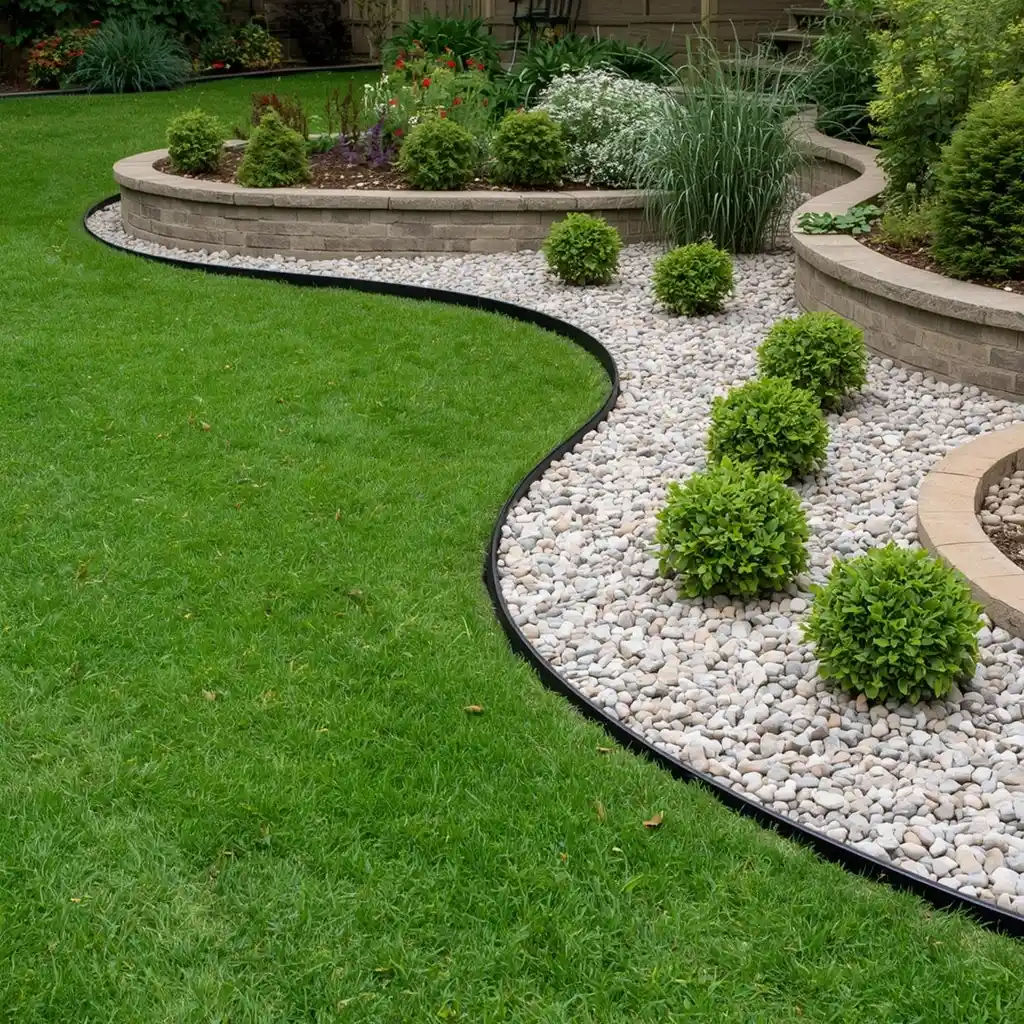
Aluminum garden edging gives you a clean metal finish without the weight of steel. It does not rust, which makes it useful in humid areas or yards with regular watering.
The material bends around curves and can follow a winding path. Painted black aluminum can look similar to steel, while a natural finish feels lighter.
Thicker edging usually stays straighter and handles bumps better. Very thin aluminum may bend when hit by a mower wheel or garden tool.
Use the recommended number of stakes. Flexible does not mean loose. A strong installation will help the border keep its shape.
Best for: Curved beds and humid climates
DIY level: Moderate
Main drawback: Thin products can bend
9. Install Poured Concrete Curbing
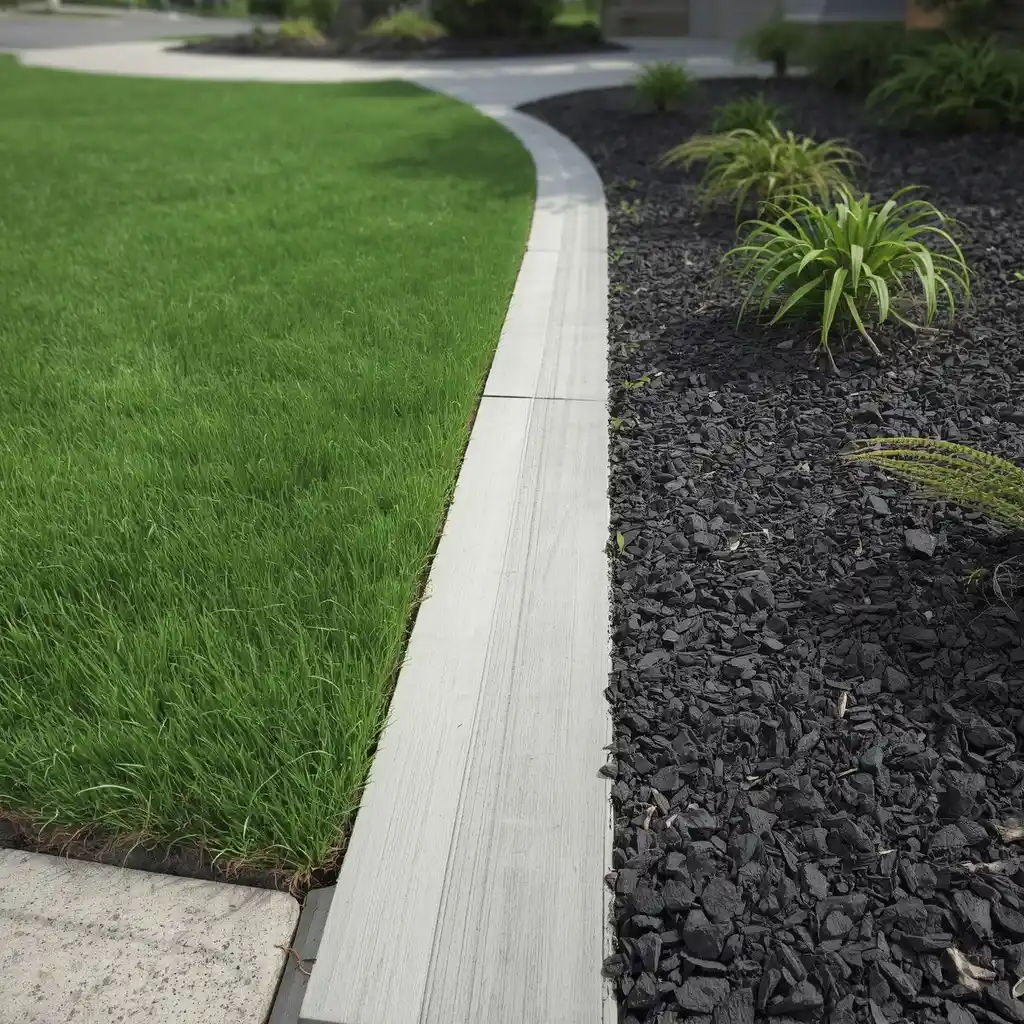
Poured concrete creates a solid border with few gaps. It can follow straight lines, large curves, and circles around trees or planting beds.
You can choose a smooth gray finish or add color and stamped patterns. A simple finish often looks best because it does not compete with the yard.
Concrete is heavier and more permanent than most other edging. It needs a stable base and proper joints to control cracking. Large projects are often better handled by a contractor.
Think about future changes before choosing concrete. Removing it can take time and may damage nearby grass or paving.
Best for: Large yards and permanent borders
DIY level: Difficult
Main drawback: Hard to change or remove later
4 Natural Landscape Edging Ideas for a Softer Yard
Natural materials can make a garden border feel like part of the planting. They work well in cottage gardens, woodland yards, and spaces with loose shapes.
10. Build a Border With Natural Stone
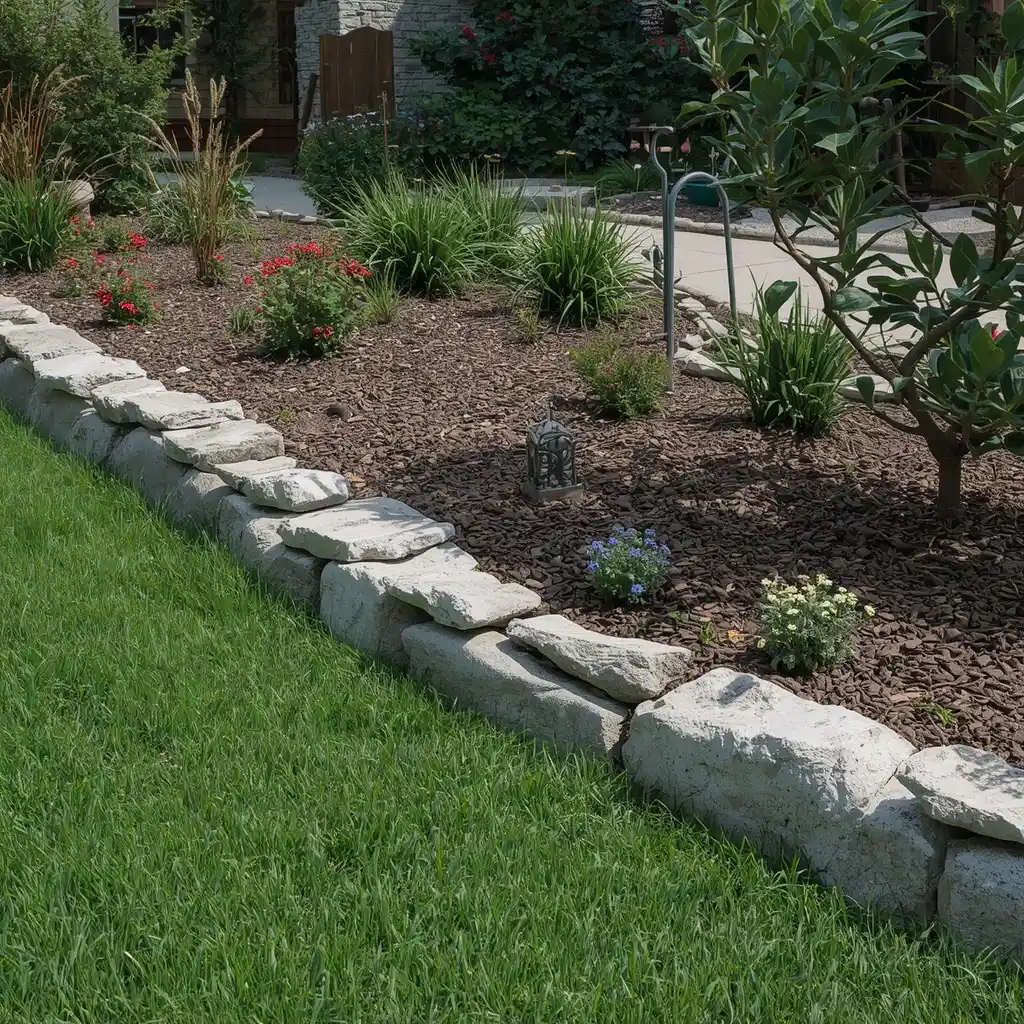
Stone garden edging can look formal or relaxed. The final result depends on the stone shape and how you place it.
Flat stones create a neat, low border. Rough fieldstones form a more natural line. Choose stone that matches your home, paths, or local soil color.
Set each stone partly into the ground. This keeps the border stable and makes mowing easier. Fill wide gaps so mulch and soil do not wash through.
Large stones can become expensive and heavy. Delivery may cost more than the material. Still, stone often ages well and needs little care once it is set properly.
Best for: Rustic homes and native gardens
DIY level: Moderate
Main drawback: Heavy stone can be hard to move
11. Frame Raised Beds With Timber Sleepers
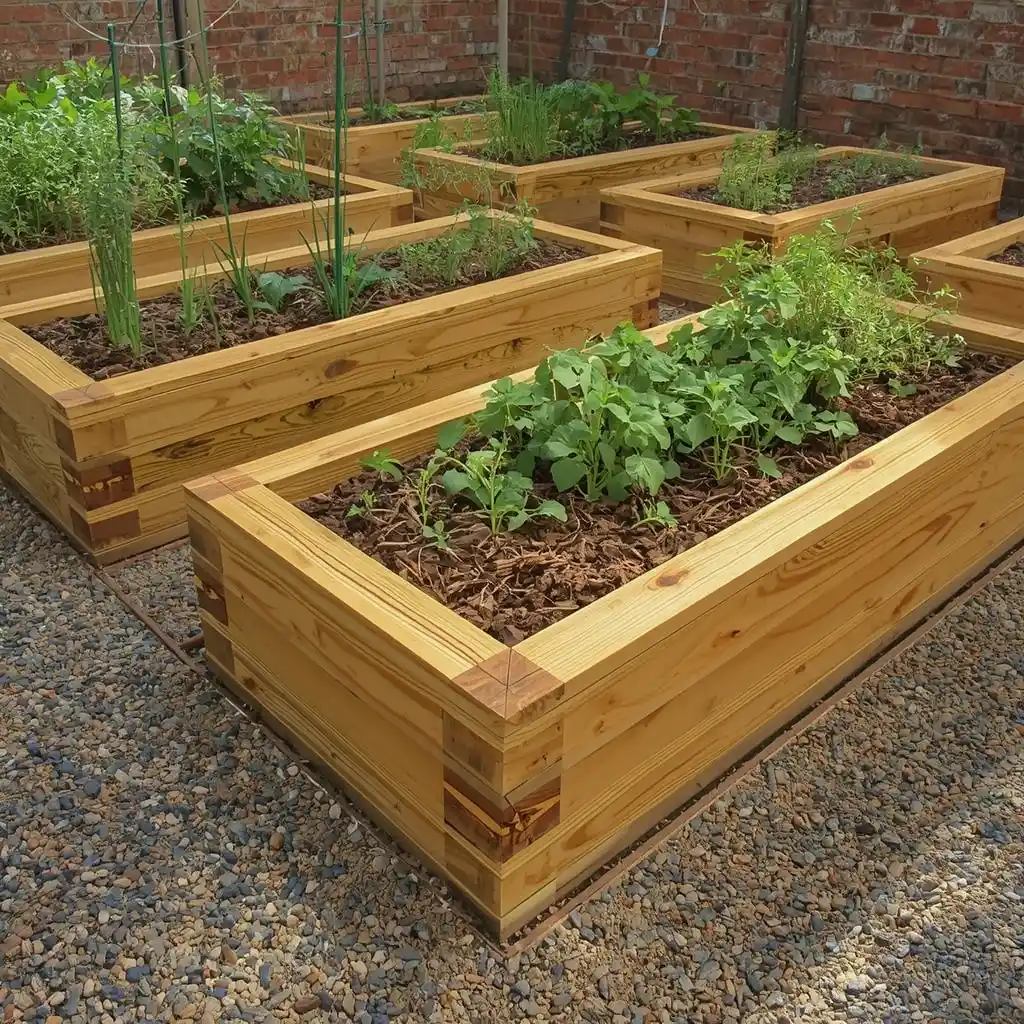
Timber sleepers create a strong border that can also raise the soil level. They work well around herb beds, vegetable gardens, and straight planting areas.
The thick wood adds warmth and fits many rustic garden designs. You can stack sleepers for a low raised bed or use one layer as a wide edge.
Secure corners with strong exterior screws or approved brackets. Long sections may also need stakes to stop movement.
Choose wood rated for outdoor ground contact. Ask about safe options when the timber will sit near edible plants. Even good outdoor wood can rot faster in wet soil, so avoid areas with standing water.
Best for: Raised beds and straight borders
DIY level: Moderate
Main drawback: Wood may rot over time
12. Place River Rocks Around Beds and Water Features
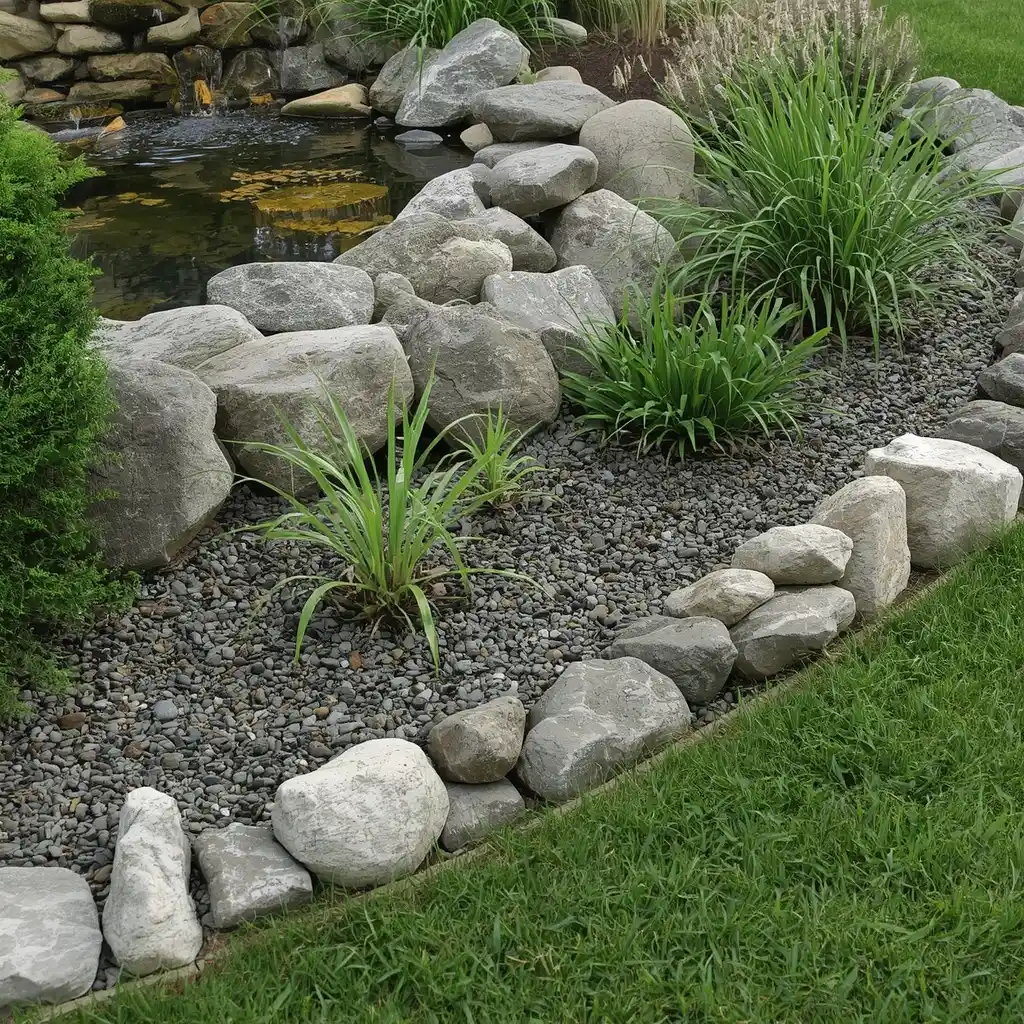
River rocks create a soft border around ponds, rain gardens, trees, and informal flower beds. Their smooth shapes work well near water.
Use a mix of sizes to create a more natural look. Larger stones help hold the border in place. Smaller gravel can fill the spaces between them.
Prepare a firm base before adding the rocks. A shallow trench can stop them from rolling into the lawn. Keep stones away from plant stems and tree trunks because trapped moisture may cause problems.
Leaves and soil can collect between small rocks. A leaf blower or garden vacuum can help, but cleaning may still take time.
Best for: Water features and informal gardens
DIY level: Easy to moderate
Main drawback: Small stones collect leaves and dirt
13. Grow a Living Edge With Low Plants
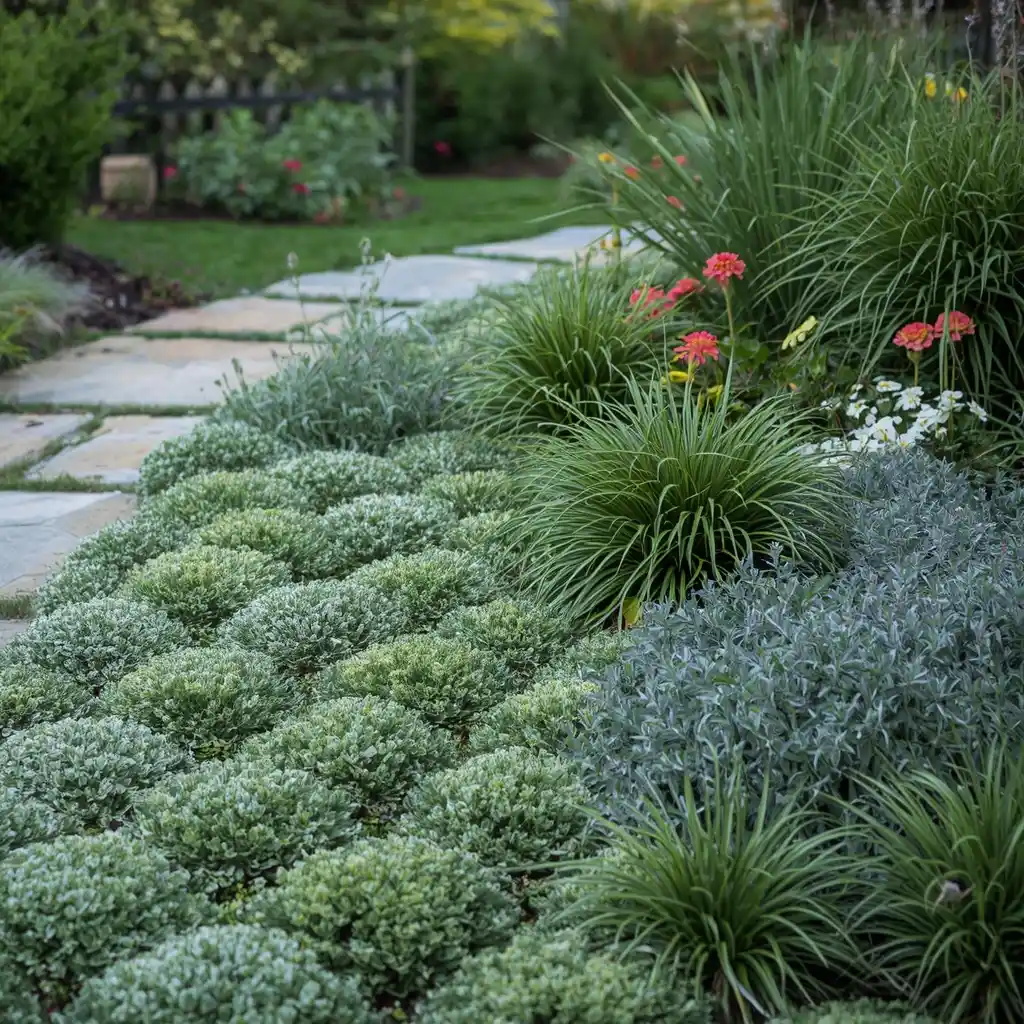
A living edge uses plants instead of brick, metal, or plastic. It creates a soft border that changes with the seasons.
Low plants can line a path, frame a flower bed, or soften a hard patio edge. Good choices may include dwarf mondo grass, creeping thyme, low sedges, compact lavender, and sweet alyssum.
Choose plants that suit your sun, soil, and water conditions. Check their mature width before planting. A small plant can spread far beyond the border after a few seasons.
Some groundcovers spread too fast. Check local guidance before planting a type that may become invasive.
A hidden hard edge may still be needed where lawn grass grows quickly.
Best for: Cottage gardens and pollinator beds
DIY level: Easy
Main drawback: Plants need trimming and care
4 Lawn Edging Ideas That Solve Common Yard Problems
Some lawn edging ideas need to do more than create a clean line. They may need to support a mower, hold soil, follow a tight curve, or help move rainwater.
14. Build a Brick or Paver Mower Strip
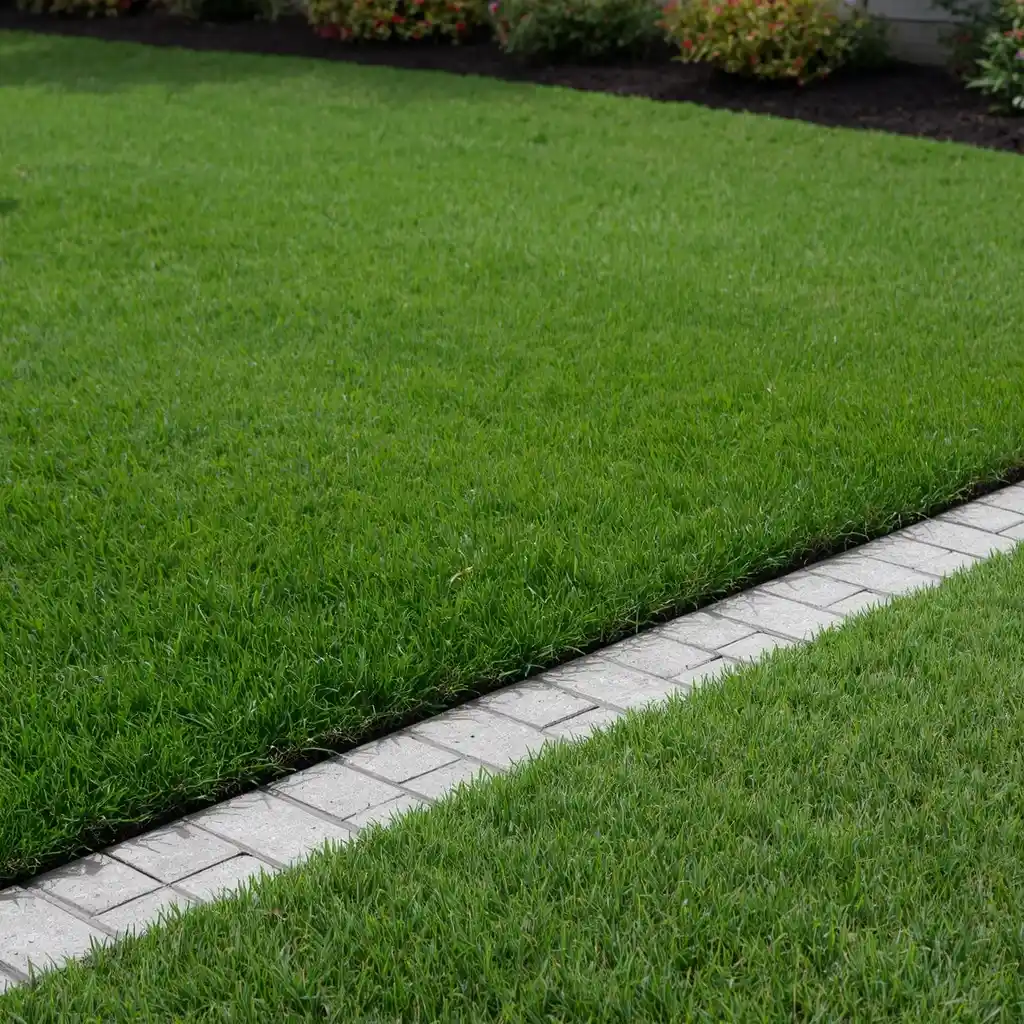
A mower strip is a flat row of bricks or pavers placed beside the lawn. It lets one mower wheel move along the border, which can reduce the need for string trimming.
Keep the pavers level with the grass. A strip that sits too high may block the mower. A low or uneven strip may collect soil and water.
Prepare the base with compacted crushed stone and a thin layer of sand. Take time to level each piece. Poor base work can cause dips and trip points.
A strip 6 to 12 inches wide works well around many lawns. Match the pavers to nearby patios or walkways for a more connected look.
Best for: Easier mowing and formal lawns
DIY level: Moderate
Main drawback: Uneven pavers can catch mower wheels
15. Hold Back Soil With Retaining Wall Blocks
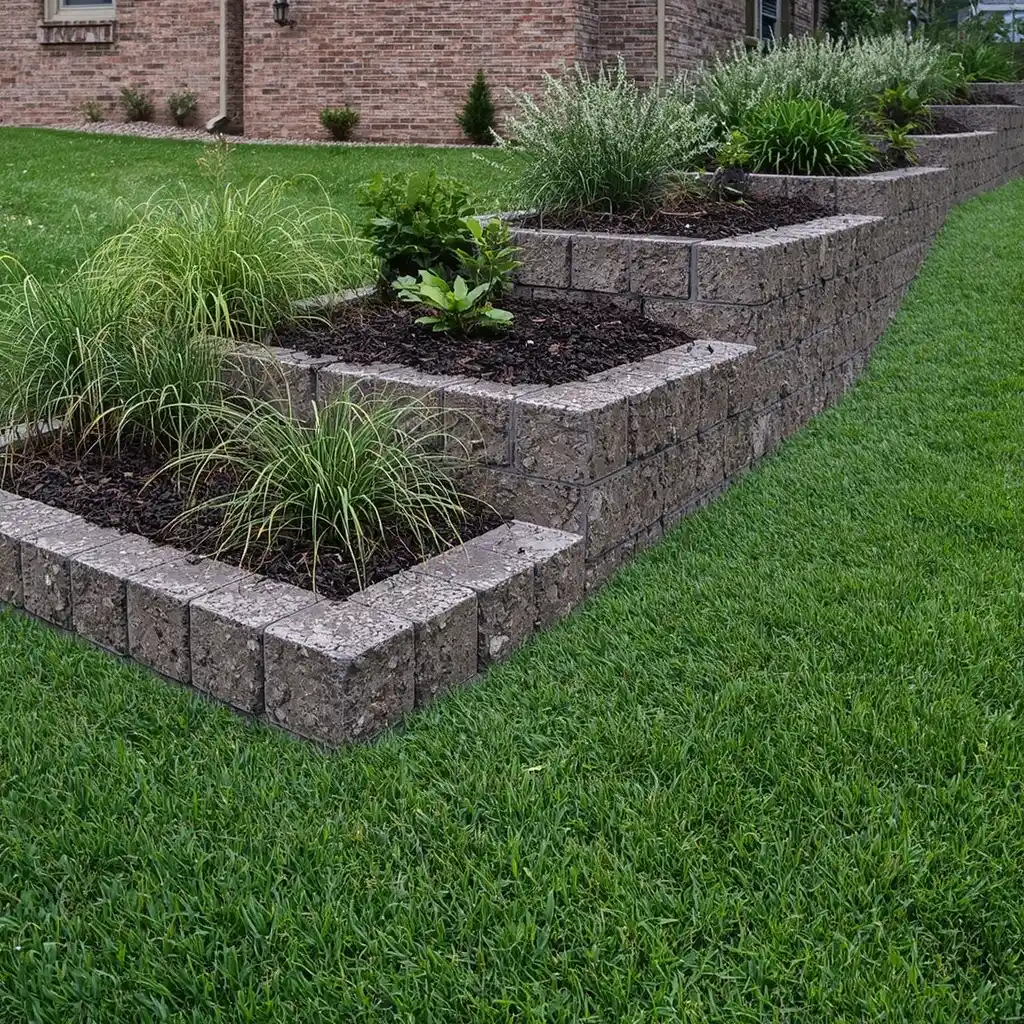
A raised planting bed on a slope needs more support than thin plastic or metal can provide. Retaining wall blocks can create a firm edge while holding soil in place.
Use a level, compacted base. The first row controls the rest of the wall, so take time to set it correctly.
A short border of one or two rows may work for a simple DIY project. Taller walls need more planning because soil pressure and water can push against them.
Add drainage behind the blocks when needed. Water trapped behind a wall can cause leaning, cracking, or soil washout.
Check local building rules before creating a tall structure. A larger retaining wall may need an expert.
Best for: Slopes and raised planting beds
DIY level: Moderate to difficult
Main drawback: Taller walls need drainage and planning
16. Follow Tight Curves With Flexible Composite Edging
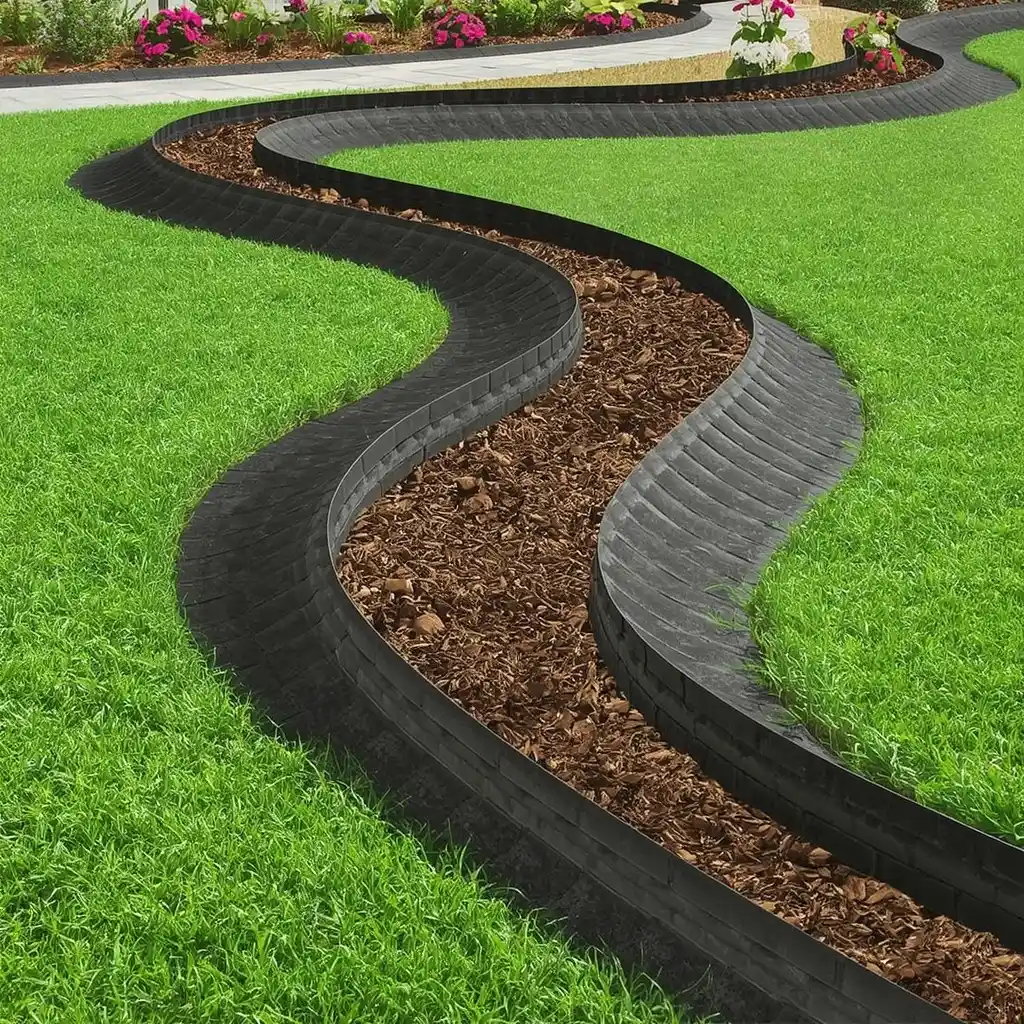
Flexible composite edging is useful around circles, winding paths, and curved flower beds. It often contains recycled plastic or a mix of materials.
Unroll the edging before installation. Some products become easier to shape after sitting in the sun for a short time. Follow the product guide before warming or bending it.
Use extra stakes around tight curves. This helps prevent flat spots and keeps the top level.
Composite edging can look cleaner than basic plastic. It may also handle weather better, depending on the product. Still, weak staking can cause it to rise during heavy rain or cold weather.
Best for: Curved beds and small garden paths
DIY level: Easy to moderate
Main drawback: Poor staking can cause movement
17. Turn a Wet Border Into a Dry Creek Edge
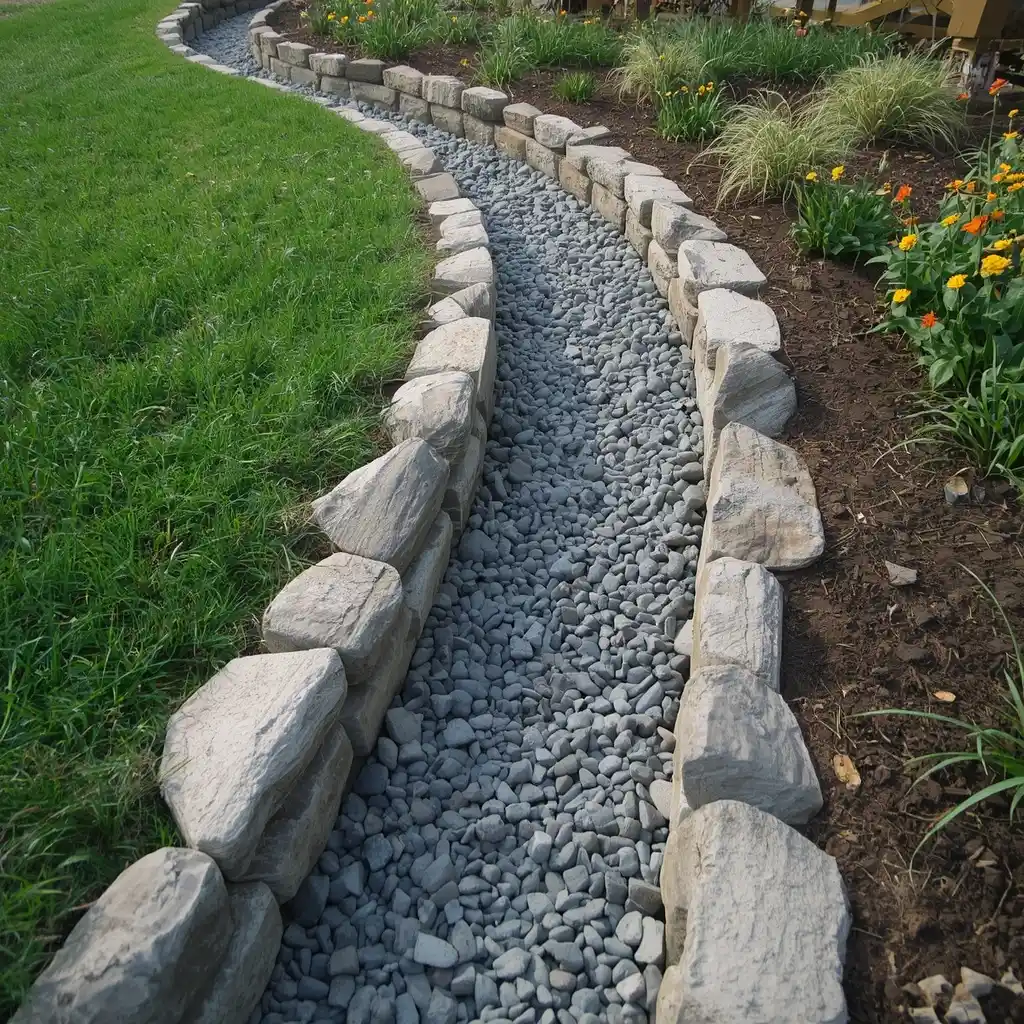
A dry creek can separate a lawn from a rain garden while guiding light runoff through the yard. It uses a shallow channel filled with stone.
Place larger rocks along the sides and use smaller gravel through the center. The shape should look natural, but it also needs a clear path for water.
Always direct water away from the house. The channel should end in an approved drainage area where water can spread or soak into the ground safely.
A dry creek can help with occasional runoff. It cannot fix every wet-yard problem. Water that collects near a foundation or stays for days may need professional drainage work.
Best for: Rain gardens and low areas
DIY level: Moderate
Main drawback: Does not solve serious drainage problems
Compare Landscape Edging Cost, Care, and Use
The purchase price is only one part of the decision. Cheap edging may need more repairs. A costly material may last longer but be hard to remove.
Use this table to compare the main choices.
| Material | Cost Level | DIY Difficulty | Best Use | Main Care |
| Trench edge | Low | Easy | Natural beds | Recut the line |
| Plastic | Low | Easy | Quick borders | Reset lifted areas |
| Brick | Low to medium | Moderate | Traditional yards | Level loose bricks |
| Gravel | Low to medium | Easy | Paths and dry beds | Rake loose stone |
| Rubber | Low to medium | Easy | Curved family yards | Check spikes |
| Steel | Medium to high | Moderate | Modern beds | Check finish and stakes |
| Aluminum | Medium to high | Moderate | Curves and wet climates | Straighten bent areas |
| Stone | Medium to high | Moderate | Natural gardens | Remove weeds and leaves |
| Timber | Medium | Moderate | Raised beds | Check for rot |
| Concrete | High | Difficult | Permanent borders | Repair cracks |
| Paver strip | Medium to high | Moderate | Mowing edges | Keep joints level |
| Retaining blocks | Medium to high | Difficult | Slopes | Check drainage |
Think about how long you plan to keep the border. A renter may prefer a removable product. A homeowner with a finished garden may want a more permanent material.
Climate also matters. Freeze and thaw cycles can move bricks, concrete, and weakly secured edging. Wet soil may speed up wood rot. Strong sun can fade plastic and rubber.
Choose two materials that fit your yard. Then compare the full cost, installation work, and yearly care before buying.
How to Install Landscape Edging That Stays in Place
Even expensive edging can look uneven when the layout and base are rushed.
Follow these steps for a cleaner result:
- Measure the full border.
Use a tape measure for straight lines. Run a garden hose along curves, then measure the hose. - Mark the shape.
Use stakes, string, marking paint, or the garden hose. View the line from the house, street, and main path. - Remove grass and roots.
Clear the full installation line. Roots left under the border may cause lifting later. - Prepare the base.
Bricks, blocks, and pavers need firm, level ground. Add compacted crushed stone or sand when the product guide calls for it. - Install the edging at the right height.
Keep lawn borders low enough for safe mowing. Do not leave sharp metal or plastic edges sticking high above the soil. - Use enough stakes.
Add more stakes around corners and curves. Follow the maker’s spacing guide. - Backfill both sides.
Press soil firmly against the edging. Loose soil will settle and may allow movement. - Test the drainage.
Make sure the new border does not trap water against the lawn, plants, paths, or house. - Add mulch or gravel last.
Check the line and height before covering the finished area.
Common mistakes include buying too little material, skipping base work, using too few stakes, and placing the border too high.
Call your local utility marking service before deep digging. You should also keep mulch away from tree trunks and plant crowns.
Which Landscape Edging Idea Should You Choose?
The best landscape edging ideas solve a clear yard problem. A trench or plastic edge can work when your budget is small. Steel and concrete create strong modern lines. Stone, timber, river rock, and plants give the yard a softer finish.
For easier mowing, try a flat brick or paver strip. Use flexible composite around tight curves. Retaining blocks can support a raised bed. A dry creek may help guide light runoff through a wet area.
Start with one border. Measure it and decide what needs to stay on each side. Then choose two materials that match your style, budget, and free time.
A clean edge will not fix every yard problem. But the right border can reduce mess, improve mowing, and make the whole garden look more finished.