
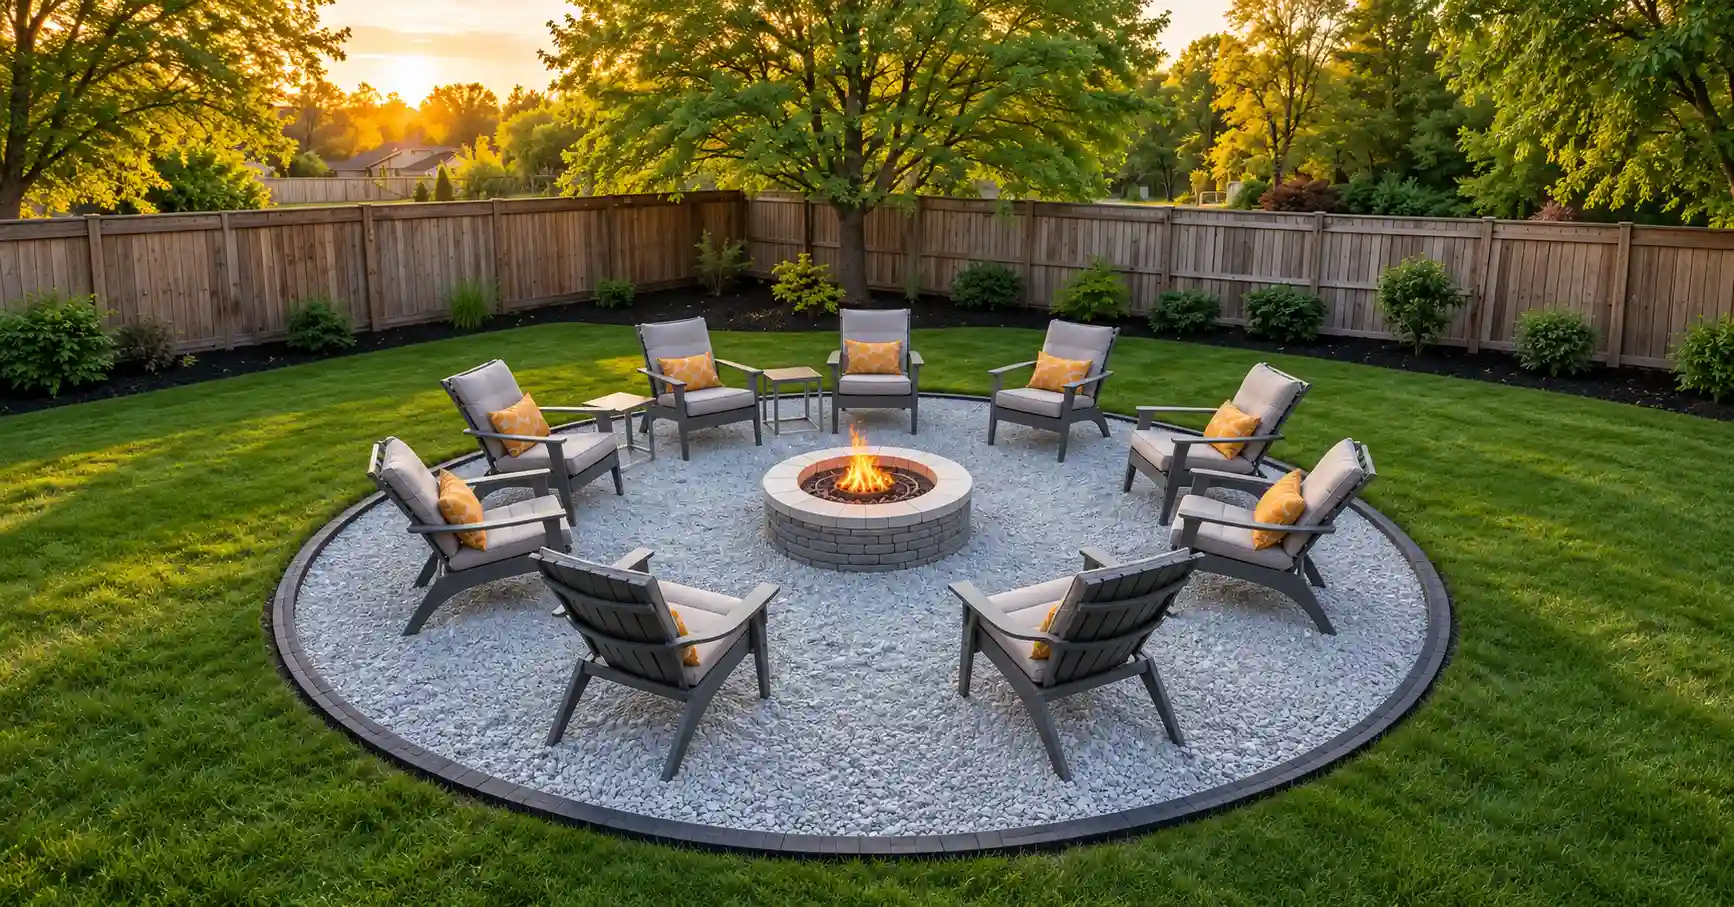
Bare soil, muddy paths, and worn-out mulch can make your yard look unfinished. These areas can also take a lot of time to maintain.
Rock can give those problem spots a cleaner look. It does not rot, blow away, or need to be replaced each season. Still, placing random stones around your yard will not always improve it.
The best rock landscaping ideas around the house solve a clear problem. A rock bed may control soil splash. A gravel path can cover a muddy side yard. A dry creek bed may help guide rainwater.
Good results depend on the rock size, color, edging, and location. You also need to think about drainage before moving any heavy material.
The ideas below cover foundation beds, walkways, porches, trees, patios, and utility areas. You will also learn how to choose rock and avoid common mistakes.
Start with one small area. You can connect the rest of the yard later.
Plan Your Rock Landscaping Before You Buy Anything
Landscape rock is heavy. It can also be hard and costly to move after installation.
Walk around all four sides of your house before you place an order. Look for bare soil, worn grass, steep slopes, and wet patches. Mark areas where you walk, park, mow, or store bins.
Pay close attention to rainwater. Check where water leaves the roof and where it gathers after a storm. Decorative stone should never trap water beside the foundation.
Give each area one main purpose. Your front bed may improve curb appeal. A narrow side yard may need a clean walking path. The backyard may need a border around the patio.
Measure each space before buying rock. Write down the length and width. For curved beds, use a garden hose to test the shape.
Choose your edging at the same time. Loose stone can spread into grass, driveways, and paths without a firm border.
When landscaping with rocks around the house, repeat one main stone in several areas. This simple choice helps the whole yard feel connected.
1. Add a Clean Rock Border Along the Foundation
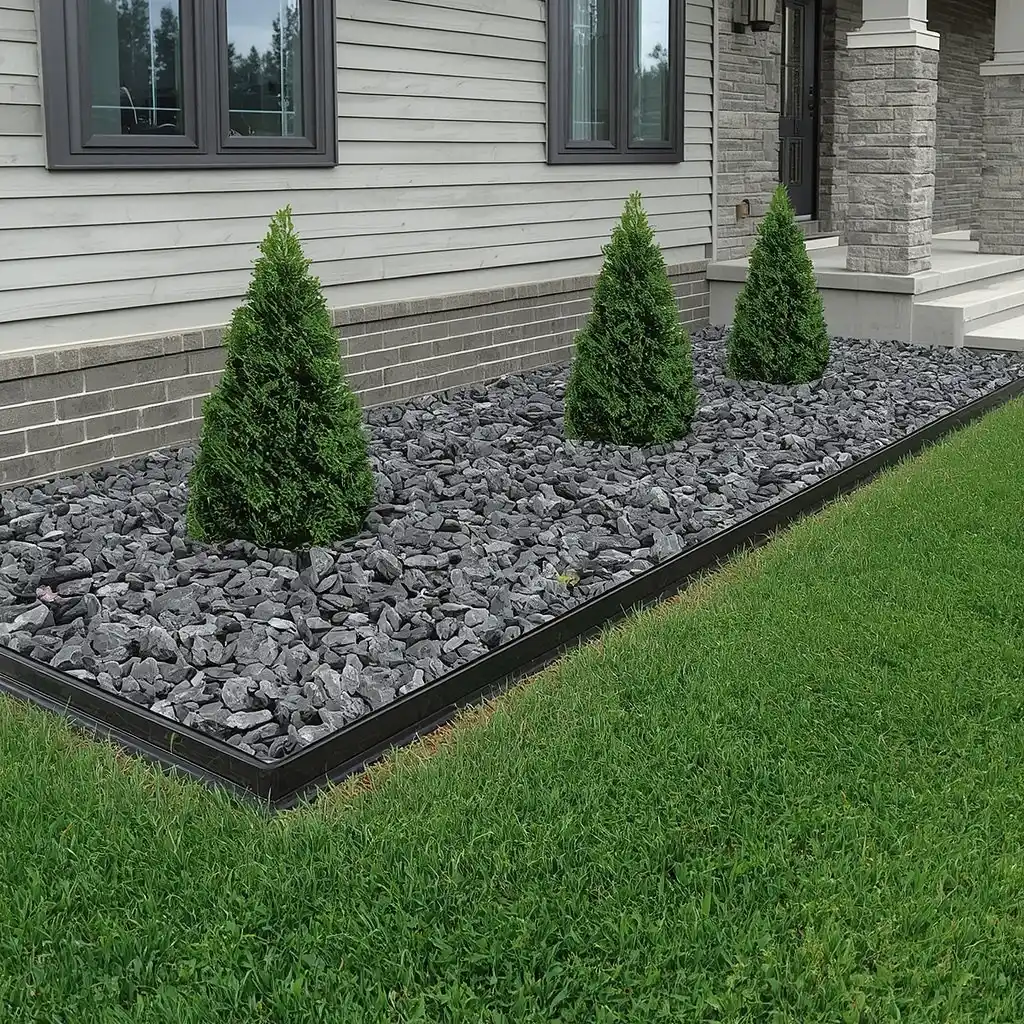
A narrow rock border can fix bare soil and messy mulch beside your house. It also creates a clear break between the wall and lawn.
Make the bed about two to three feet wide when space allows. Use medium river rock, crushed stone, or gravel that matches your siding and walkway.
Add metal, brick, or strong plastic edging along the outer side. Edging keeps the rocks in place and makes mowing easier.
The ground should slope away from the house. Do not use rock to cover a drainage problem. You should also keep the stone below siding, vents, and door frames.
For a simple design, use gray river rock with three small evergreen shrubs. Dark metal edging can give the bed a neat finish.
Best for: Bare foundation areas and worn mulch beds.
Drainage note: Never pile rocks against the wall.
2. Build a Dry Creek Bed to Guide Rainwater
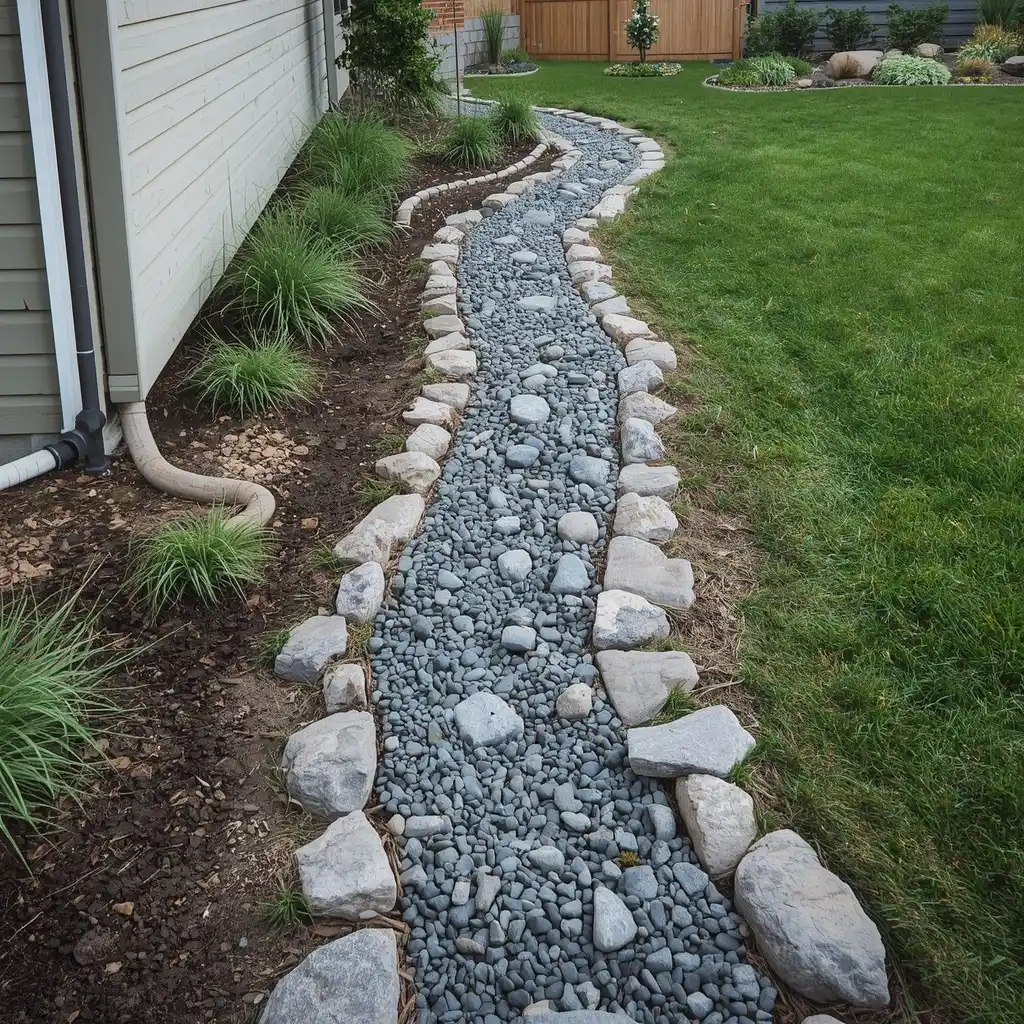
A dry creek bed can turn an eroded channel into a useful yard feature. It works best where rainwater already follows a clear path.
Start by finding the water source. It may come from a downspout, slope, or high part of the yard.
Shape the creek with soft curves instead of one straight line. Use smaller gravel in the center. Place medium river rock and a few larger stones along the edges.
The larger rocks help slow fast water. They also make the creek look more natural.
Your dry creek bed needs a safe exit point. Water should not flow into a neighbor’s yard, across a public path, or back against your house.
Add moisture-tolerant plants beside the creek if the area gets wet often.
Best for: Small erosion channels and wet slopes.
Important: A dry creek bed cannot fix major flooding or a failed drainage system.
3. Create a Stepping-Stone Path Through Gravel
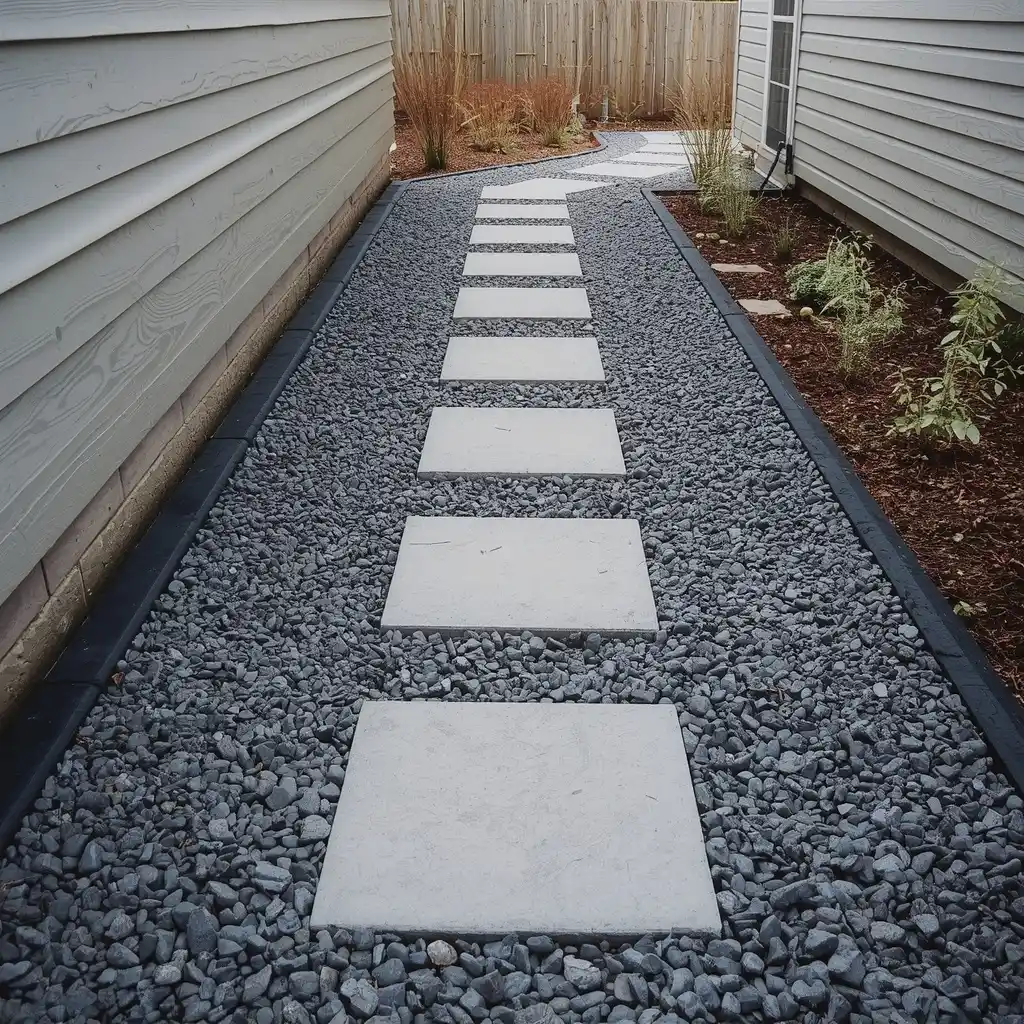
A muddy path between your front and backyard can be hard to use after rain. Gravel and stepping stones create a cleaner walking surface.
First, mark the path with a garden hose. Walk through the planned route to check whether the curves feel natural.
Place each stepping stone where your foot lands. Test the full path before setting anything into the ground.
Use crushed gravel when you want a firmer surface. Pea gravel feels softer, but it can shift under your feet.
Square concrete pavers look clean beside a modern home. Irregular flagstone works well with a cottage or rustic yard.
Install edging on both sides. This stops gravel from spreading into the lawn.
Best for: Side yards, garden gates, and routes to sheds.
Quick tip: Keep the stones level to reduce tripping risks.
4. Cover Bare Soil Around the Porch With River Rock
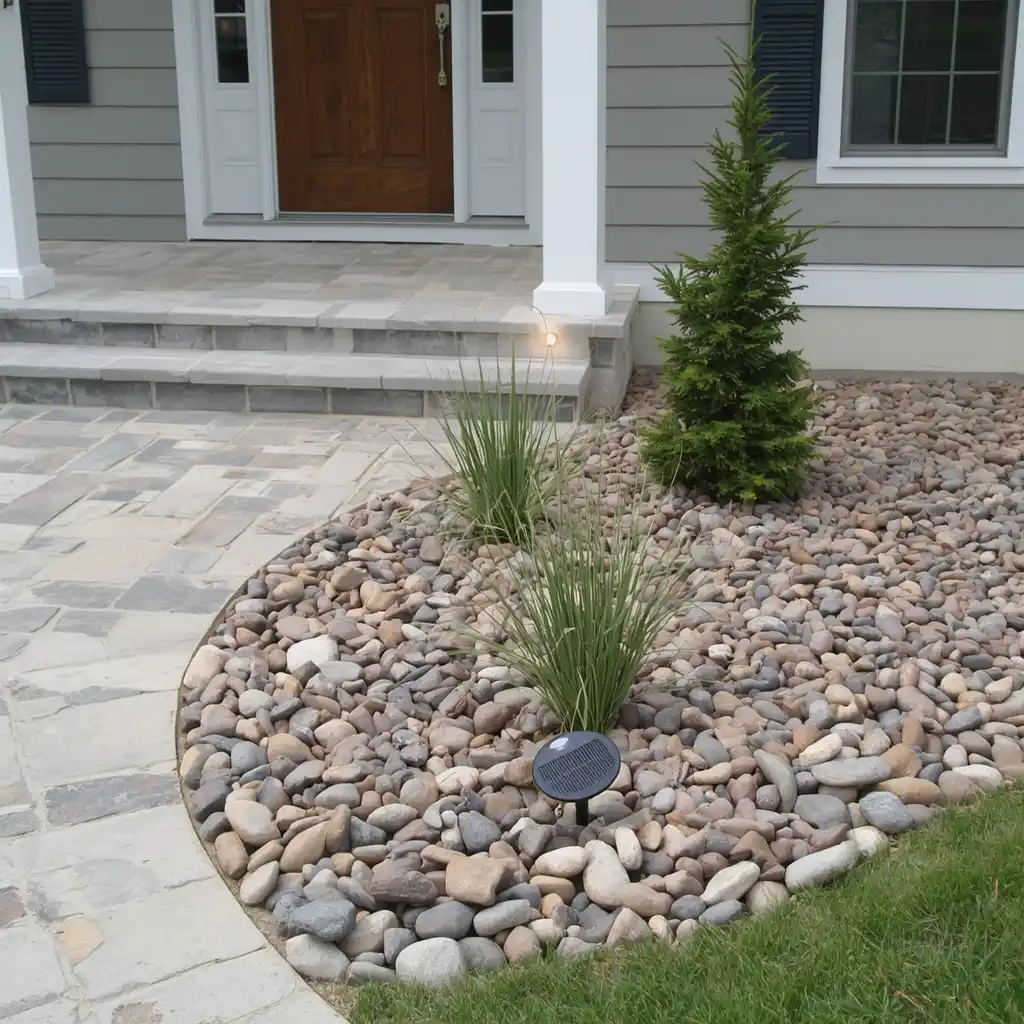
Soil beside porch steps often becomes muddy. Rain can also splash dirt onto brick, siding, and railings.
A small river rock bed can make the entrance look cleaner. Shape the bed so it connects the porch to nearby plants or walkways.
Choose a rock color that works with the house. Tan river rock can soften red brick. Gray stone can match concrete or cool-colored siding.
Add two or three low plants to break up the stone. Dwarf grasses, small evergreen shrubs, or low flowers can work well.
You may also add small solar lights near the edge. Keep lights away from the main walking line.
Do not cover vents or create a raised area that holds water beside the porch.
Best for: Small entrances and bare soil beside steps.
Design tip: Repeat the same rock near the mailbox or front walkway.
5. Turn a Difficult Side Yard Into a Gravel Zone
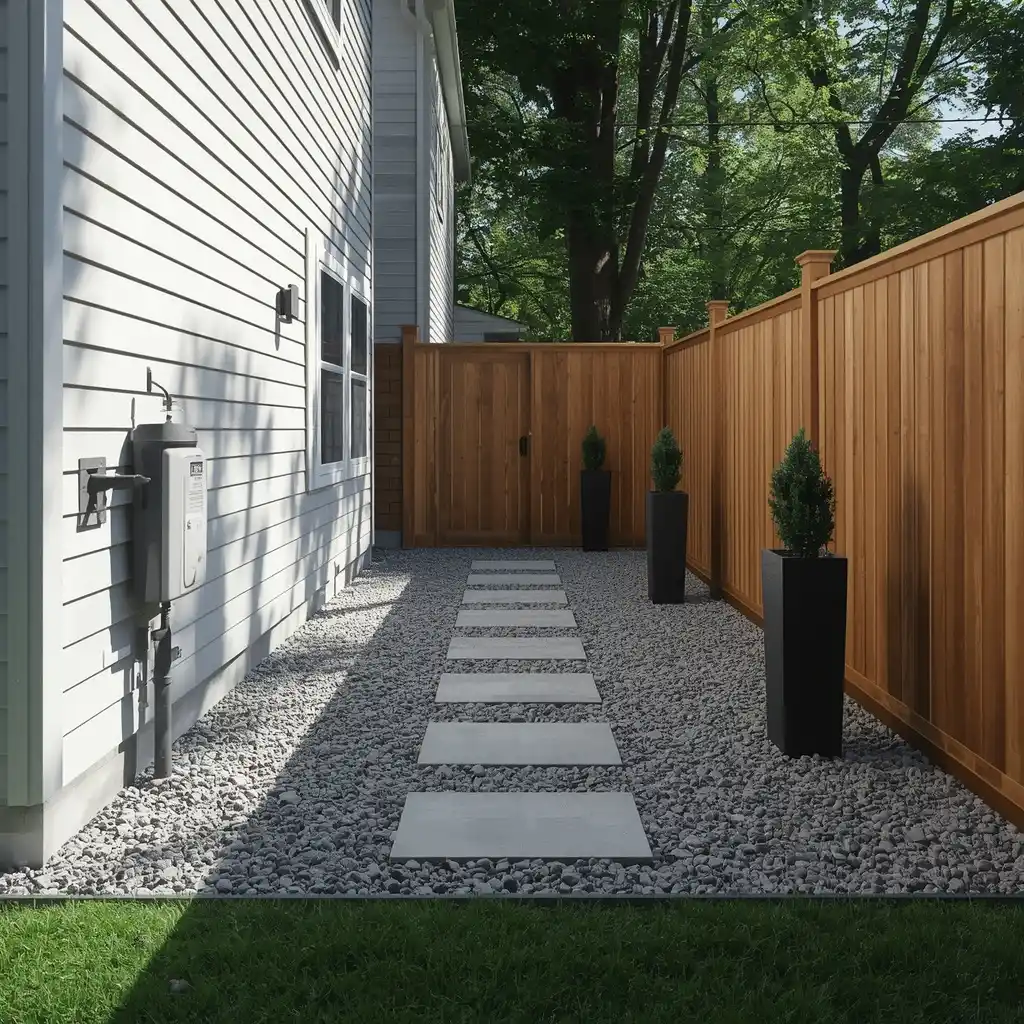
A narrow side yard may stay muddy because it gets little sun. Grass may also fail because people walk through the area often.
You can replace weak grass with a gravel path or full gravel zone. Start with a firm, level base. Use compacted crushed gravel if the area gets regular foot traffic.
Add square stepping stones when you want a more finished look. Wall lights can make the space safer at night.
Keep gates, utility meters, pipes, and outdoor taps easy to reach. Do not place heavy planters where service workers need access.
For a basic update, use gravel and simple edging. For a higher-end design, add pavers, lighting, and wall-mounted planters.
This is one of the easiest forms of low-maintenance rock landscaping for a space that is hard to mow.
Best for: Shaded side yards and narrow service paths.
6. Use One Large Boulder as a Focal Point
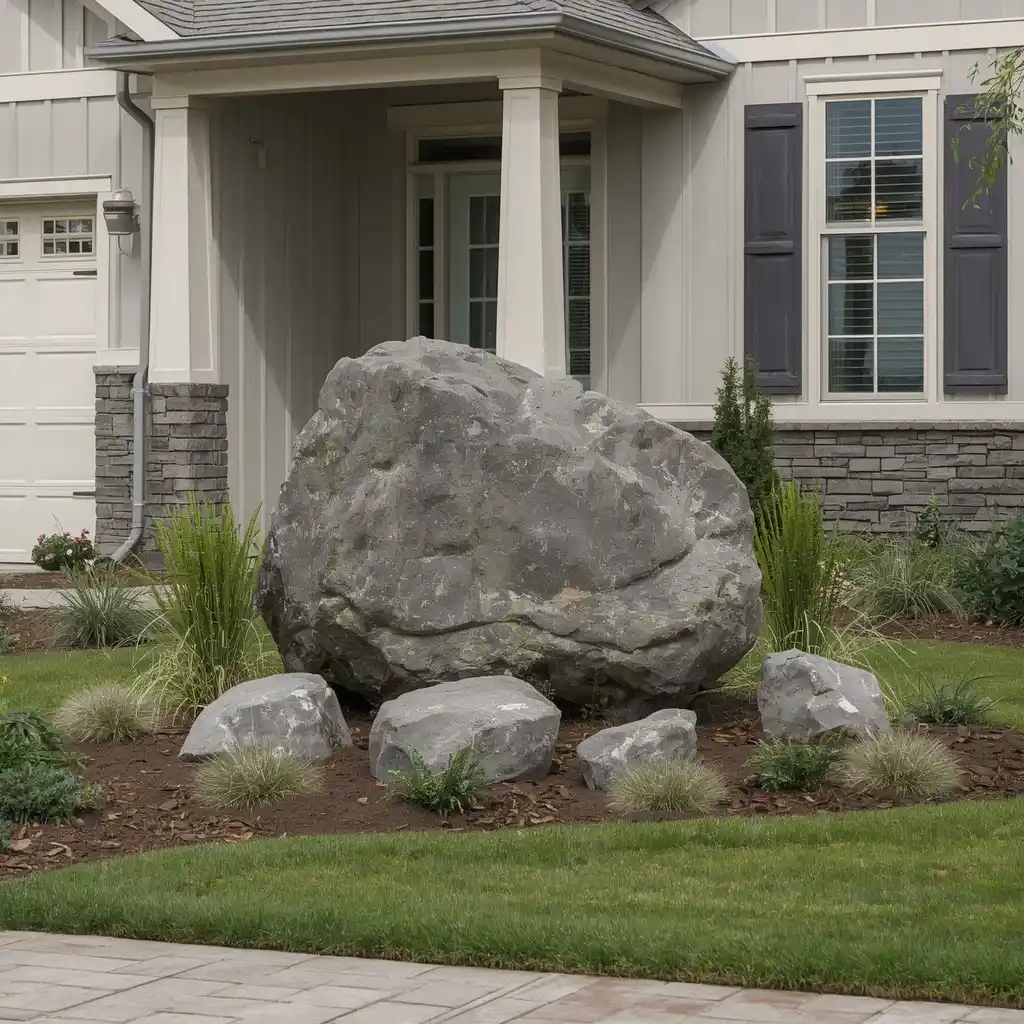
A flat rock bed can look empty even when it is clean. One large boulder can give the space more shape and height.
Choose a stone that fits the size of your yard. A very large boulder can crowd a small front bed. A small stone may disappear beside a two-story house.
Place the boulder near a corner, entrance, or bend in a path. Partly bury the bottom so it looks like part of the land.
Add smaller stones and low plants around it. Creeping plants or ornamental grass can soften the hard edges.
Avoid using several unrelated boulders in one small space. Too many can make the bed look busy.
Best for: Empty front beds and wide corners.
Design tip: Turn the most attractive side of the boulder toward the main viewing area.
7. Build a Rock Garden Below Front Windows
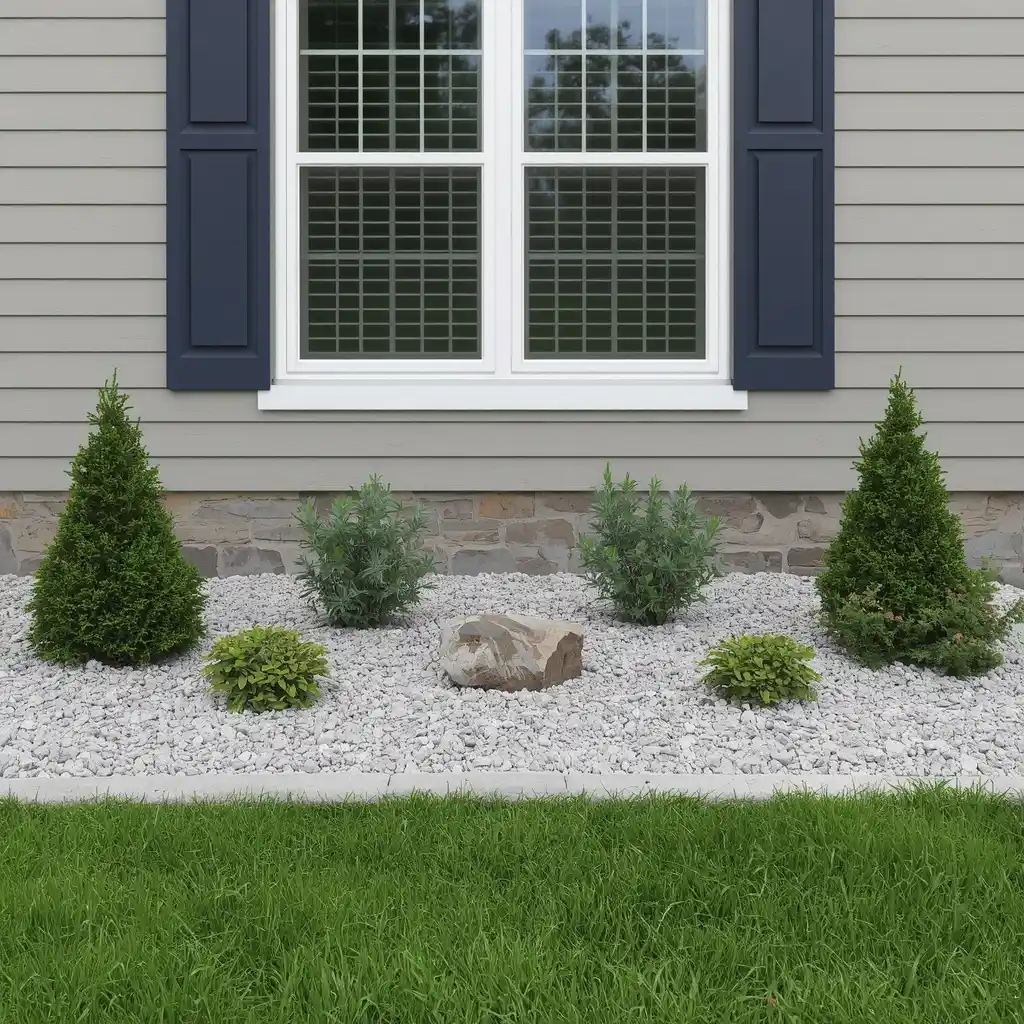
The area below front windows often needs plants, but tall shrubs can block light and views.
A low rock garden can fill this space without hiding the house. Choose plants that stay below the windows when they reach full size.
Use light gravel with dwarf juniper, small flowers, and two accent stones for a bright design. For a shaded wall, use smooth river rock with ferns or other plants suited to low light.
Place plants in groups of three or five. Uneven groups often look more natural than one straight row.
Leave open space between young plants. They will spread as they grow.
These rock garden ideas for front and backyard areas work best when the plants match the amount of sun and water in each spot.
Best for: Bare walls below windows.
Plant tip: Check the mature width before planting.
8. Refresh the Mailbox With a Small Rock Bed
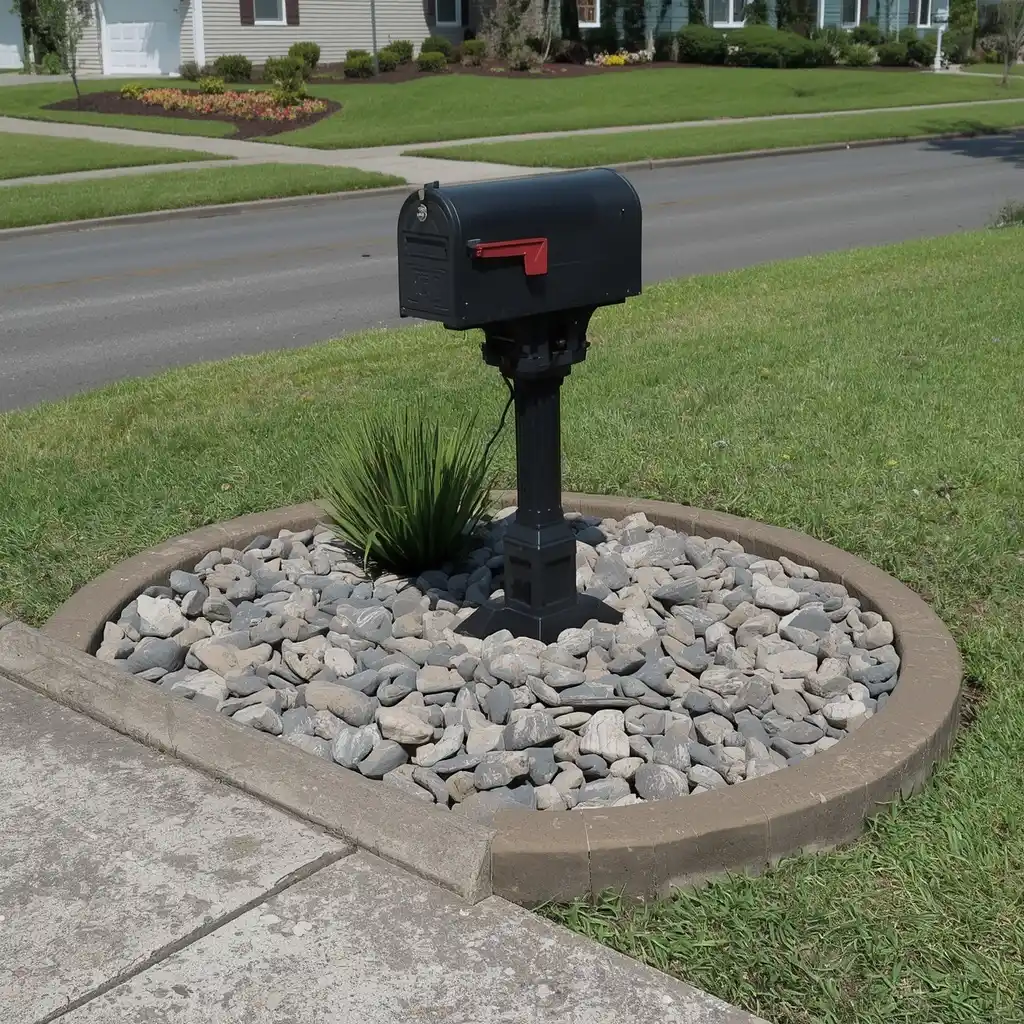
The grass around a mailbox can be hard to trim. Soil may also wash away near the road.
Create a small round or curved bed around the post. Use edging to keep the rock away from the lawn and street.
Choose stones that are large enough to stay in place during rain. Avoid loose gravel that may wash onto the road.
Add one compact shrub or a container with seasonal flowers. Keep plants low so drivers and walkers can see clearly.
Use the same rock and edging found near your front door. This small detail can make the mailbox feel like part of the main landscape.
Best for: Plain mailbox areas and hard-to-mow corners.
Safety check: Do not block road signs, house numbers, or driver views.
9. Edge the Driveway With Decorative Stone
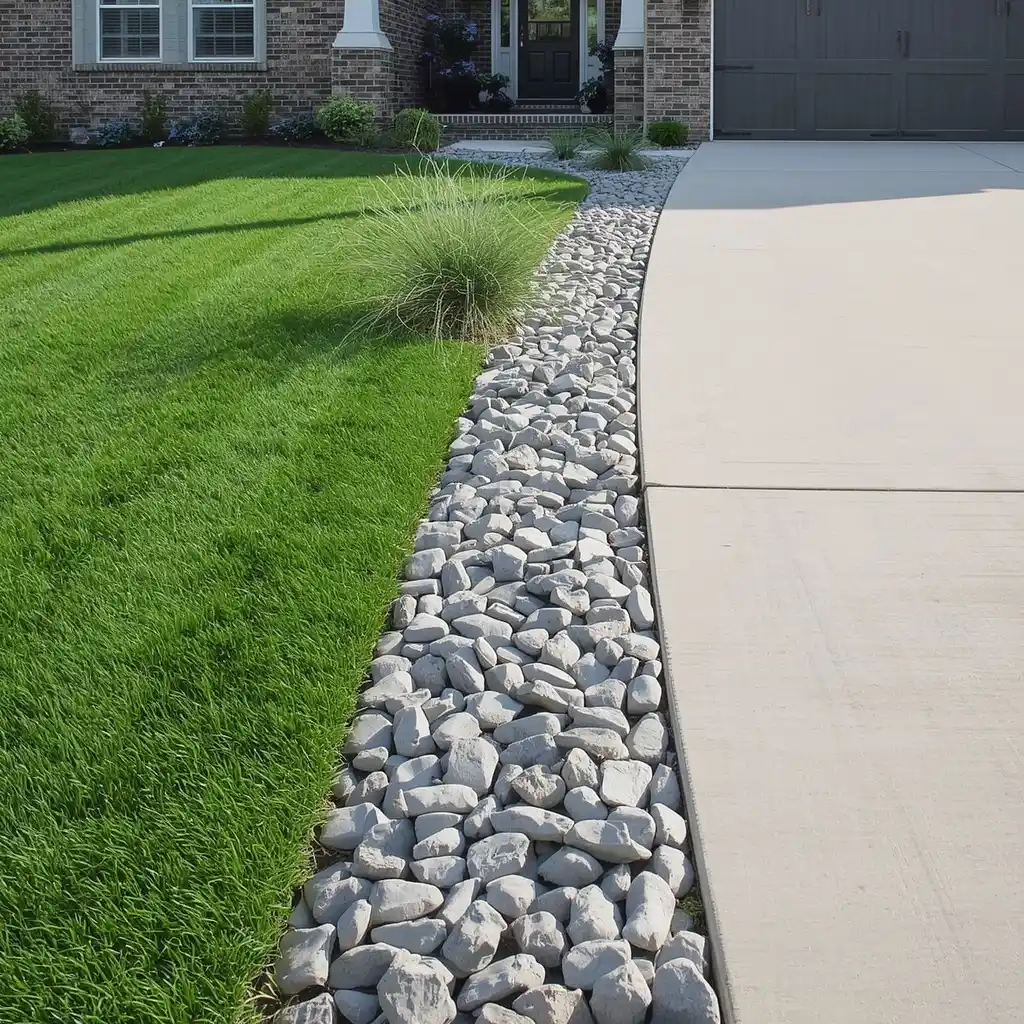
Grass and soil often creep onto the edge of a driveway. A narrow stone border can create a cleaner line.
Make the border about 12 to 18 inches wide. Use strong edging between the driveway and loose rock.
Choose medium or large stones that will not roll under tires. Small round gravel can spread onto the driveway and become a problem.
A straight border fits modern homes. A soft curve may work better with a traditional yard.
You can add low plants where they will not block the view of cars, children, or people walking near the driveway.
Match the stone to the front walkway or foundation bed. This keeps the design from looking separate.
Best for: Concrete and paved driveways.
Safety tip: Keep loose stones away from the tire path.
10. Add a Rock Border Around the Patio
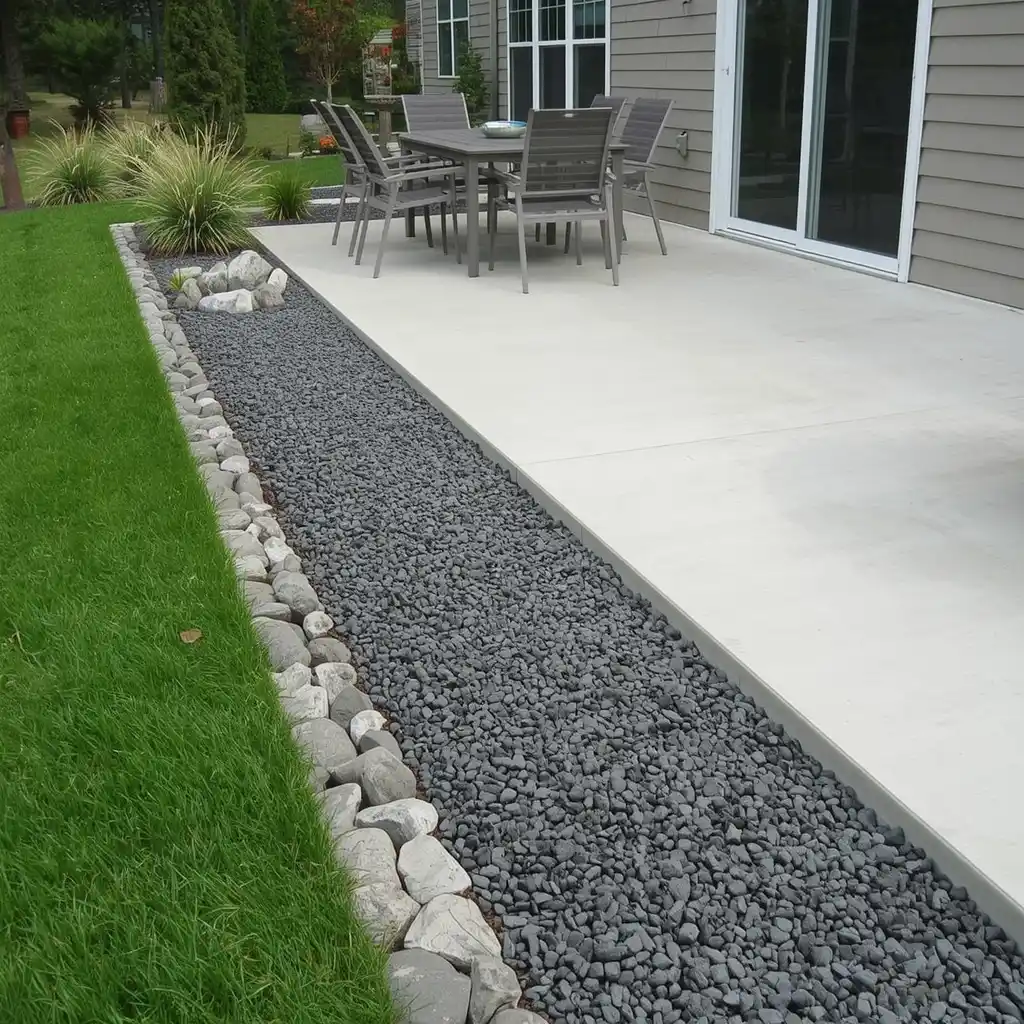
A patio can look unfinished when hard paving ends at the lawn. A rock border creates a smoother change between the two areas.
Use dark gravel beside pale concrete for clear contrast. Pair warm river rock with brick or tan pavers.
The stone border can catch loose soil and reduce muddy edges. It also gives you space for low plants, pots, lanterns, or small lights.
Do not use loose rock where chairs need to move. Keep it away from sliding door tracks and main dining areas.
A border around the outer edge works better than a full gravel surface for many patios. It adds texture without making the seating area less stable.
Best for: Plain patio edges and backyard sitting areas.
Design tip: Use the same stone around a nearby fire pit or garden path.
11. Make a Safe Rock Bed Around a Tree
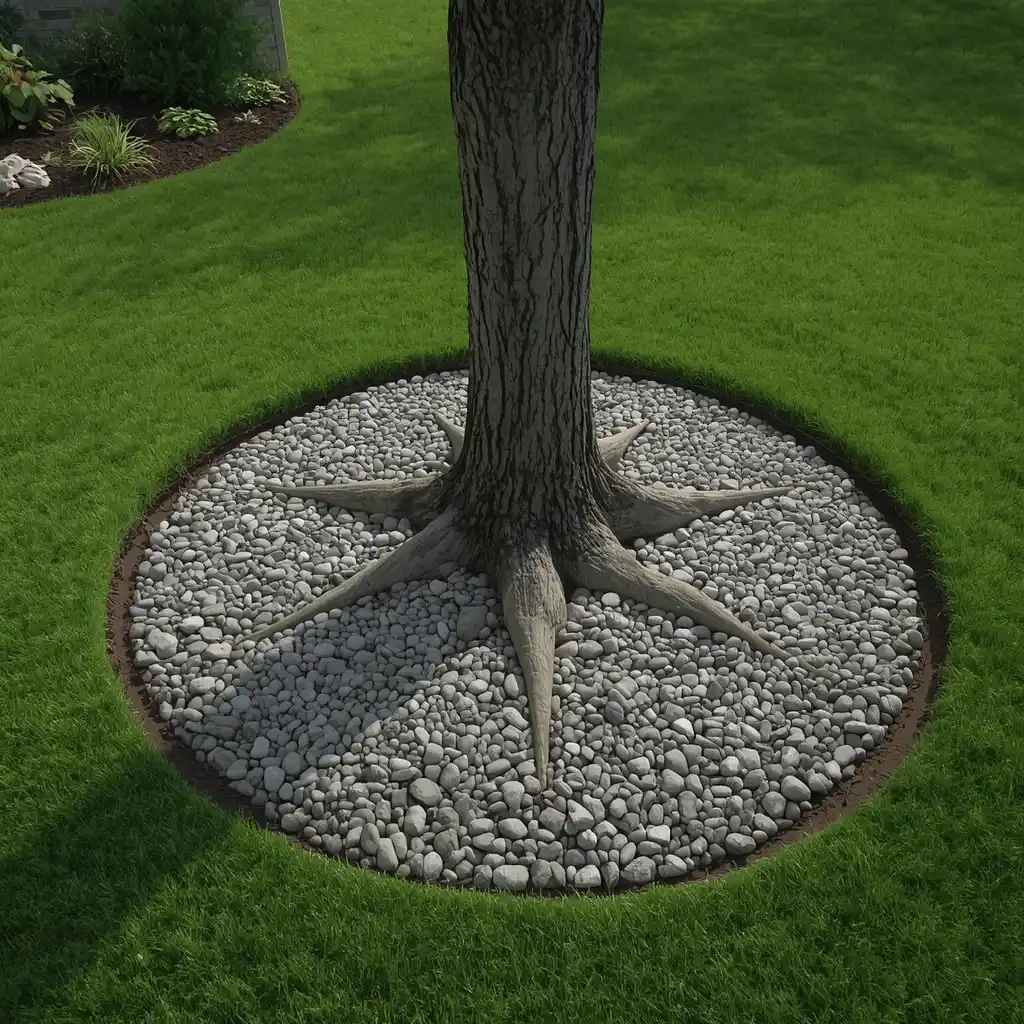
A wide tree bed can protect the trunk from mower and trimmer damage. It can also make mowing around roots easier.
Keep the bed broad and shallow. Do not pile rocks against the trunk.
The base of the trunk should remain visible where it begins to widen into the roots. Covering this area can hold moisture and hide damage.
Avoid cutting major roots when you install edging. Use a flexible border when large roots sit close to the surface.
Choose lighter stone in very hot, sunny yards. Dark rocks can hold more heat.
Leave a clear open ring around the trunk. Remove leaves and soil that collect there.
Best for: Trees with exposed roots or mowing damage.
Tree-care tip: Rocks should never touch the trunk or bury the root base.
12. Replace Worn Mulch Around Shrubs With Stone
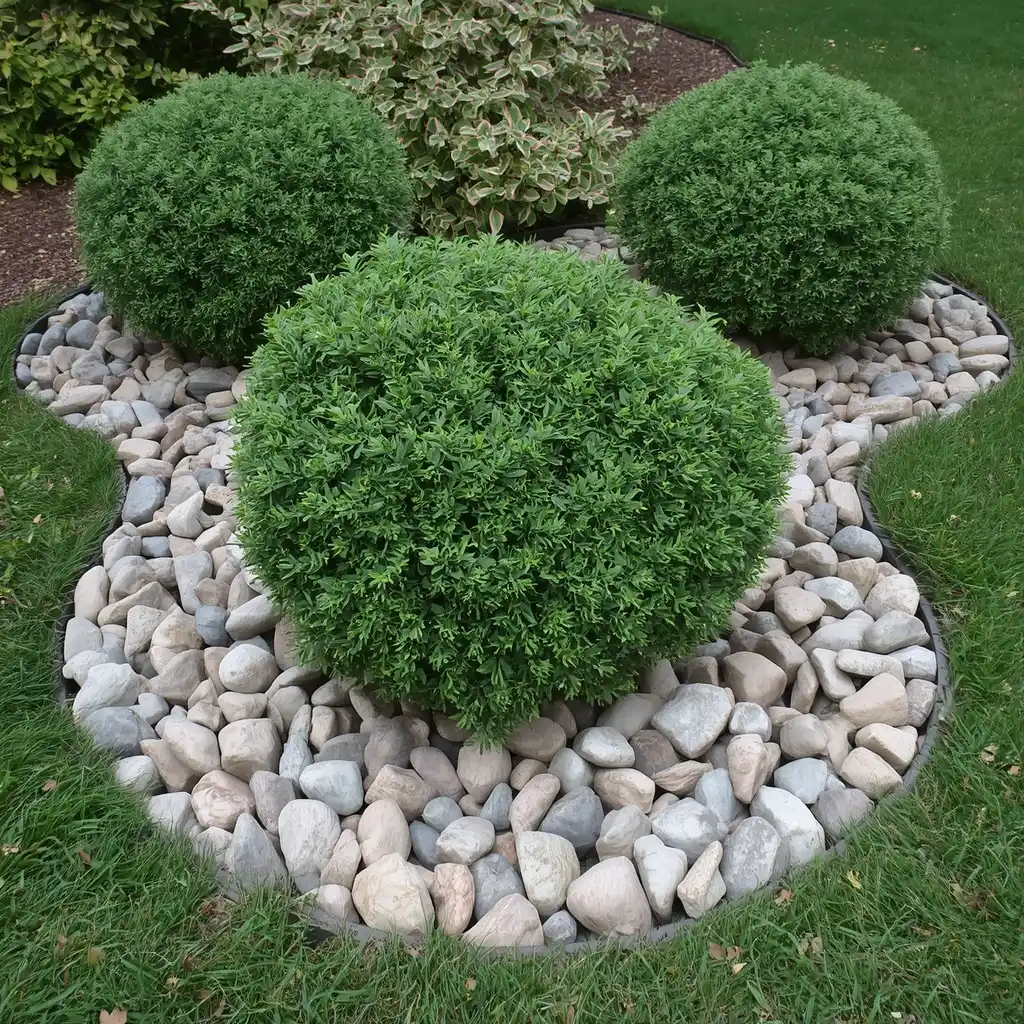
Mulch can wash away, fade, or need regular replacement. Stone may work better around established shrubs in some beds.
Choose smooth river rock or medium decorative gravel. Leave open space around each stem.
Rock can become hot in full sun. Lighter colors may be a better choice around plants that do not handle heat well.
Water must still reach the soil. Drip irrigation can help deliver water near the roots without soaking the whole surface.
Remove fallen leaves before they break down between the stones. Over time, this material can create a thin layer where weeds grow.
Stone is not always the best choice for new plants or beds that need regular soil work.
Best for: Established evergreen and low-care shrub beds.
Maintenance note: Rock reduces some work, but weeds can still appear.
13. Combine Stones With a Rain Garden
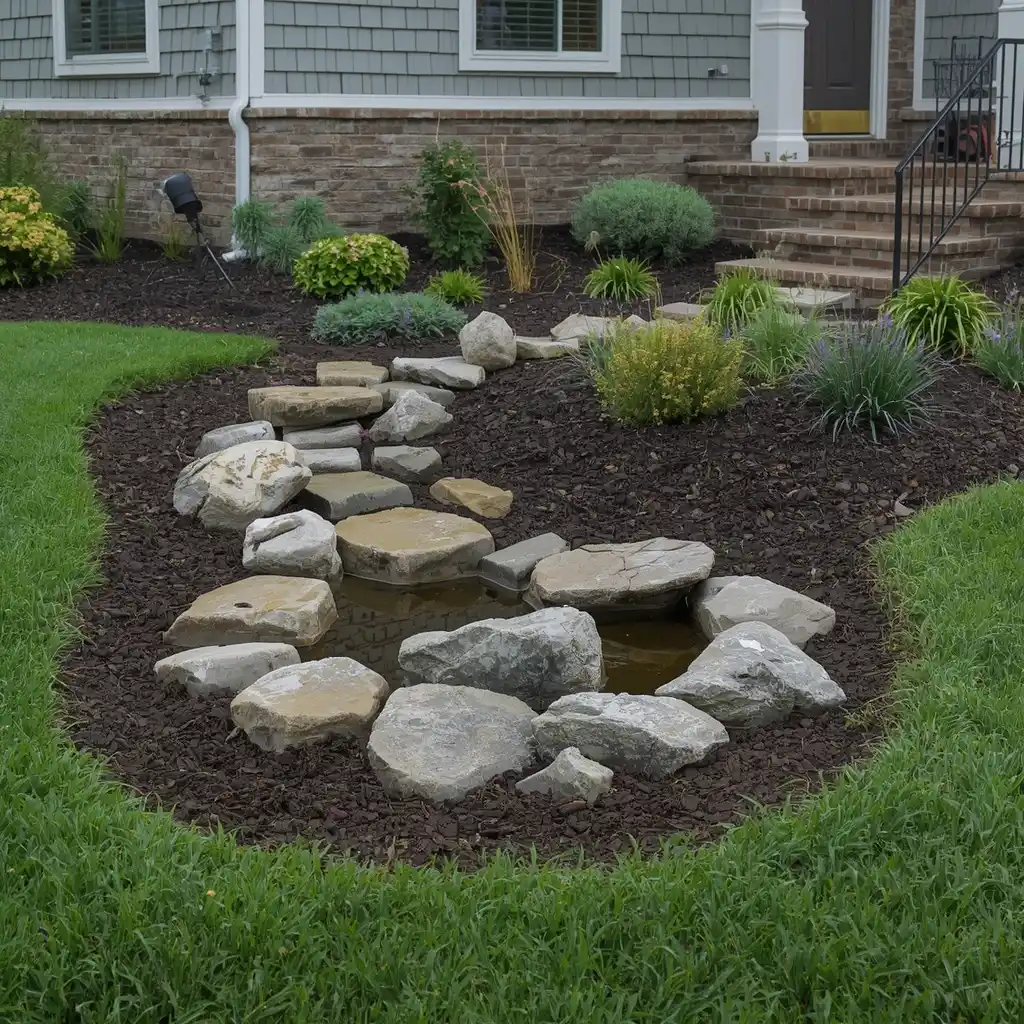
A low part of the yard may stay wet after storms. A rain garden can hold water for a short time while plants and soil absorb it.
Place stones where water enters the garden. They can slow the flow and reduce soil erosion.
Choose plants that can handle both wet and dry periods. Native plants are often useful because they are suited to local conditions.
Test the soil before building. Water should drain after a reasonable period instead of sitting for many days.
Keep the rain garden away from the foundation, underground systems, and areas where standing water may cause damage.
Add medium stones around the inlet and a few larger rocks for shape. Avoid filling the full garden with stone because plants and soil do much of the work.
Best for: Low areas that collect rainwater.
Local check: Follow your city or local extension guidance for placement.
14. Make a Stone Catch Basin Below a Downspout
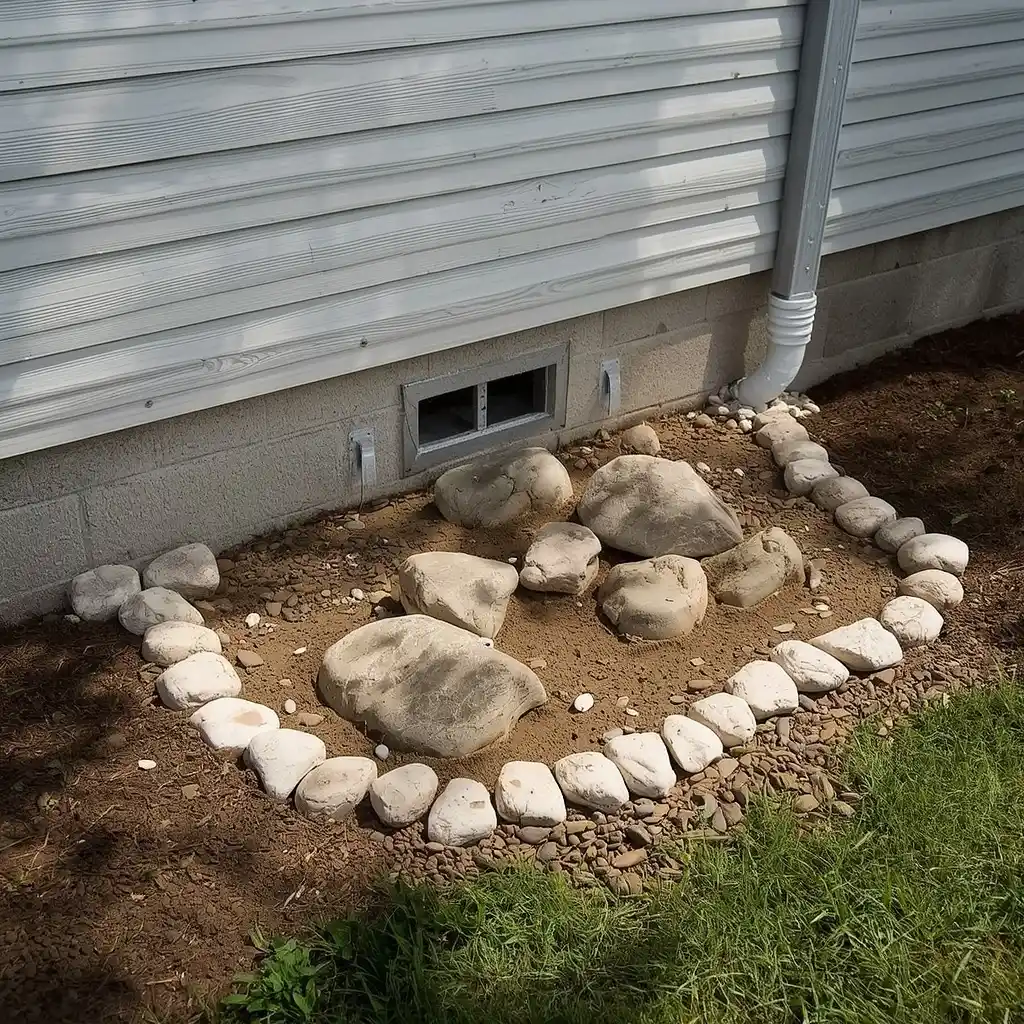
A downspout can dig a hole in the soil and splash mud onto the wall. A shallow stone basin can reduce this damage.
Use larger rocks where the water first lands. Add smaller stone around the outer edge.
Shape the basin so water can move away from the house. If water still collects near the wall, extend the downspout to a safer point.
The basin should have a clear outlet. It should not become a small pond beside the foundation.
For a neat look, connect the basin to a dry creek bed or gravel strip.
Decorative rock can control splash, but it cannot repair a broken gutter or a poor drainage slope.
Best for: Small erosion spots below working downspouts.
Drainage note: Fix gutter leaks before adding stone.
15. Create a Gravel Seating Area Around a Fire Pit
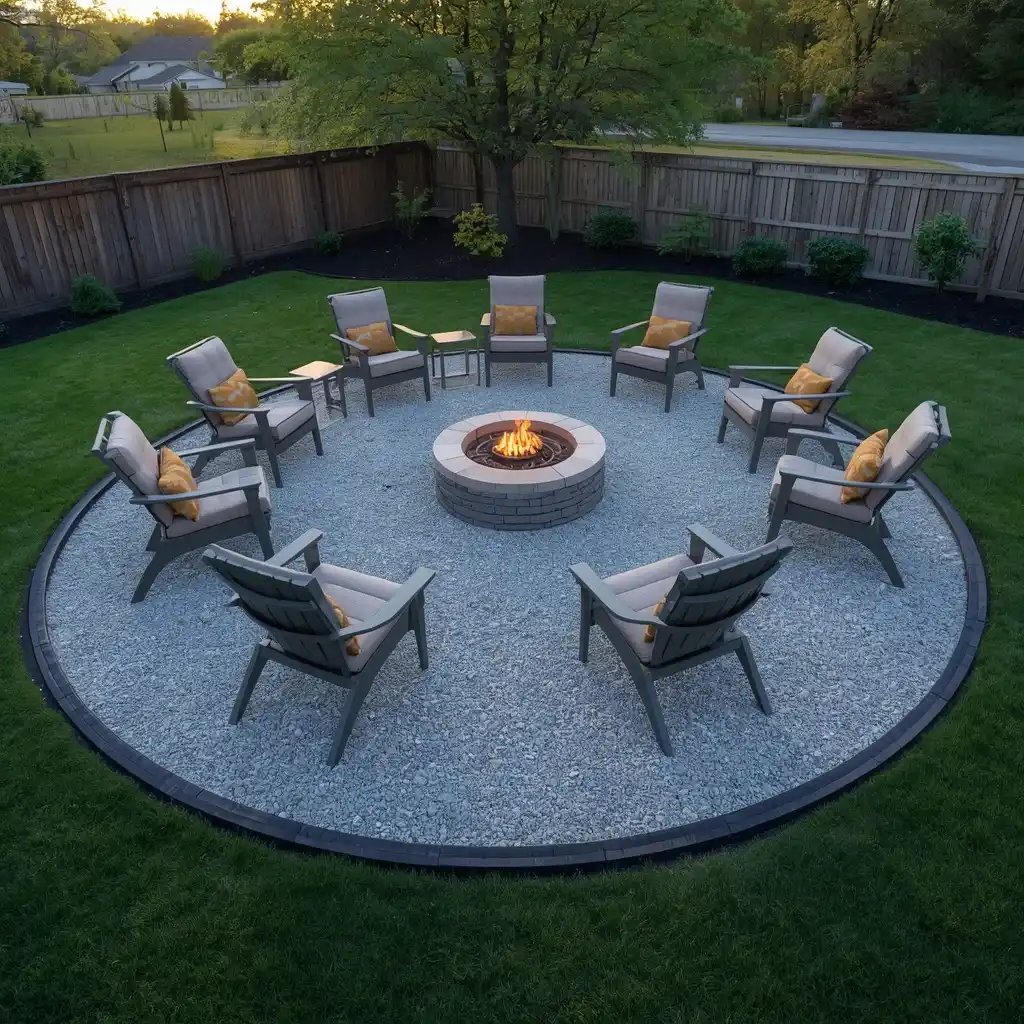
A gravel area can create a clear and stable space around a fire pit. It also separates the fire area from the lawn.
Start with a level, firm base. Use gravel that compacts well so chairs do not sink or tip.
Leave enough space for people to move their chairs back. Keep the area clear of low branches, fences, roofs, and other items that may burn.
Fire rules vary by location. The fire pit maker may also list surface and clearance needs. Check both before you build.
Do not assume every type of gravel is safe for high heat. Use materials approved for the fire feature and its base.
Add a defined border to stop gravel from spreading into the grass.
Best for: Backyard seating zones.
Safety check: Follow local fire rules and the maker’s instructions.
16. Improve the Area Around an Air Conditioner
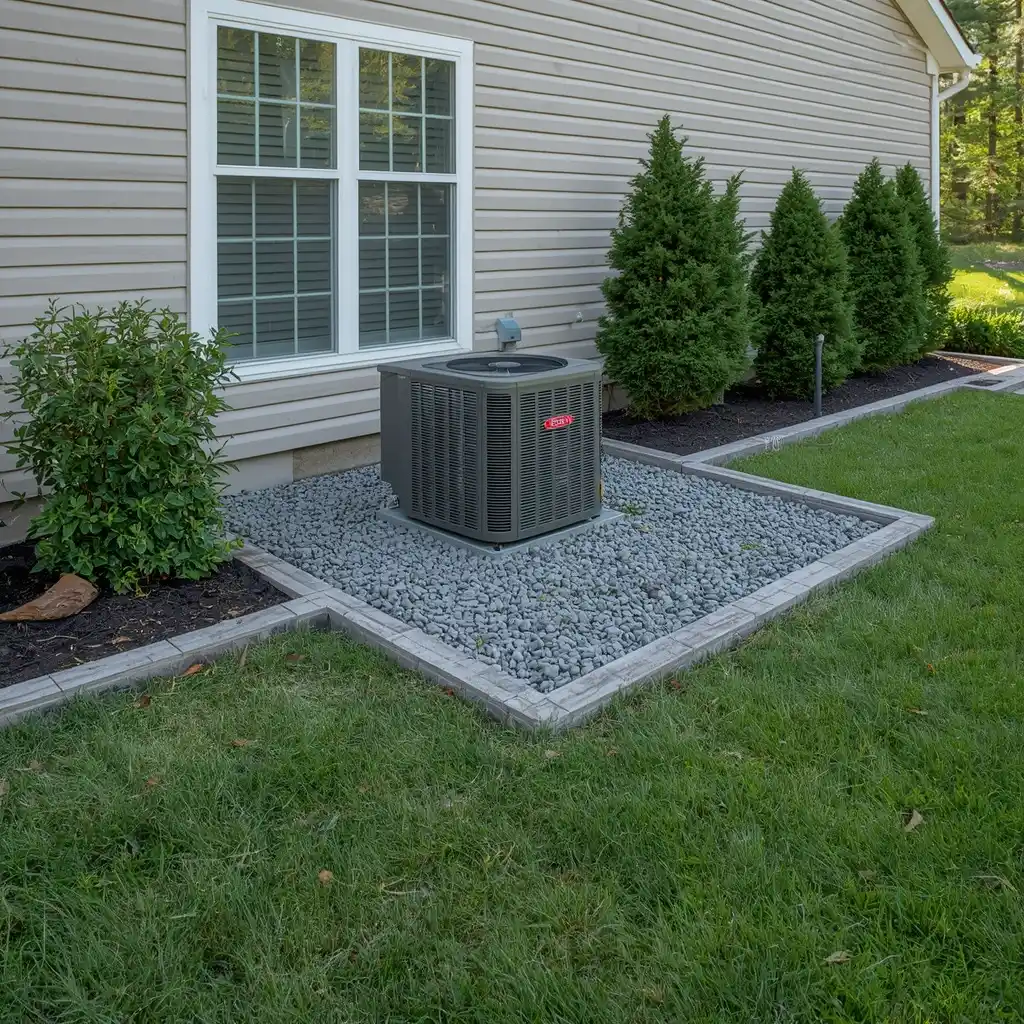
Grass, weeds, and mud around an outdoor air conditioner can make service work harder. A simple gravel area can keep the space cleaner.
Start with a stable base around the unit. Use neat edging to separate it from the lawn.
Keep the stone below the equipment pad. Water should not collect around the unit.
Do not place shrubs, screens, or tall grass too close. The system needs open space for airflow and repair work.
Clearance needs vary by model. Check the maker’s instructions before adding plants or screens.
Use taller plants farther away if you want to hide the unit from view. Leave a clear route for service workers.
Best for: Muddy utility areas and hard-to-mow corners.
Important: Airflow and service access matter more than appearance.
17. Connect the Whole Yard With Repeated Rock Beds
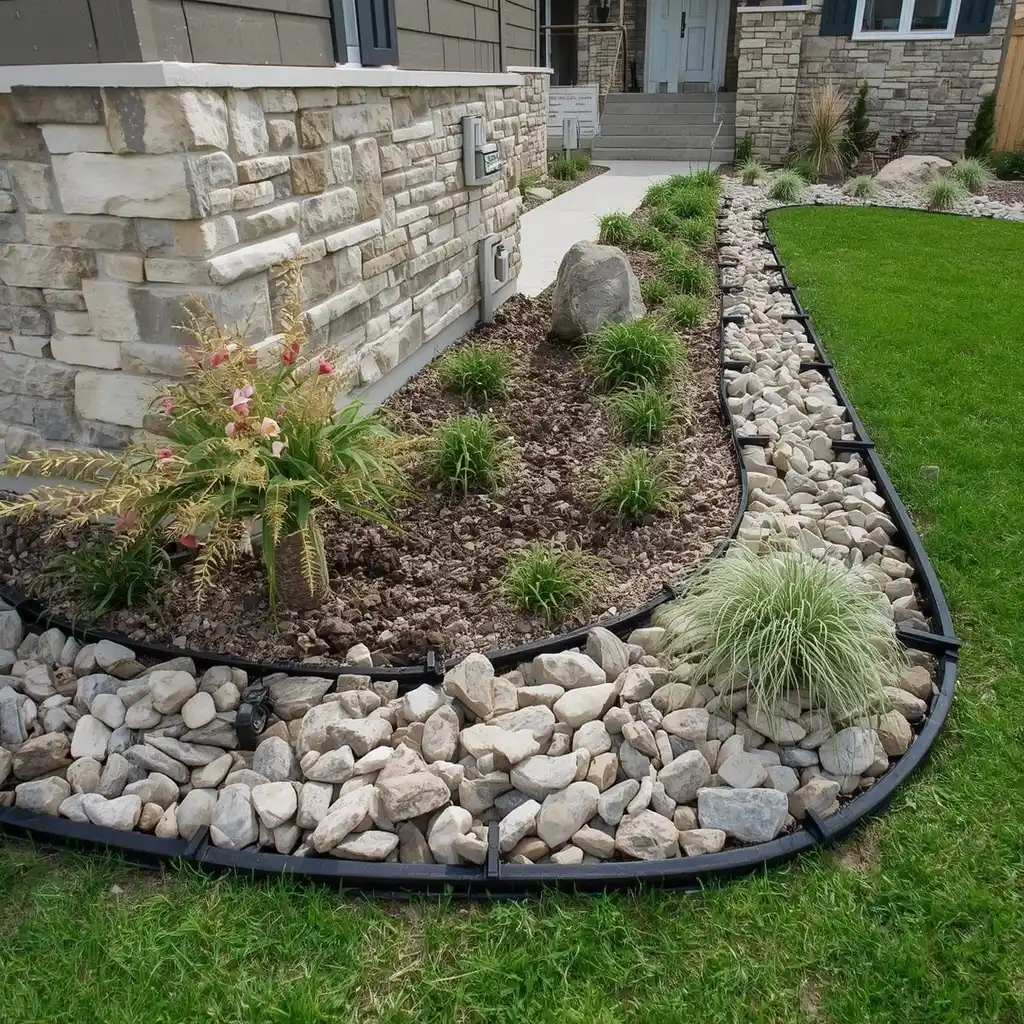
Separate rock beds can make a yard feel busy when each one uses a different color and style.
Choose one main rock for the foundation, side path, patio, and other large areas. Use a second stone only for a focal point or drainage feature.
Repeat two or three plants around the property. Dwarf grasses, compact evergreens, and one flowering plant can create a simple set.
Use the same edging in each area. Repeated lines and materials help connect the front, sides, and backyard.
Good rock landscaping ideas around the house do not require covering every open space with stone. Leave room for grass, plants, and soft ground where they work well.
For example, use gray river rock around the house and patio. Repeat dark edging and small grasses in each bed.
Best for: Homes with several separate landscape areas.
How to Choose the Right Rock Size and Color
The wrong rock can make a path hard to walk on or a drainage bed less useful. Choose the stone based on what the area needs to do.
Use Pea Gravel in Low-Traffic Areas
Pea gravel has small, smooth pieces. It works well in decorative beds and some sitting areas.
It can shift under your feet, so it may not be the best choice for steep paths or busy walkways.
Use Crushed Gravel for Firmer Paths
Crushed gravel has rough edges that lock together better. It works well under stepping stones and in side yards.
A firm base and proper compaction will help the path stay level.
Use River Rock for Borders and Water Features
River rock has smooth, rounded pieces. It looks natural in foundation beds, dry creek beds, and downspout basins.
Larger pieces stay in place better than small round gravel.
Use Boulders as Accent Pieces
One or two boulders can add height and shape. They should support the design instead of filling every open space.
Match the Color to Your House
Warm tan, cream, and brown rocks often work well with brick and beige siding.
Gray, blue-gray, and charcoal stones can suit white, gray, or modern homes.
Take a sample home before placing a large order. Look at it when it is dry and wet because the color may change.
How Much Landscape Rock Do You Need?
Measure the area before you contact a supplier.
Use these basic steps:
- Measure the length.
- Measure the width.
- Multiply the two numbers to find the square footage.
- Choose the planned depth.
- Use the supplier’s rock calculator.
- Add a small extra amount for uneven ground.
A bed that measures 10 feet by 4 feet covers 40 square feet. The final amount depends on the rock size and depth.
Do not guess. Ordering too little can leave the project unfinished. Ordering too much creates a heavy pile that you must store or move.
Ask the supplier how much area the chosen rock covers. Coverage can change based on stone shape and size.
Avoid These Rock Landscaping Mistakes
Rock landscaping can last for years, but poor installation can create more work.
Do Not Pile Rock Against the House
Keep stone below siding, doors, vents, and wall openings. The ground should slope away from the house.
Do Not Cover Tree Trunks
Leave the trunk and root base open. A ring of rock should protect the tree, not bury it.
Do Not Skip Edging
Loose gravel spreads into grass and driveways. Strong edging saves time later.
Do Not Use Pea Gravel on a Steep Slope
Small round stones can roll downhill. Use a more stable material or another slope solution.
Do Not Mix Too Many Colors
One main stone and one accent stone are enough for most yards.
Do Not Expect Fabric to Stop Every Weed
Landscape fabric may reduce weeds from below. It cannot stop seeds from landing in dust and soil above the fabric.
Do Not Block Utility Access
Keep meters, taps, pipes, air conditioners, and gates clear.
Do Not Ignore Water Flow
Decorative rock cannot fix every drainage problem. Watch how water moves before you install it.
Start With One Problem Area
You do not need to replace your full yard at once. Begin with the place that causes the most work.
A narrow foundation bed can cover bare soil. A gravel side path can fix a muddy route. A dry creek bed may control a small erosion channel.
Measure the area, check the water flow, and bring home a rock sample before ordering a large amount. Use firm edging and keep stones away from siding, tree trunks, and utility equipment.
These rock landscaping ideas around the house can help you build a cleaner and easier yard one section at a time.